If you're looking for a clean and healthful way to support your gut health, this Soy Milk Yogurt recipe is just what you need. Made with simple ingredients, it's a creamy, tangy, and probiotic-rich option perfect for improving digestion and overall well-being. Whether you use an Instant Pot, oven, or yogurt maker, this easy recipe delivers a plant-based yogurt that's wholesome, delicious, and free from unnecessary additives. Start your journey to a cleaner, healthier lifestyle with this versatile and satisfying yogurt!

Save This Recipe!
Type your email & I'll send it to you!
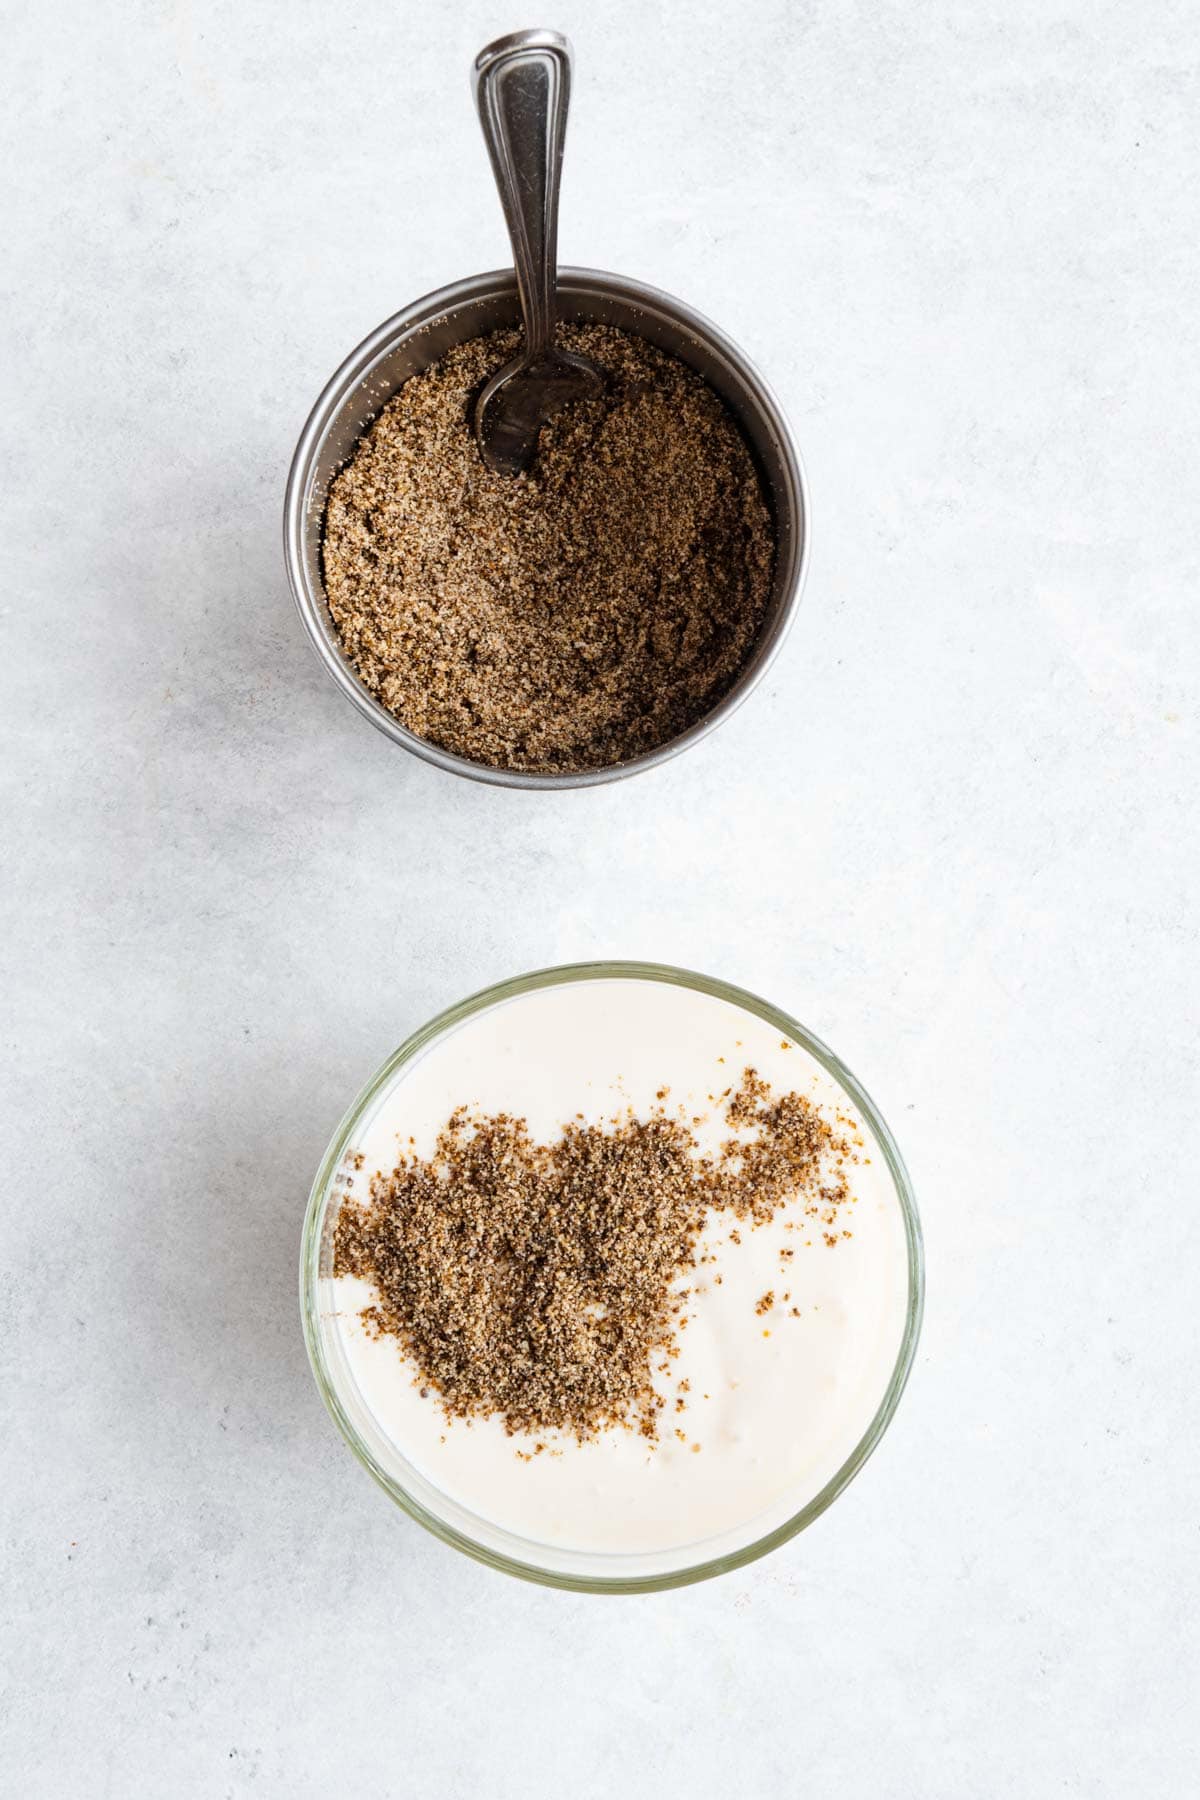
I enjoy my soy milk yogurt with ground chia seeds and frozen berries for a nutritious and satisfying treat. Ground chia seeds are a fantastic addition, as they're rich in fiber, which may help with weight loss by adding bulk to your meals and keeping you full for longer. They also slow digestion and delay the release of glucose into the blood, making them an excellent choice for steady energy. For a touch of sweetness, drizzle with your favorite sweetener, and you have a delicious, healthful way to enjoy your yogurt!
Jump to:
- 🦠 How Fermented Foods Improve Your Gut Health and Longevity
- 👩🏼🌾 Ingredients & Health Benefits
- 🥛 Substitutions
- 📖 How to Make Soy Milk Yogurt
- 🫙 Why Homemade Yogurt is Healthier Than Store-Bought
- ✔️ Expert Tips
- 🛒 Shop Nisha's Yogurt Essentials
- 🙋🏽♀️ Recipe FAQs
- 🥄 Healthy Toppings
- 👩🏽🍳 Made this recipe?
- Soy Milk Yogurt
- 💬 Comments
🦠 How Fermented Foods Improve Your Gut Health and Longevity
Incorporating low-sodium fermented foods into your daily diet is essential for promoting excellent health and longevity. Research on fermented foods and gut health reveals that yogurt can significantly enhance microbiome diversity, a critical factor for maintaining a healthy gut. When combined with a high-fiber diet, fermented foods also help lower markers of inflammation. However, individuals with lower microbiome diversity experienced increased inflammation, likely because their gut bacteria struggled to process the fiber. This highlights the importance of gradually introducing both fiber and fermented foods to allow them to work synergistically, improving gut health and overall well-being.
Since many fermented foods are high in sodium, choosing low-sodium options is key to maintaining optimal health. Unsweetened plant-based yogurts, like my Easy Soy Milk Yogurt or Cashew Yogurt recipes, are excellent choices. These options provide the benefits of fermentation while keeping your sodium intake in check, making them a delicious and health-conscious addition to your diet.
👩🏼🌾 Ingredients & Health Benefits
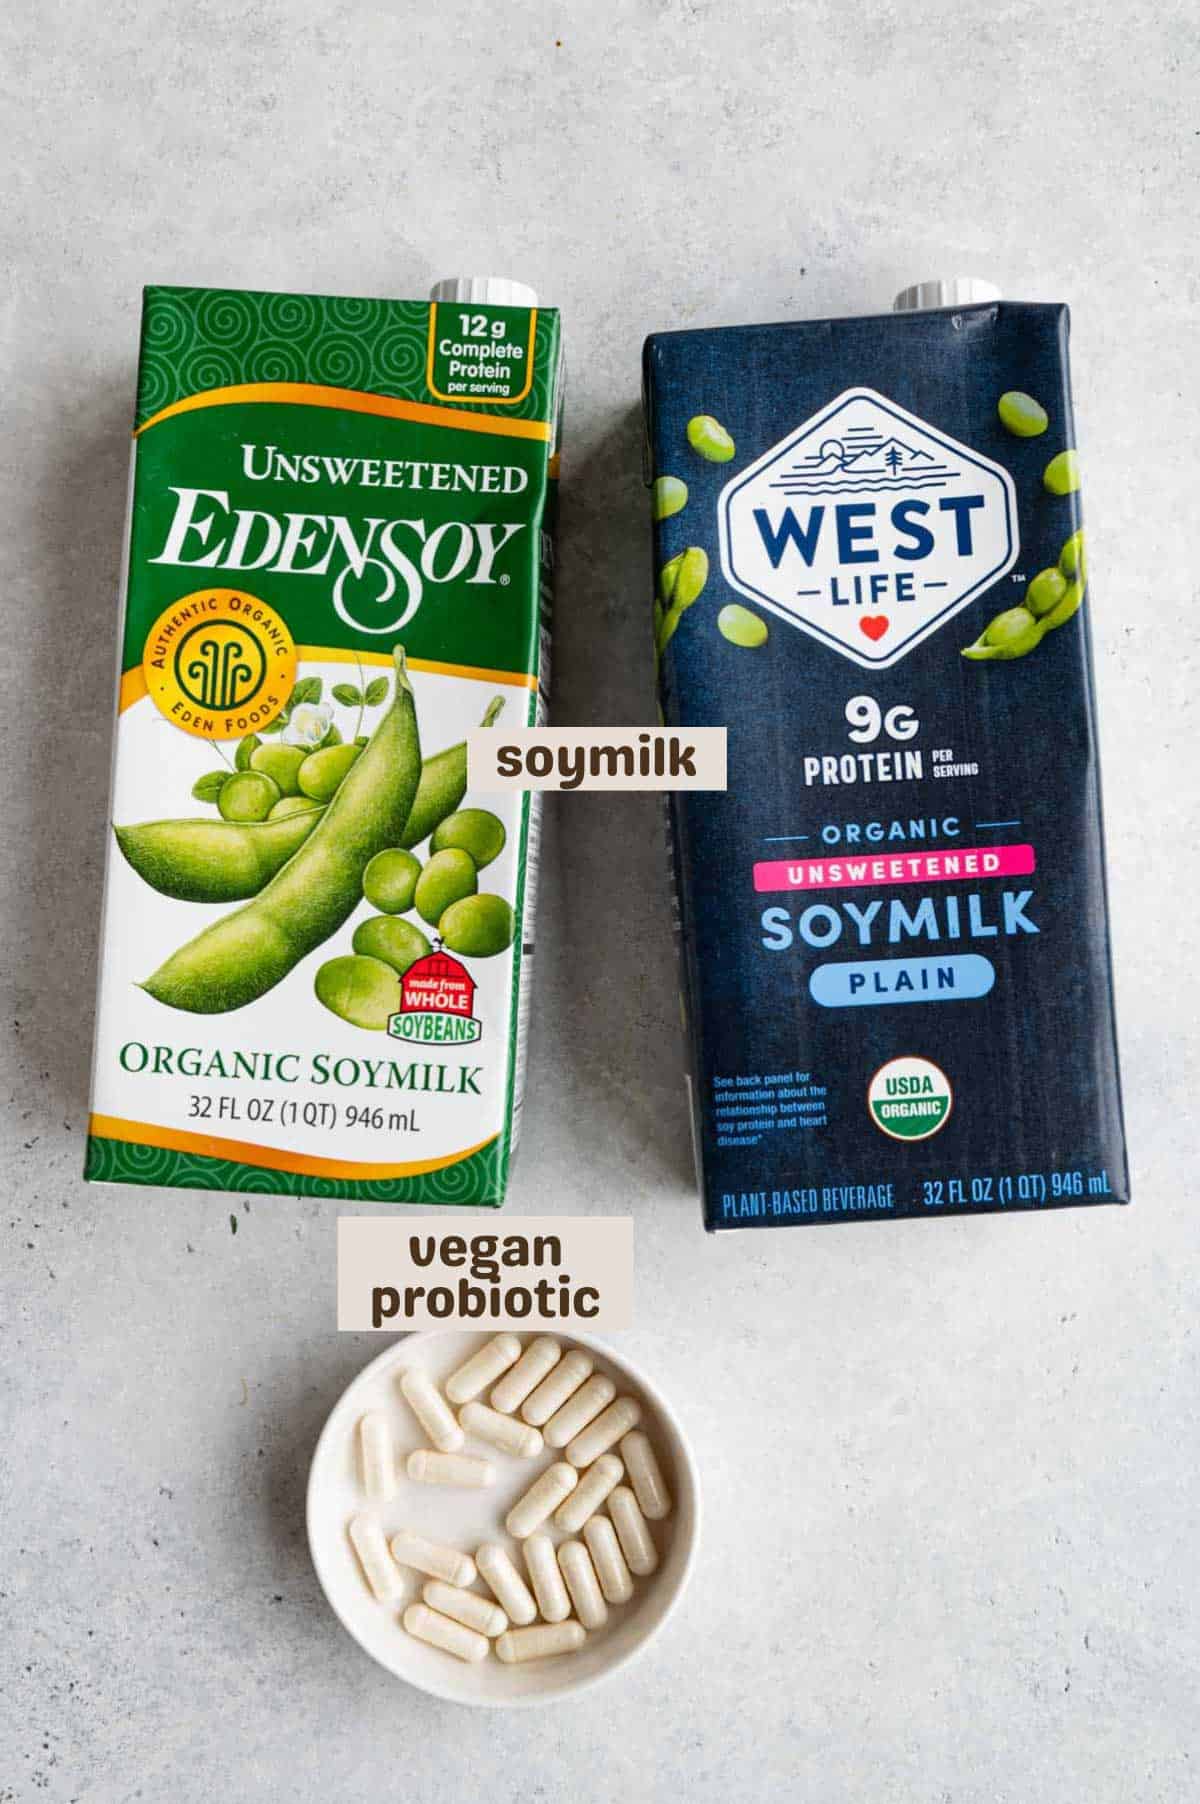
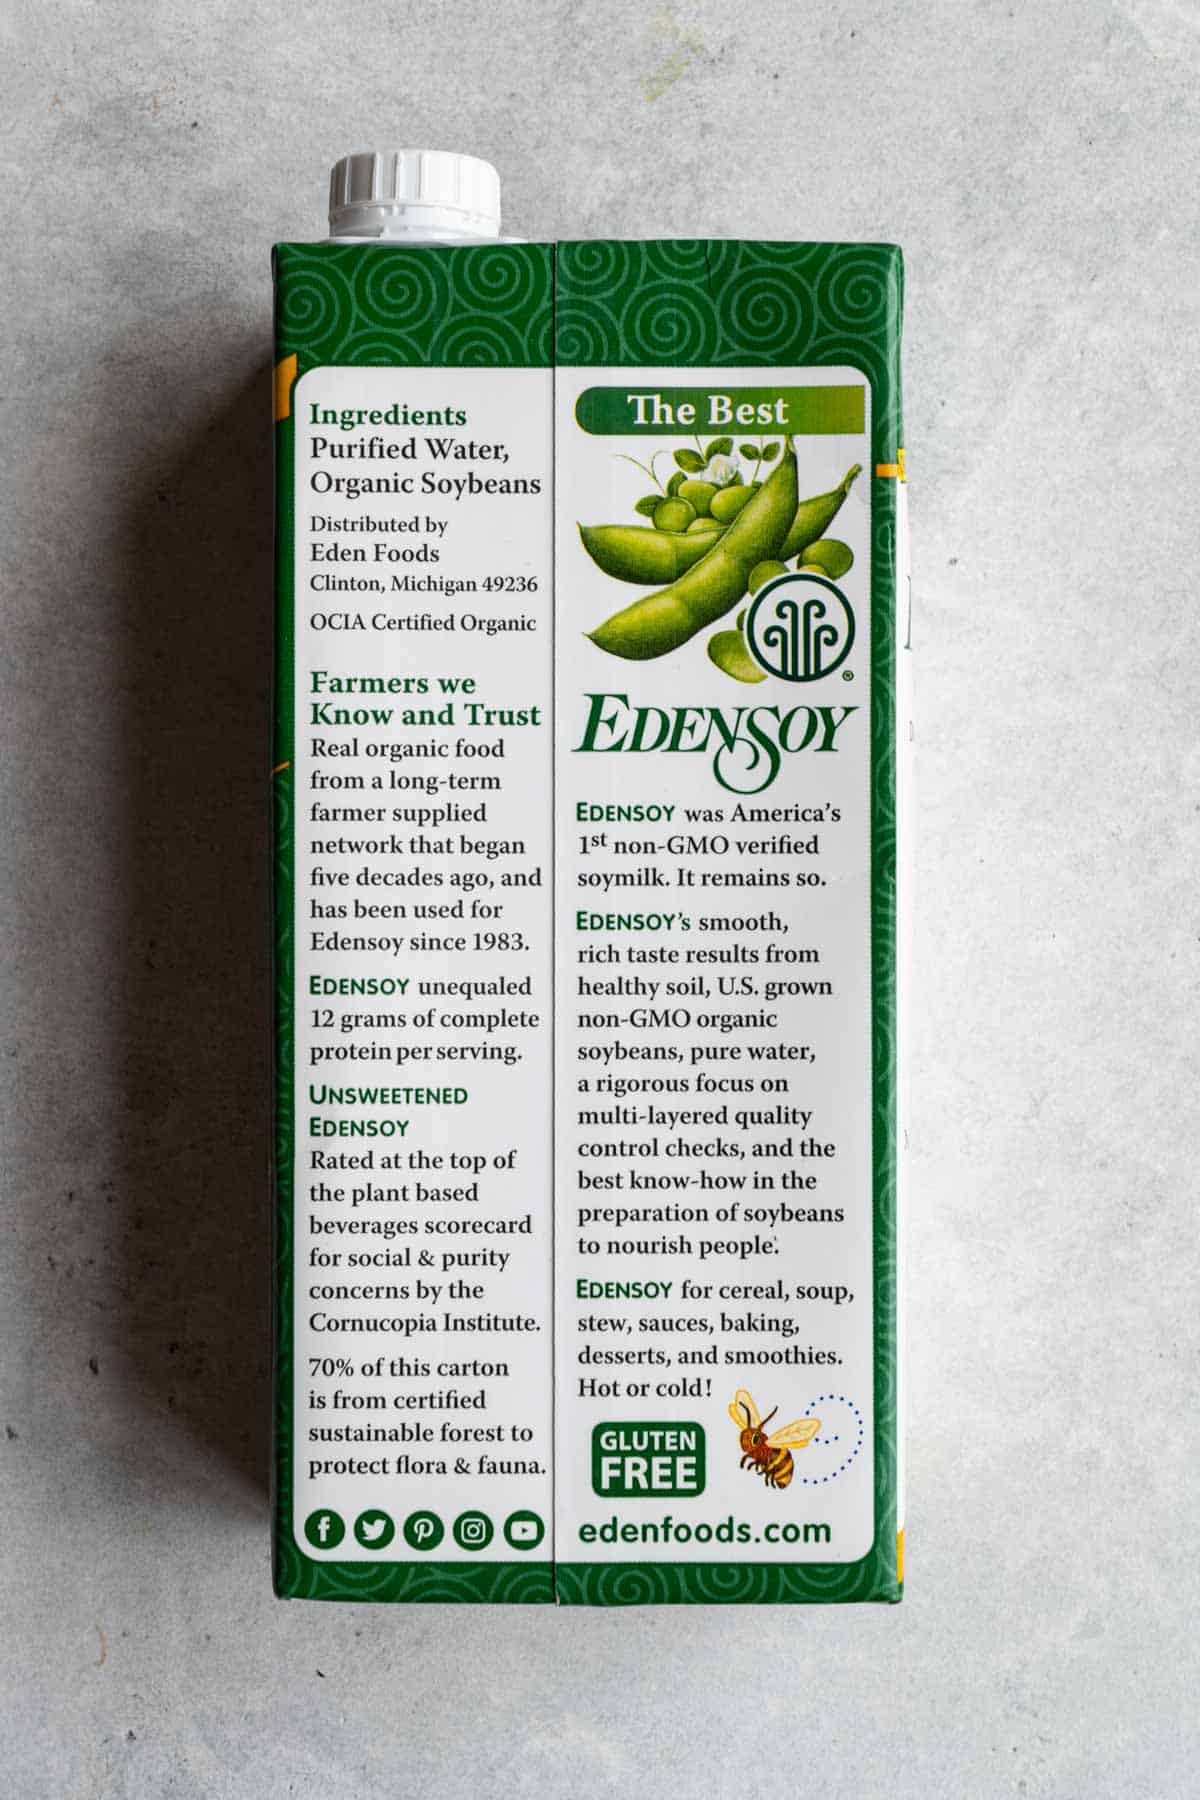
- Soymilk: Use unsweetened soymilk with soybeans and water as the only two ingredients. Plant-based milk, like soymilk, offers several health benefits over cow's milk, including lower saturated fat and zero cholesterol. Soymilk is particularly notable for its protein content, which is comparable to cow's milk, and it contains spermidine, a compound that promotes autophagy and supports cellular health and longevity. I recommend these brands for this recipe.
- Vegan probiotic: To make your first batch of soy milk yogurt, you'll need a vegan probiotic to kickstart the fermentation process. This essential ingredient introduces the beneficial bacteria that transform soy milk into creamy, tangy yogurt. Once you've made your first batch, you won't need a probiotic for subsequent batches-simply reserve a small amount of yogurt to use as a starter for the next one. It's a simple, sustainable way to enjoy homemade soy milk yogurt! My recommended brands for vegan prebiotics are linked here.
See the printable recipe card below for quantities.
🥛 Substitutions
- Soymilk - Use a brand made with only soybeans and water. Eden Foods Unsweetened Eden Soy, West Life, and Trader Jo's Unsweetened Soymilk are good options. Use a brand-new sealed container.
- Probiotics - use a vegan probiotic (at least 12 billion CFUs per 32-ounce carton of soymilk) for the first batch of soy milk yogurt.
For more healthy vegan breakfast recipes, visit my Vegan Breakfast Recipes page.
📖 How to Make Soy Milk Yogurt
1. Instant Pot Method
This is an overview. The full recipe is at the bottom of the post.
- Use a brand-new sealed carton of soymilk to avoid preheating the milk to 180ºF to kill off bacteria.
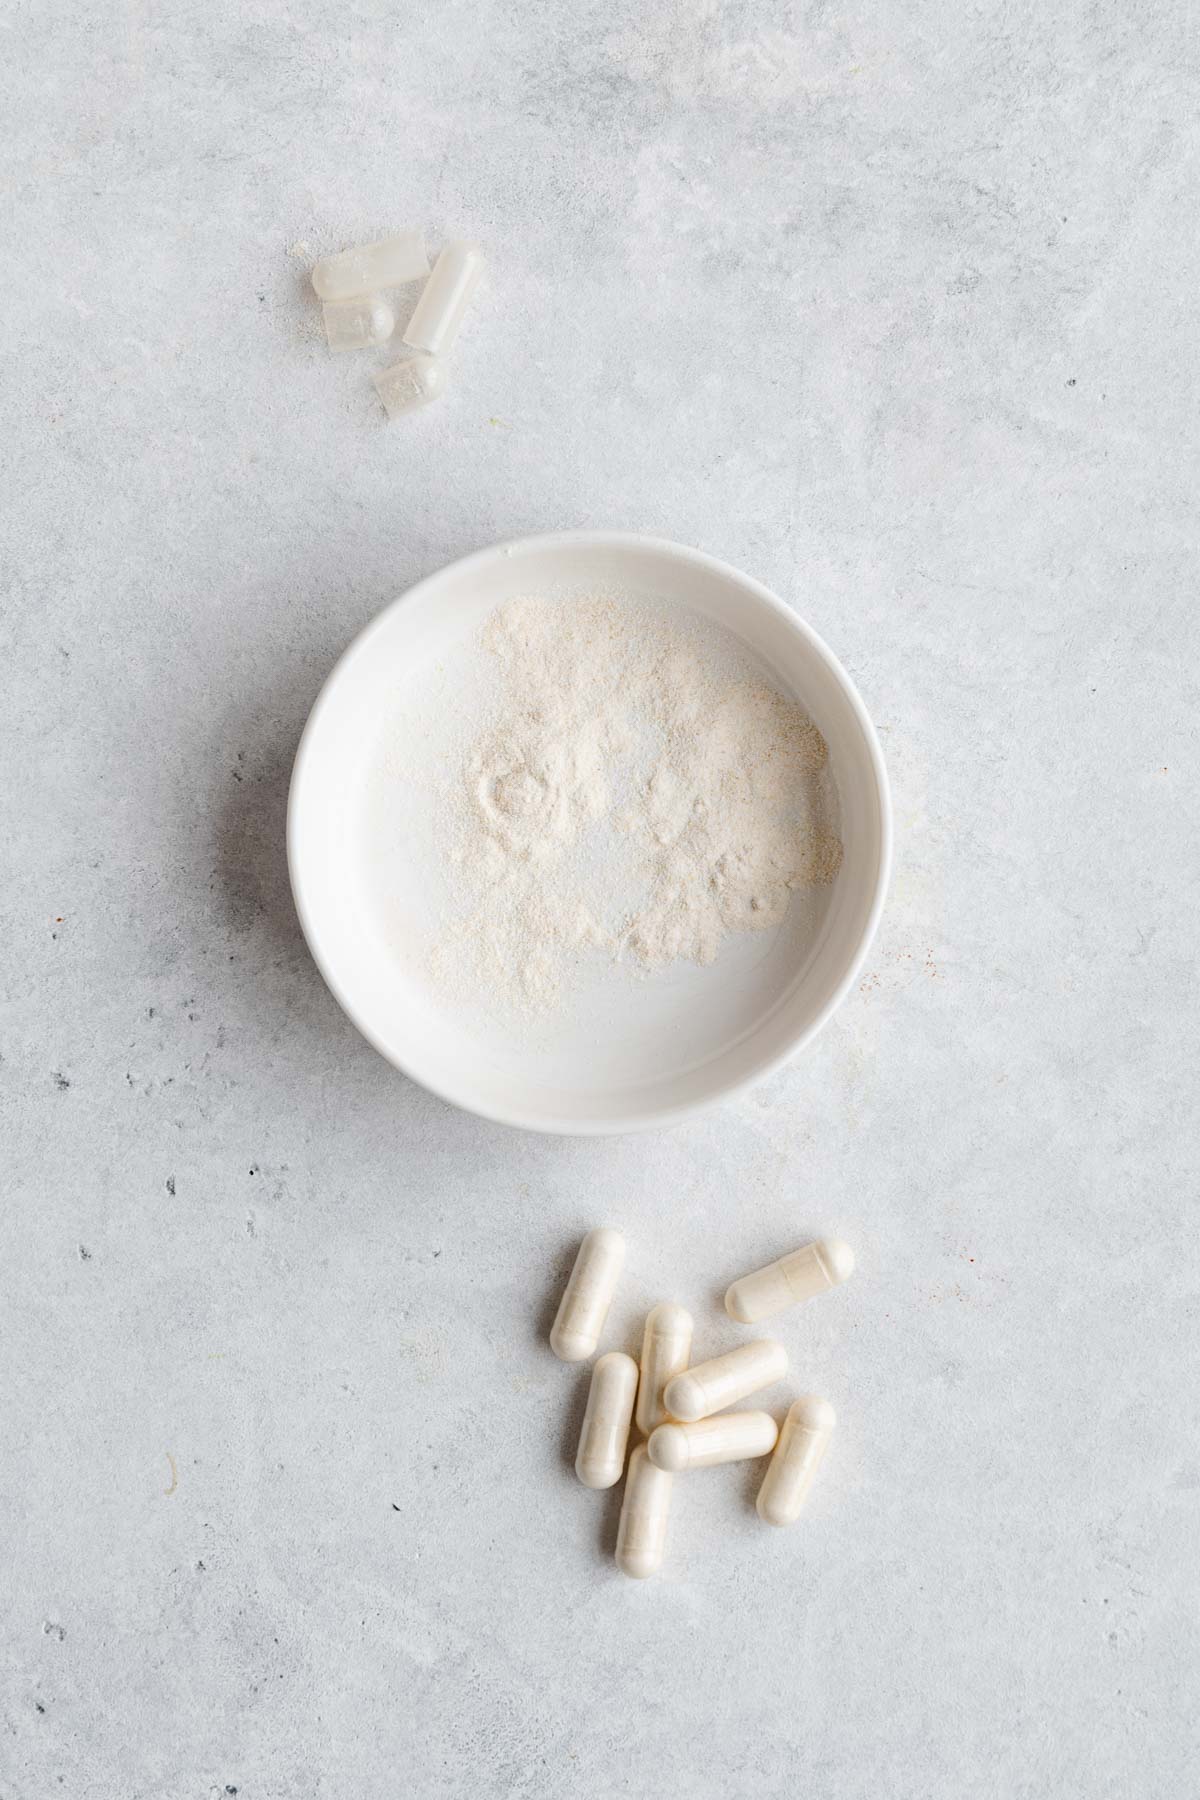
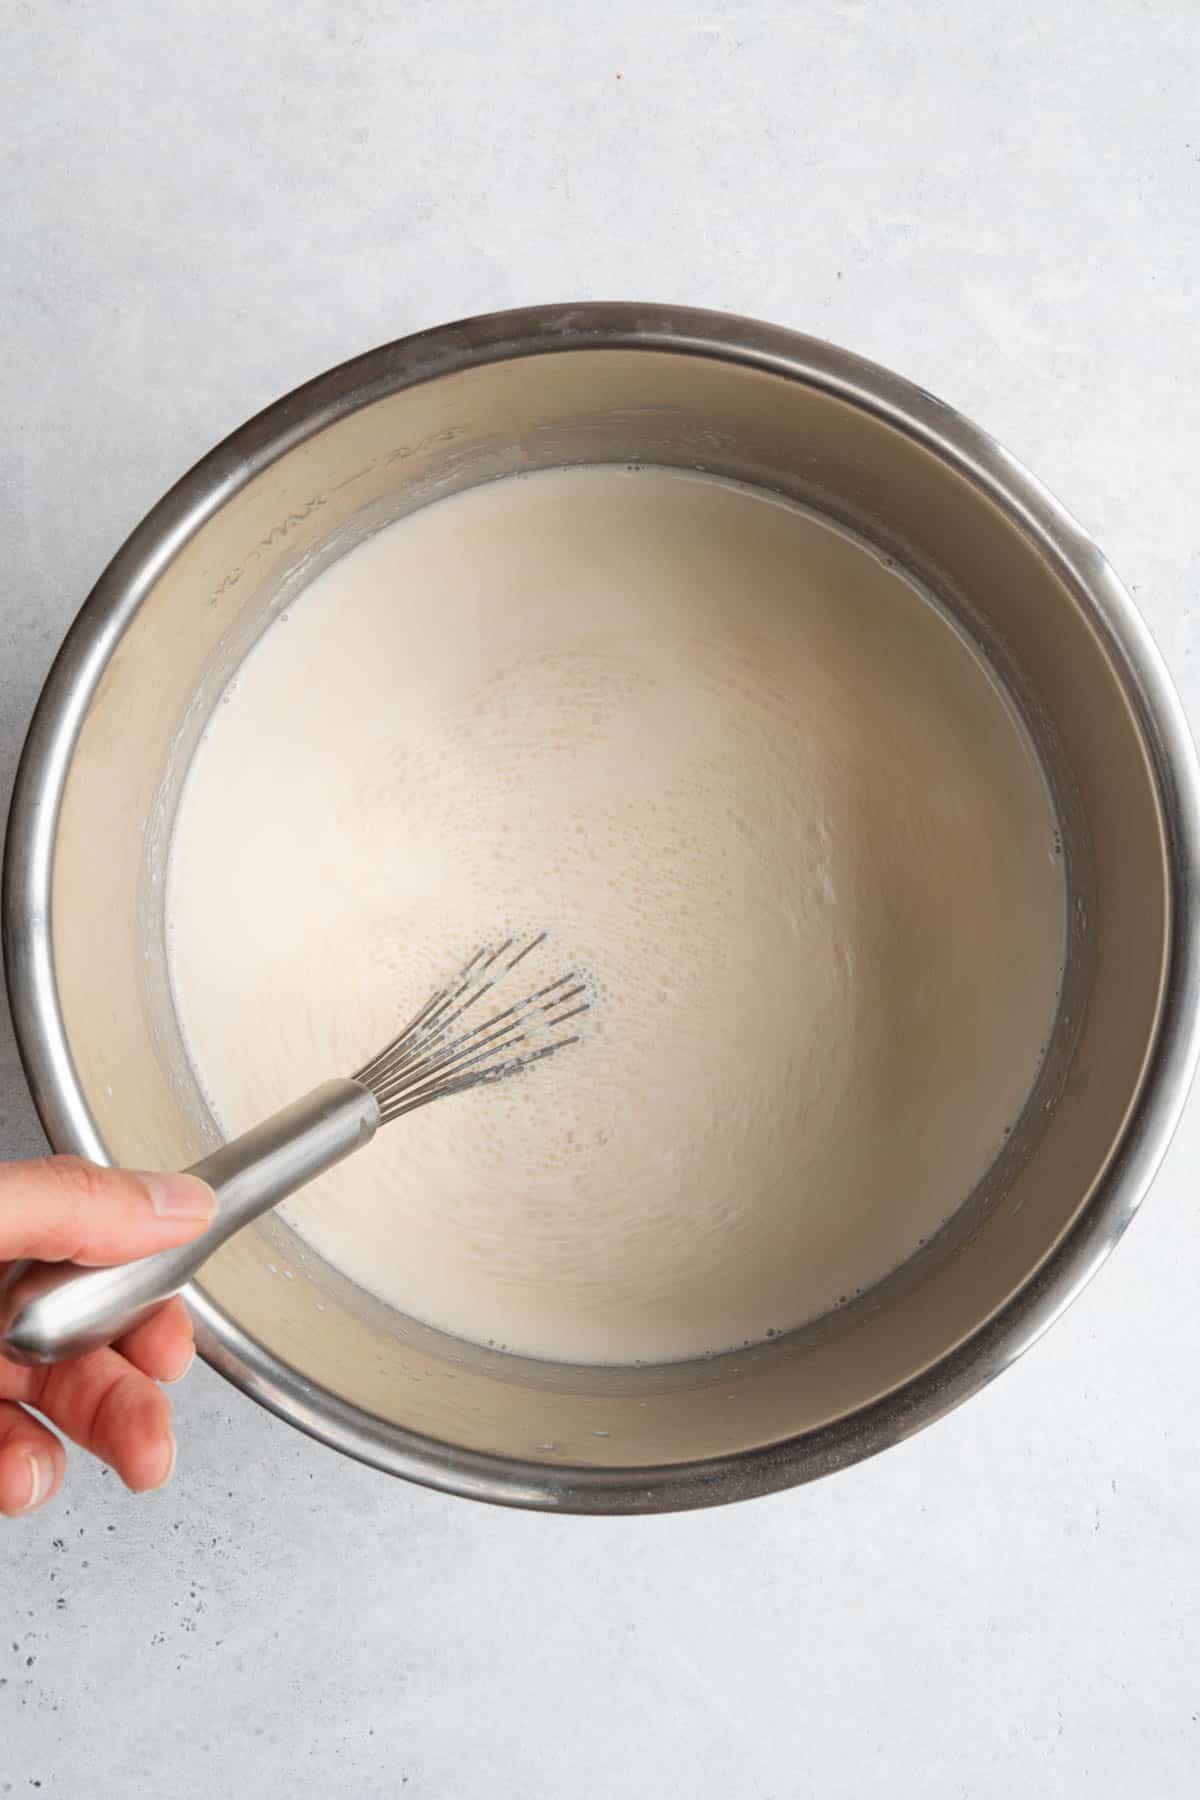
- Tip for adding probiotic capsules: Empty the contents of the probiotic capsule directly into the soy milk, whisking well each time to ensure the probiotics are evenly distributed. This step is key to a successful fermentation process!
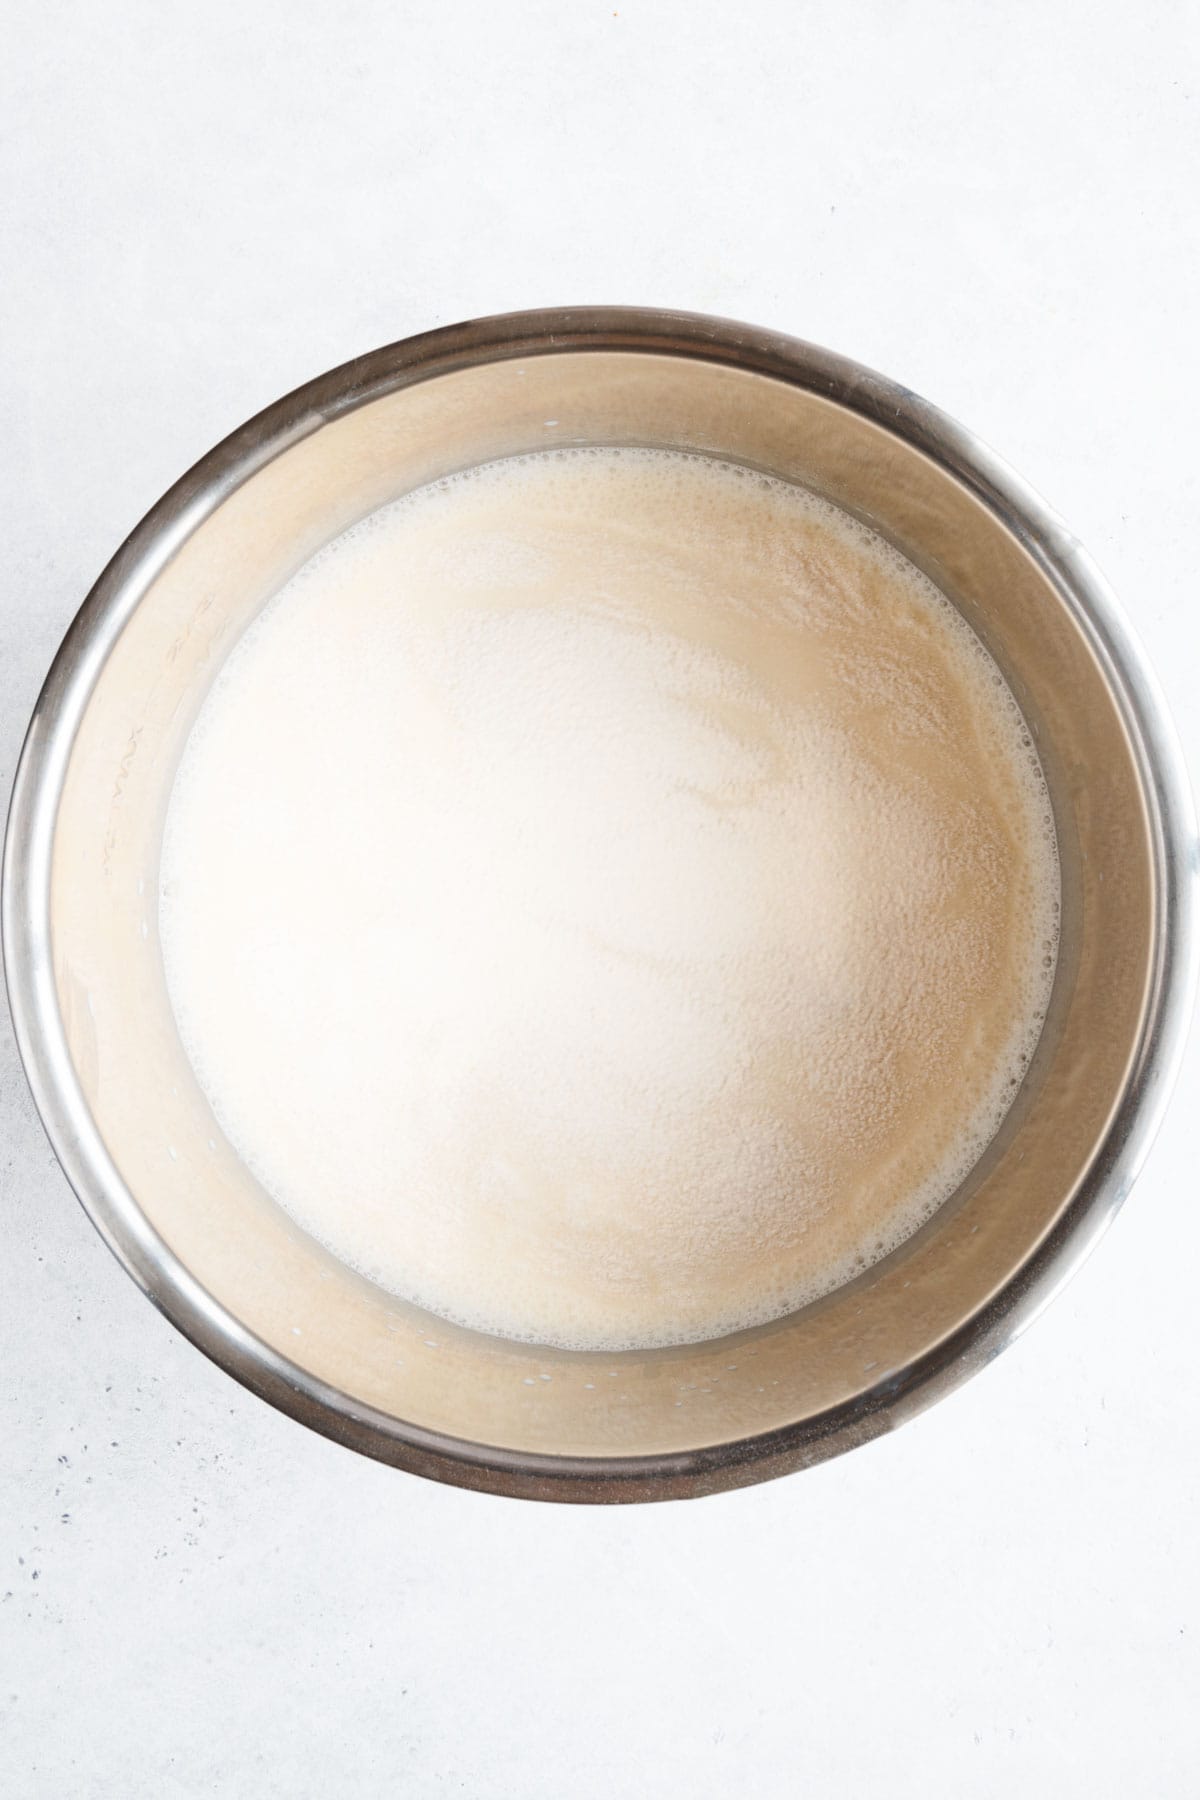
- Pour a brand-new sealed 32 oz container of plain, unsweetened soy milk into your clean inner pot of the Instant Pot.
- Add your starter-around 12 billion CFUs probiotics for the first batch or ½ cup of yogurt from a previous batch.
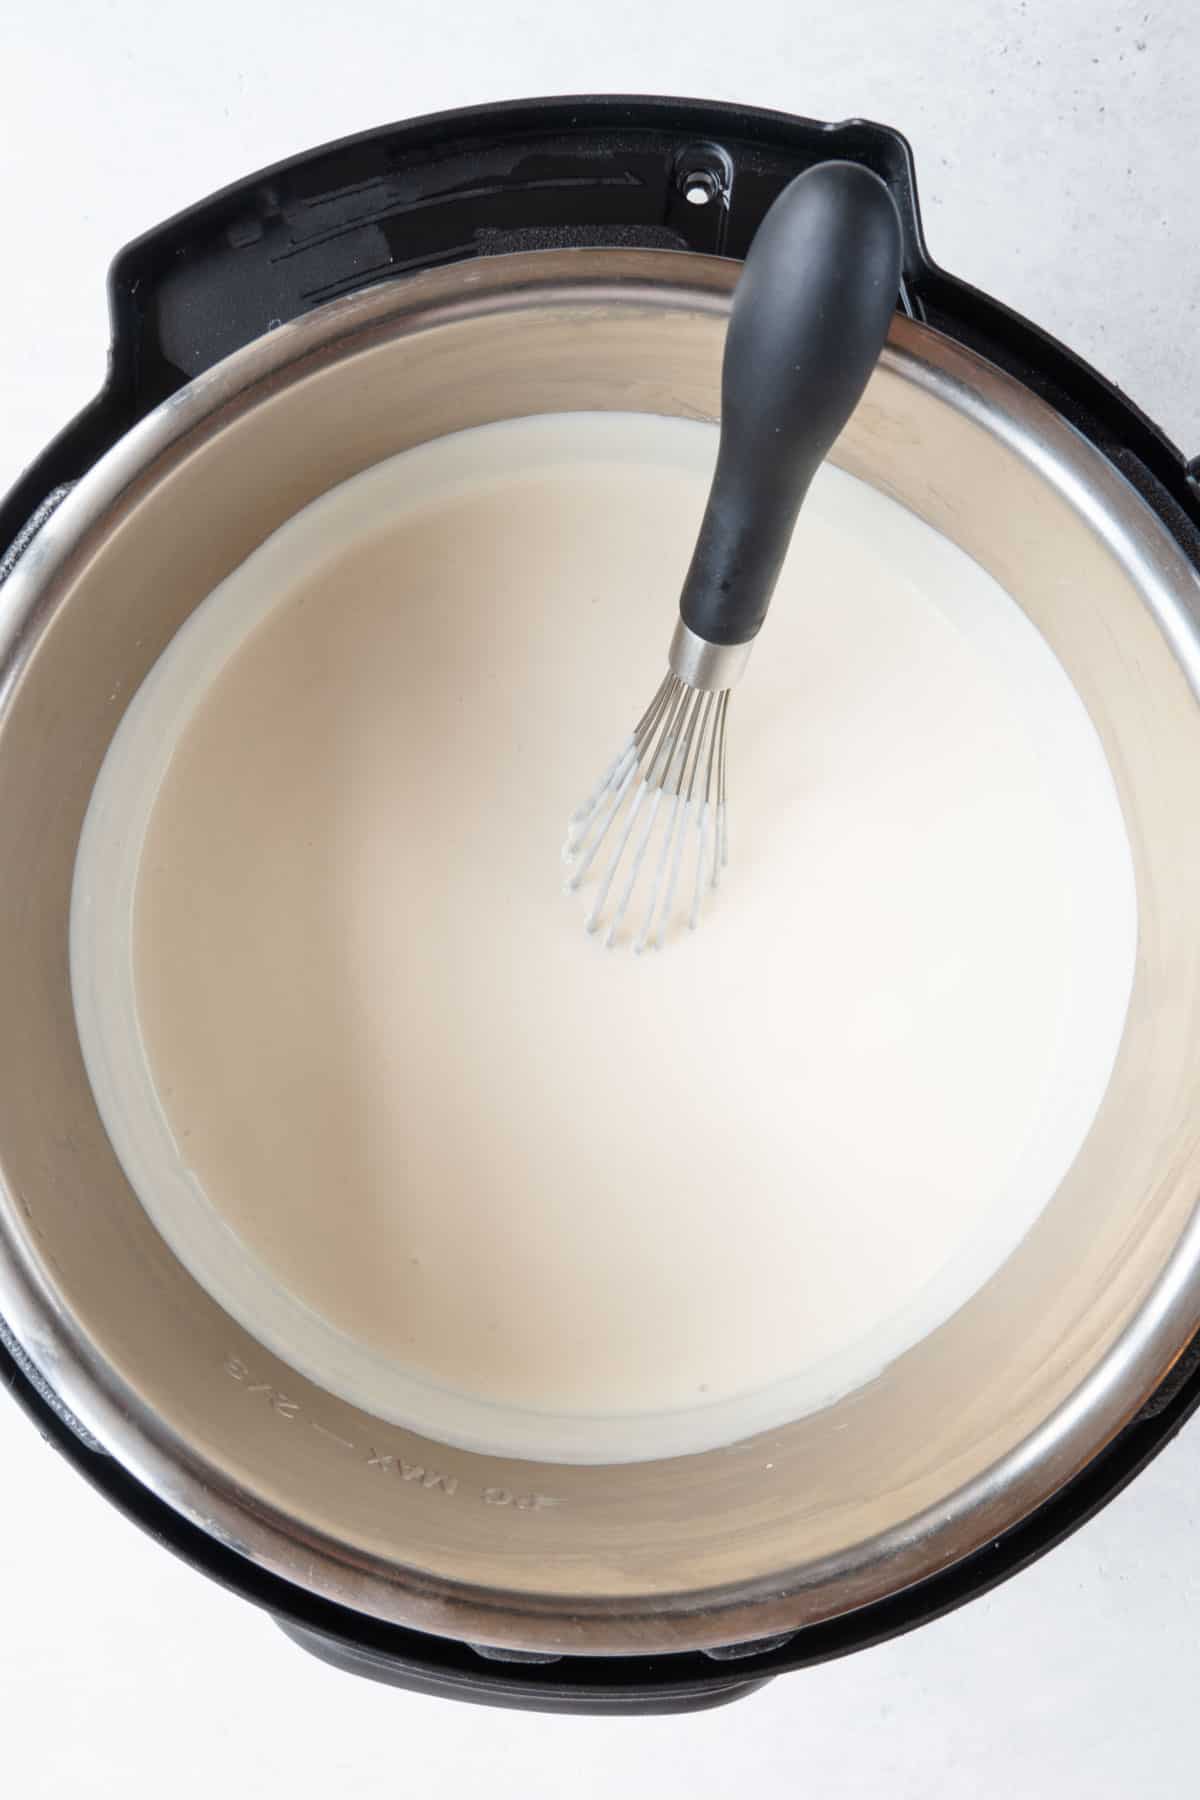
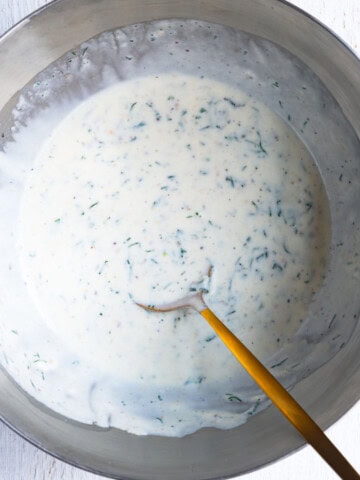
- Combine: Gently stir to combine the probiotic powder, or yogurt starter from the previous batch, and soy milk. This is the only time you will stir until the yogurt-making process is complete.
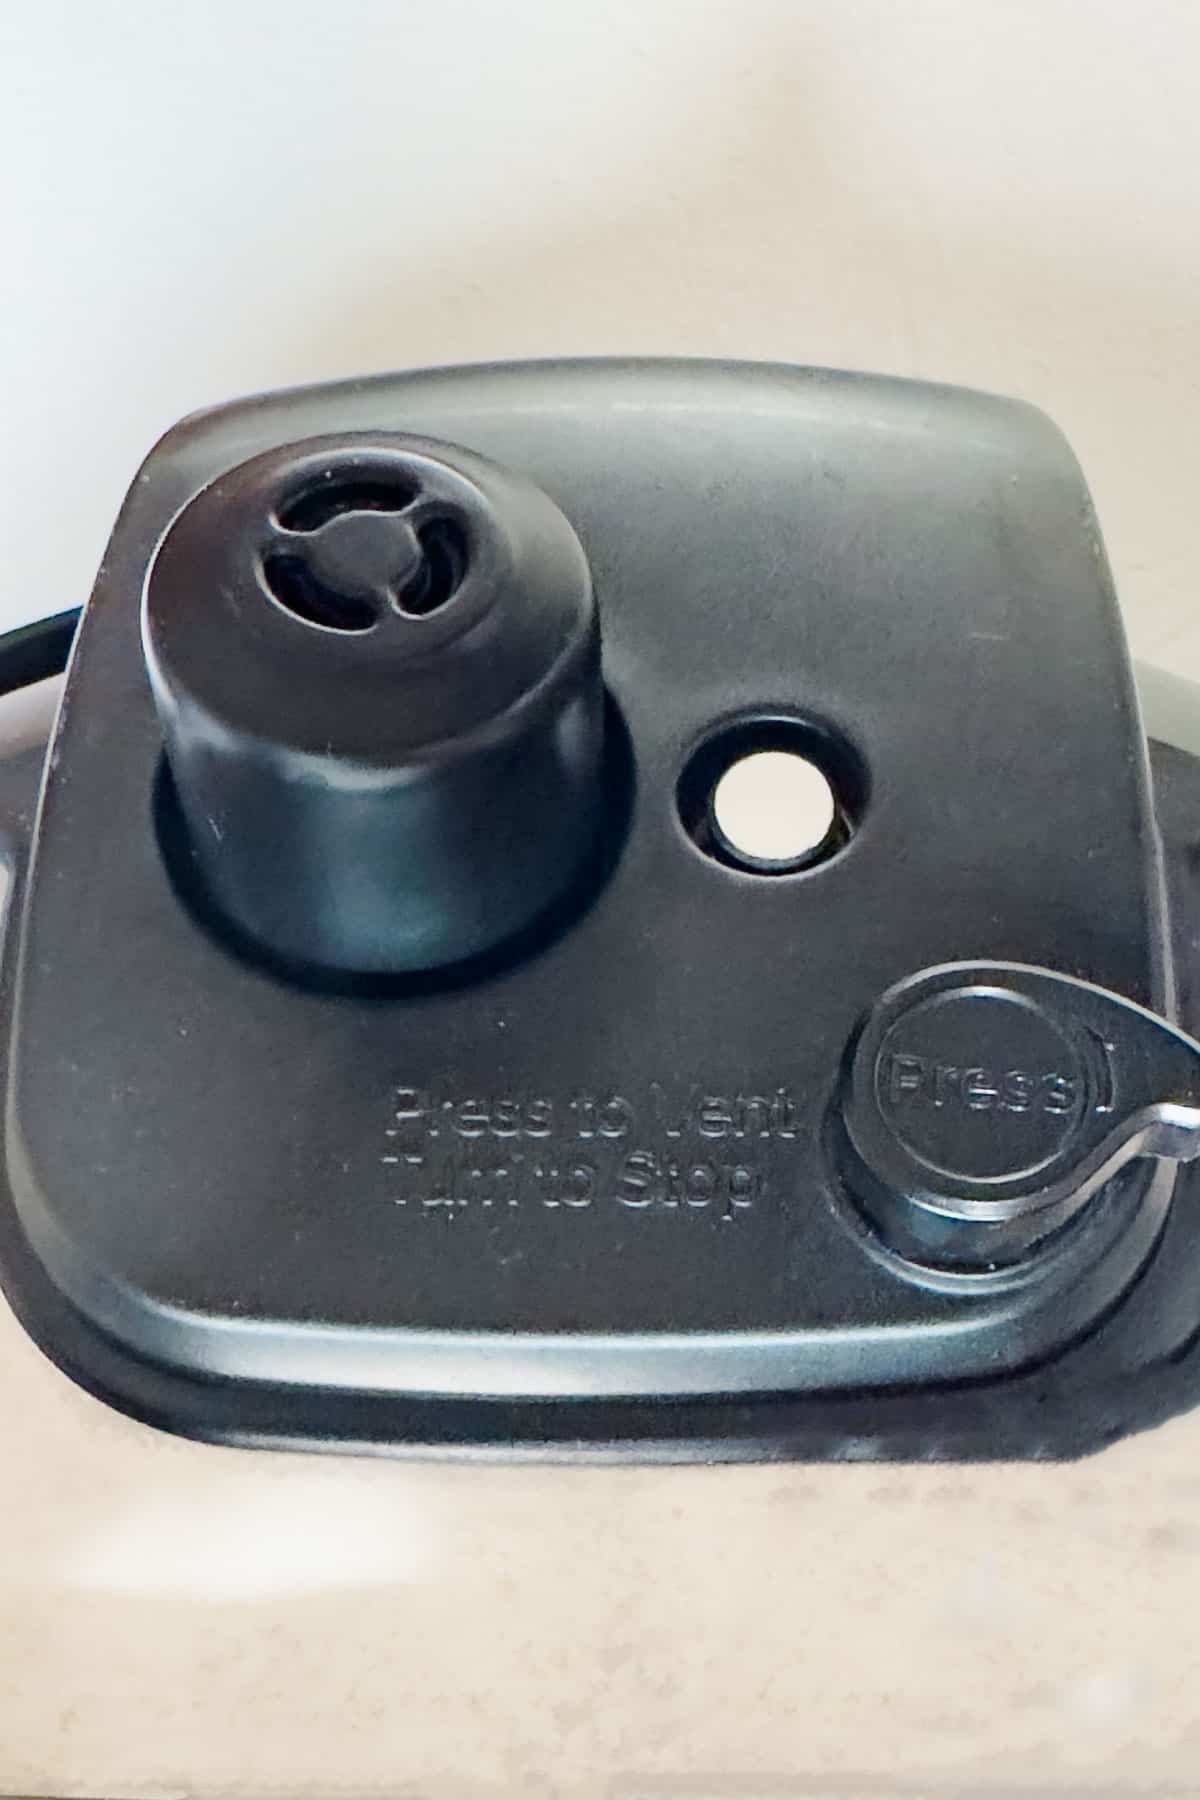
- Cover and Set: Place the lid on the Instant Pot and ensure the valve is turned to 'vent.'
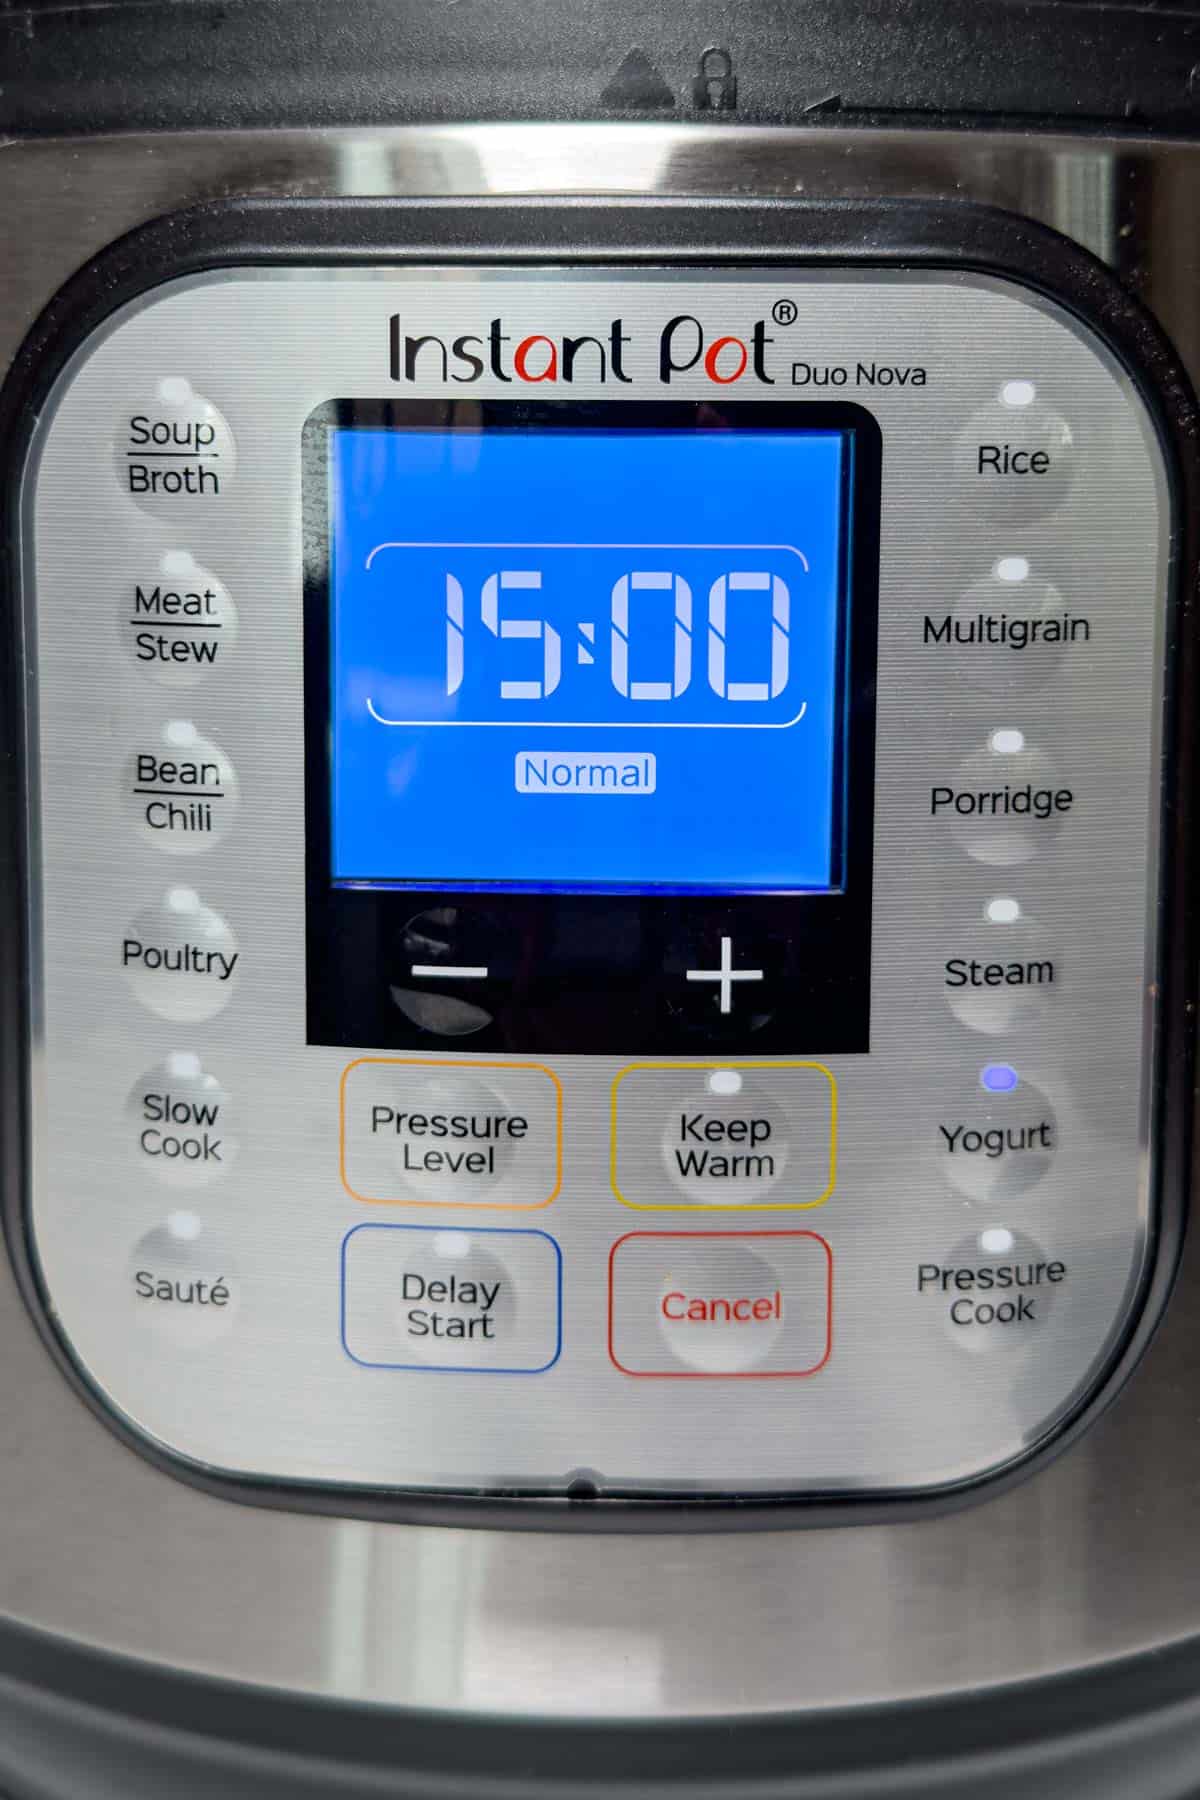
- Press the 'yogurt' button on the Instant Pot and set the timer for 15 hours.
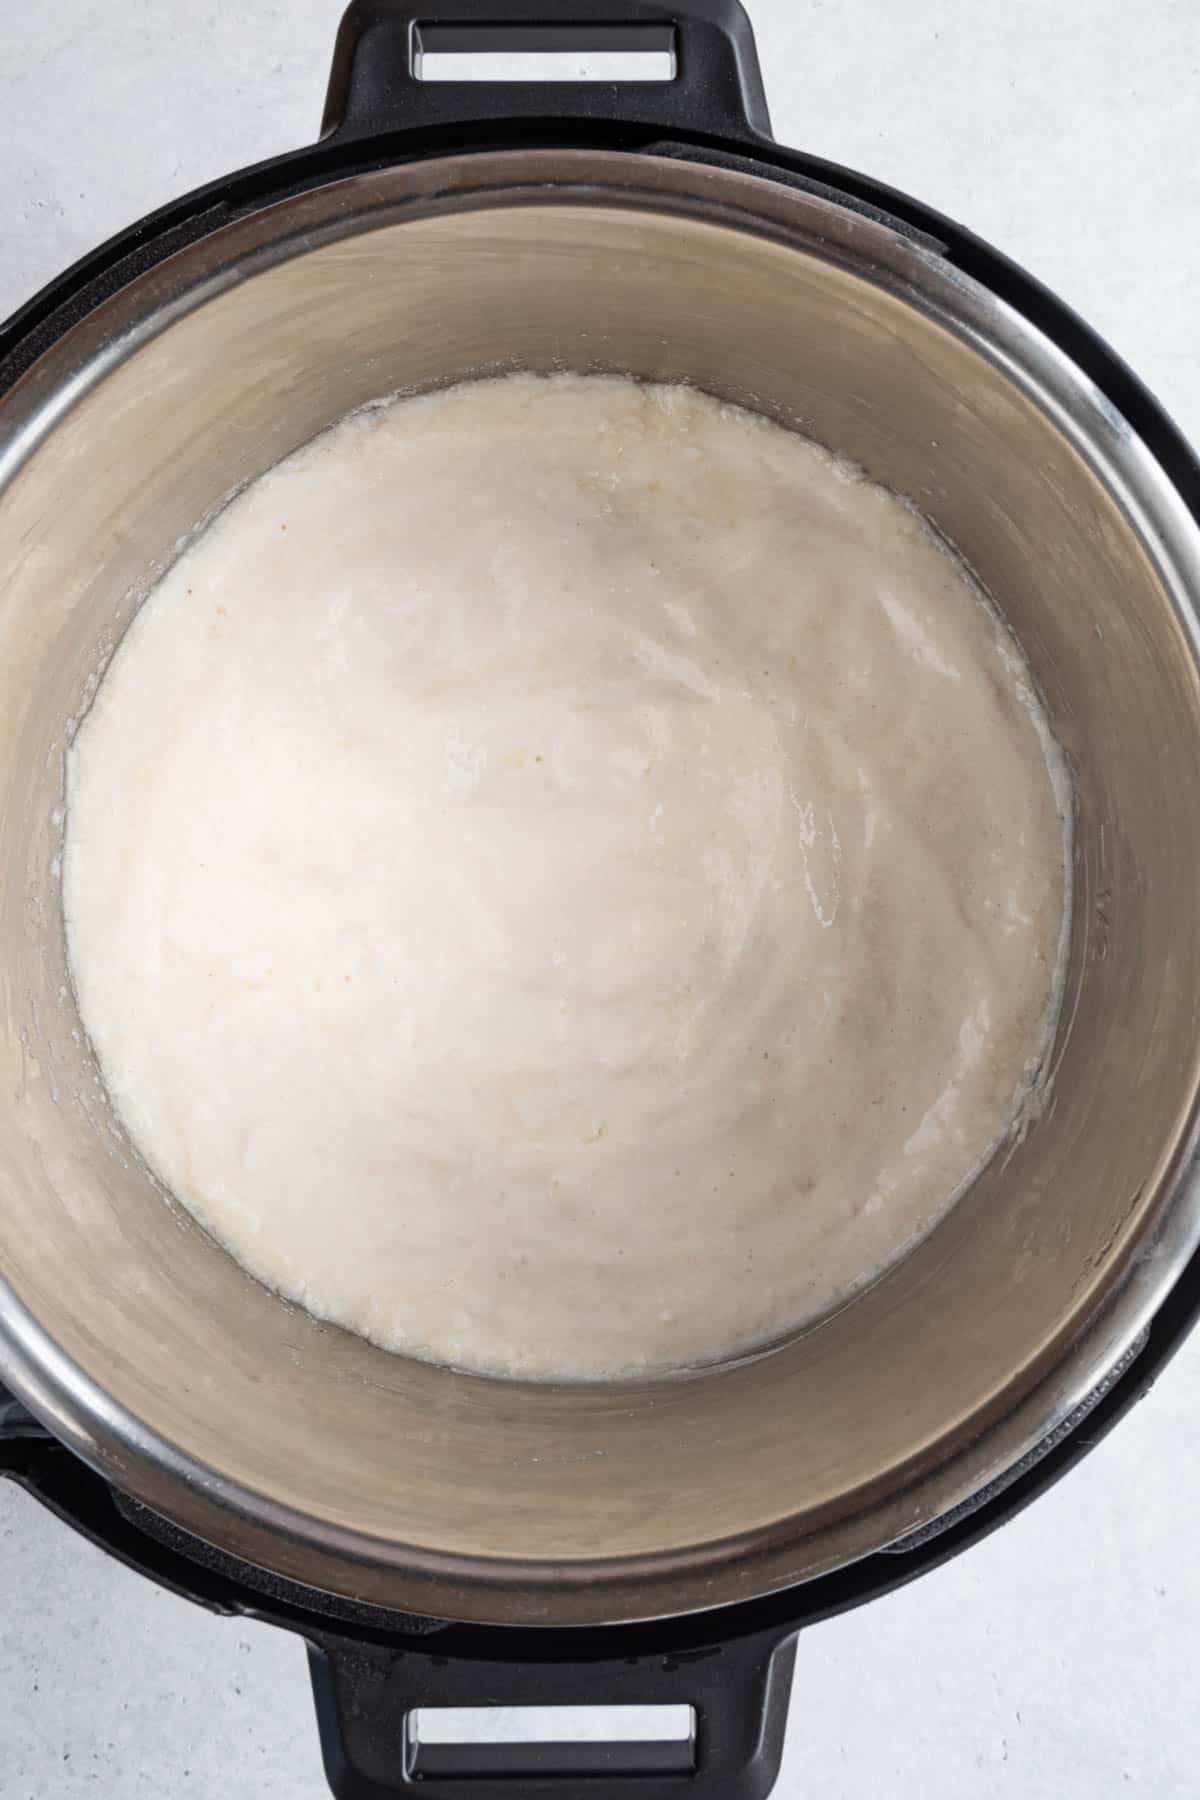
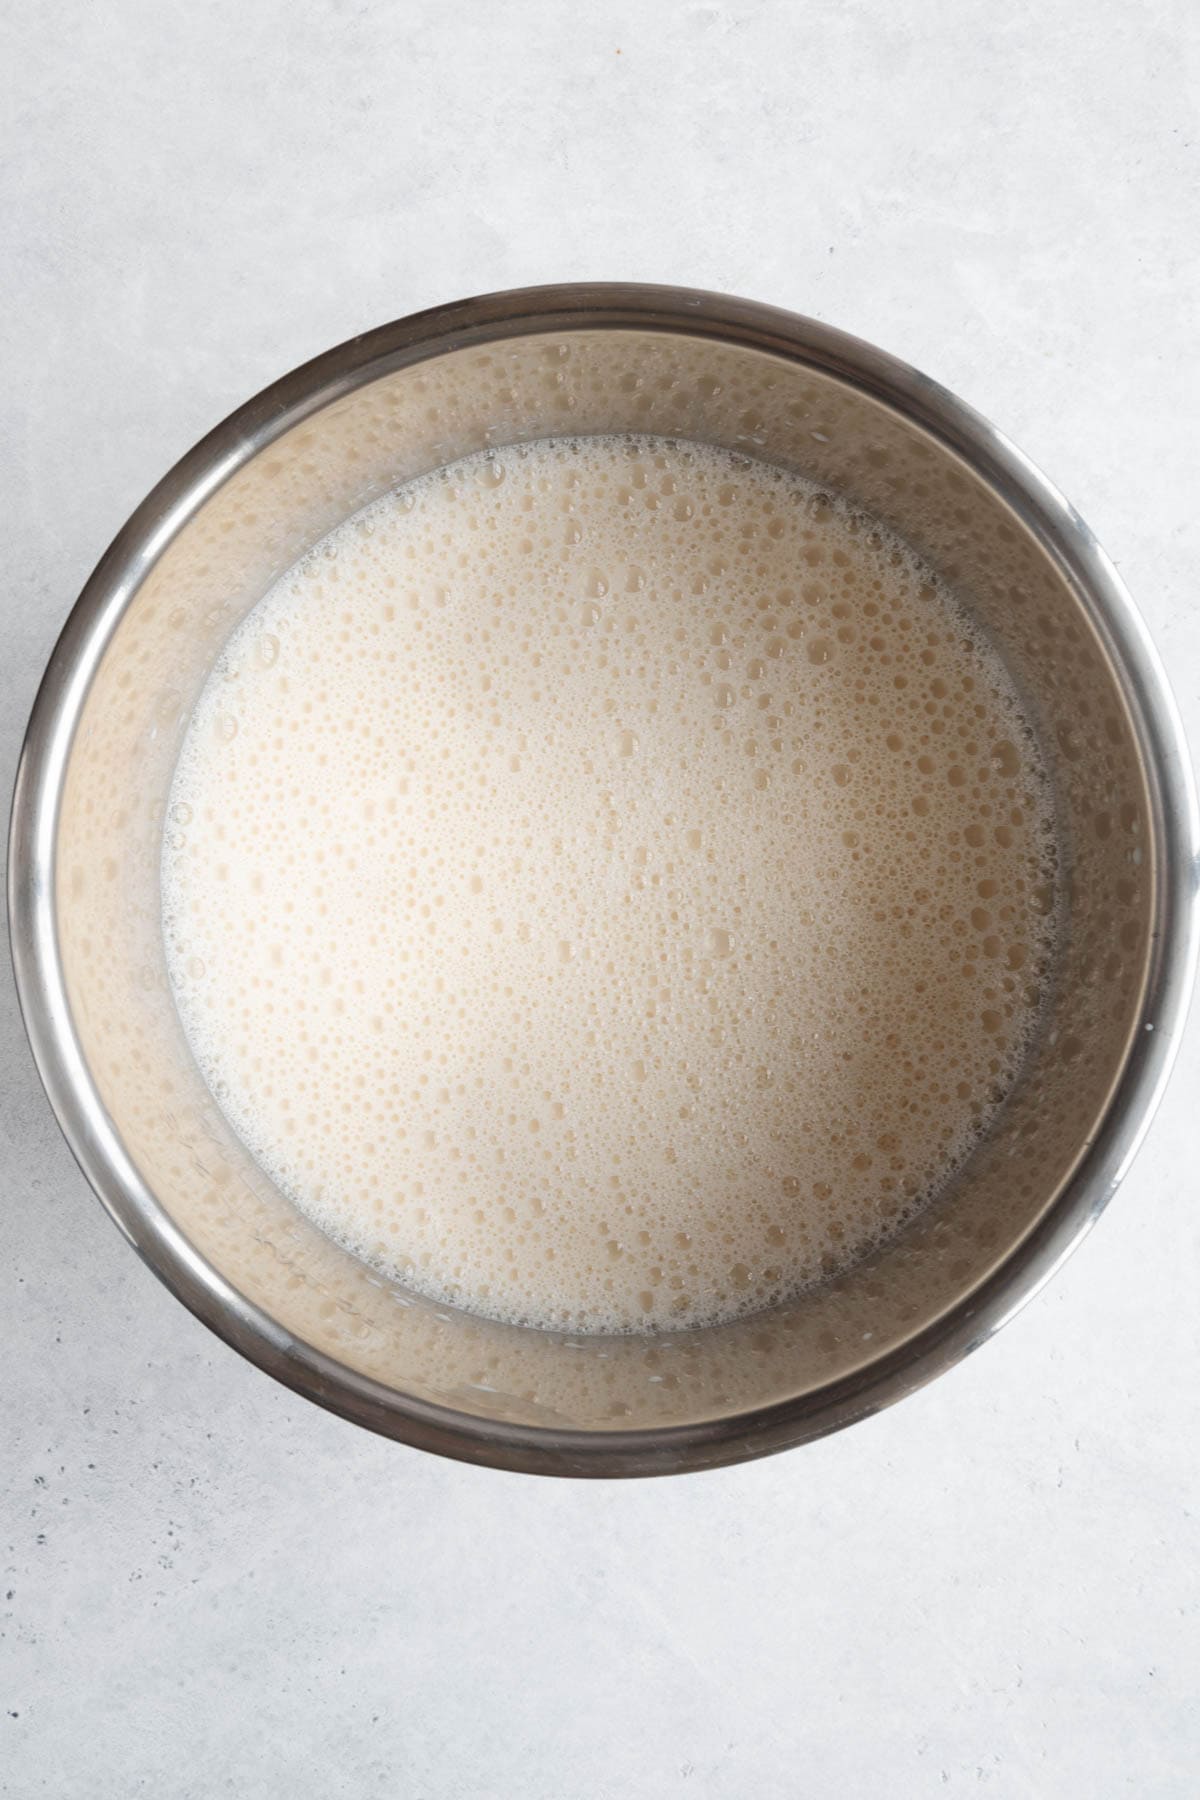
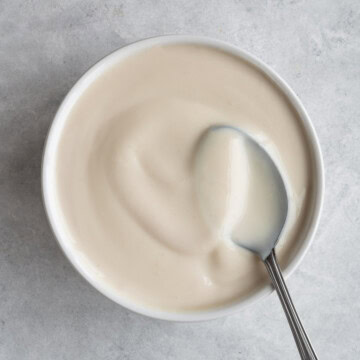
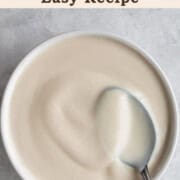
- After 15 hours, your soy milk will have transformed into thick, creamy, vegan soy yogurt. Open the lid of the Instant Pot and flip it over quickly to capture any condensation at the top of the lid.
- Use a large spoon to remove any liquid formed at the top. (Optional: Whisk well for an even consistency.)
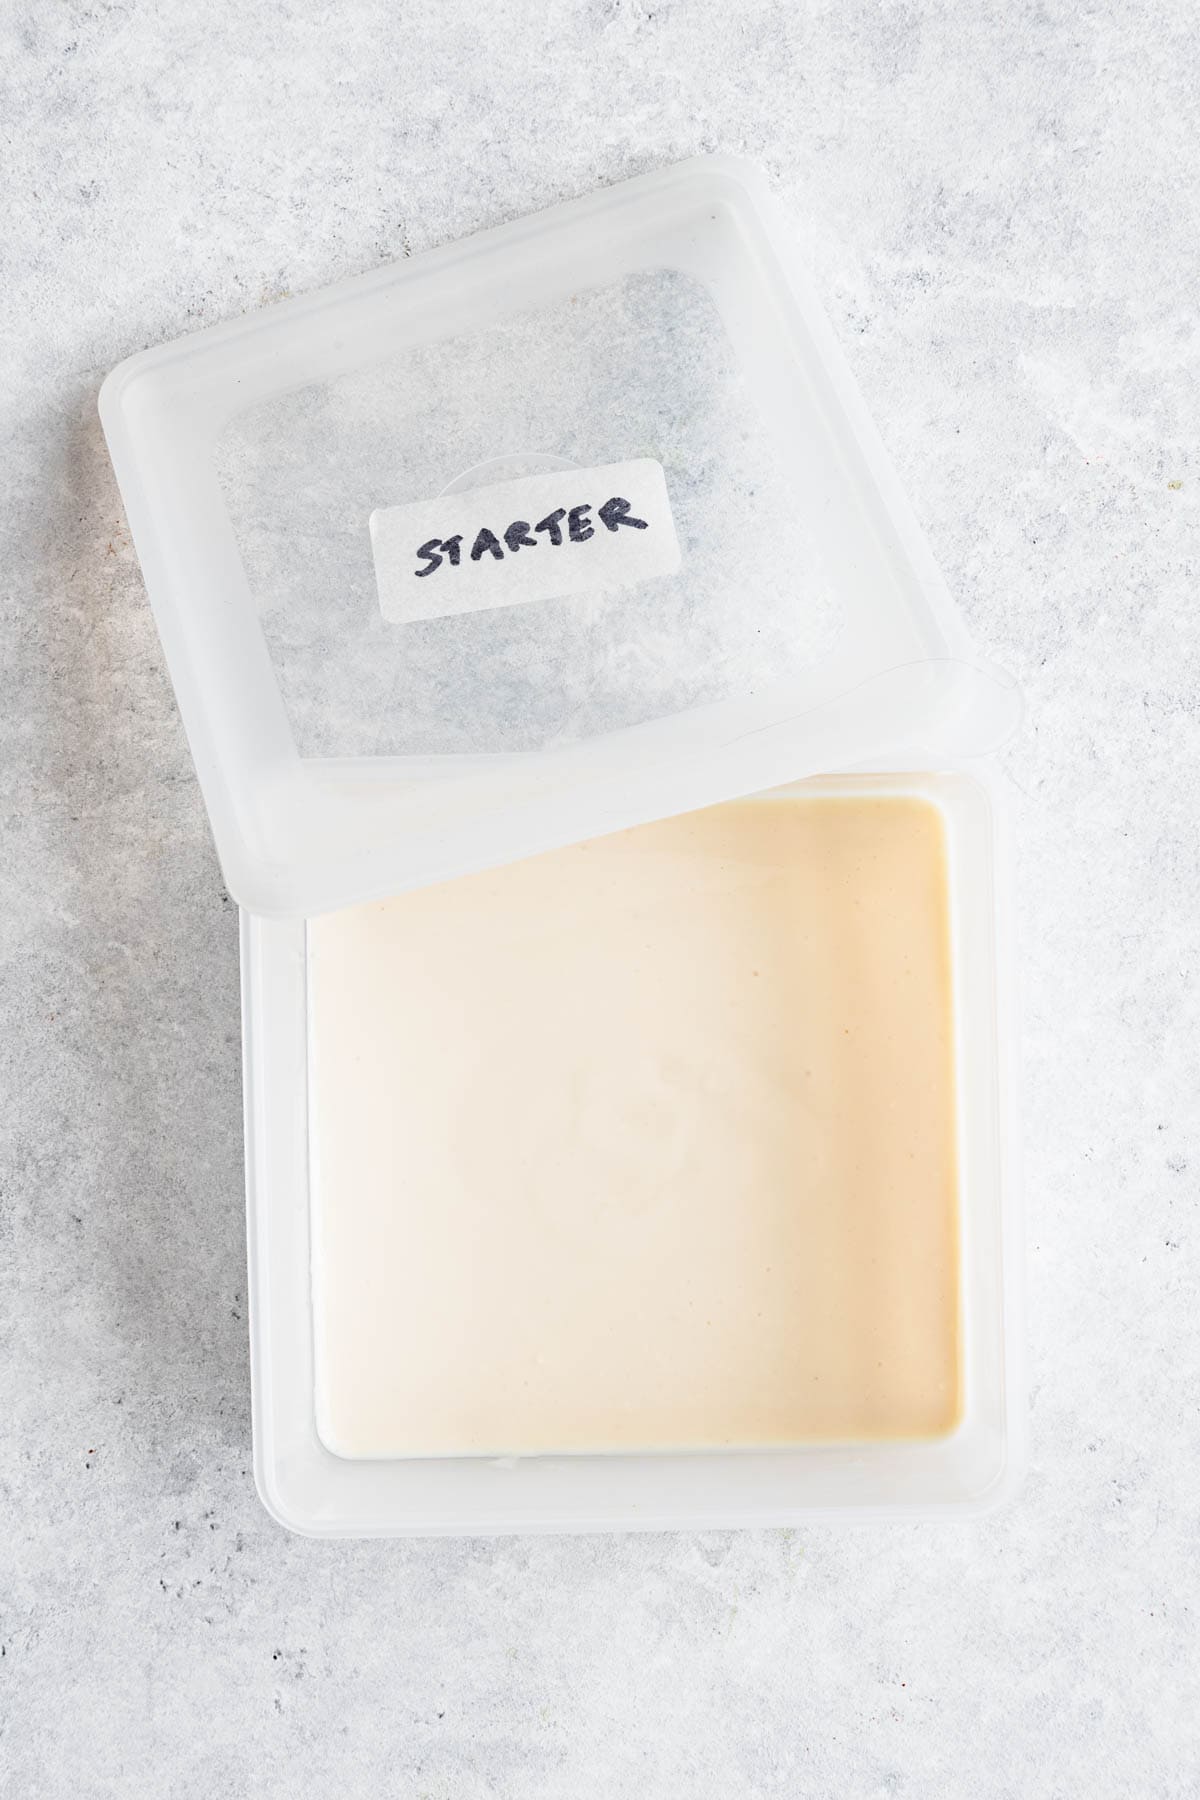
- Remove ½ cup of the yogurt to use as a starter for the next batch of yogurt. Store it in a clean, sealed container to maintain potency and freshness.
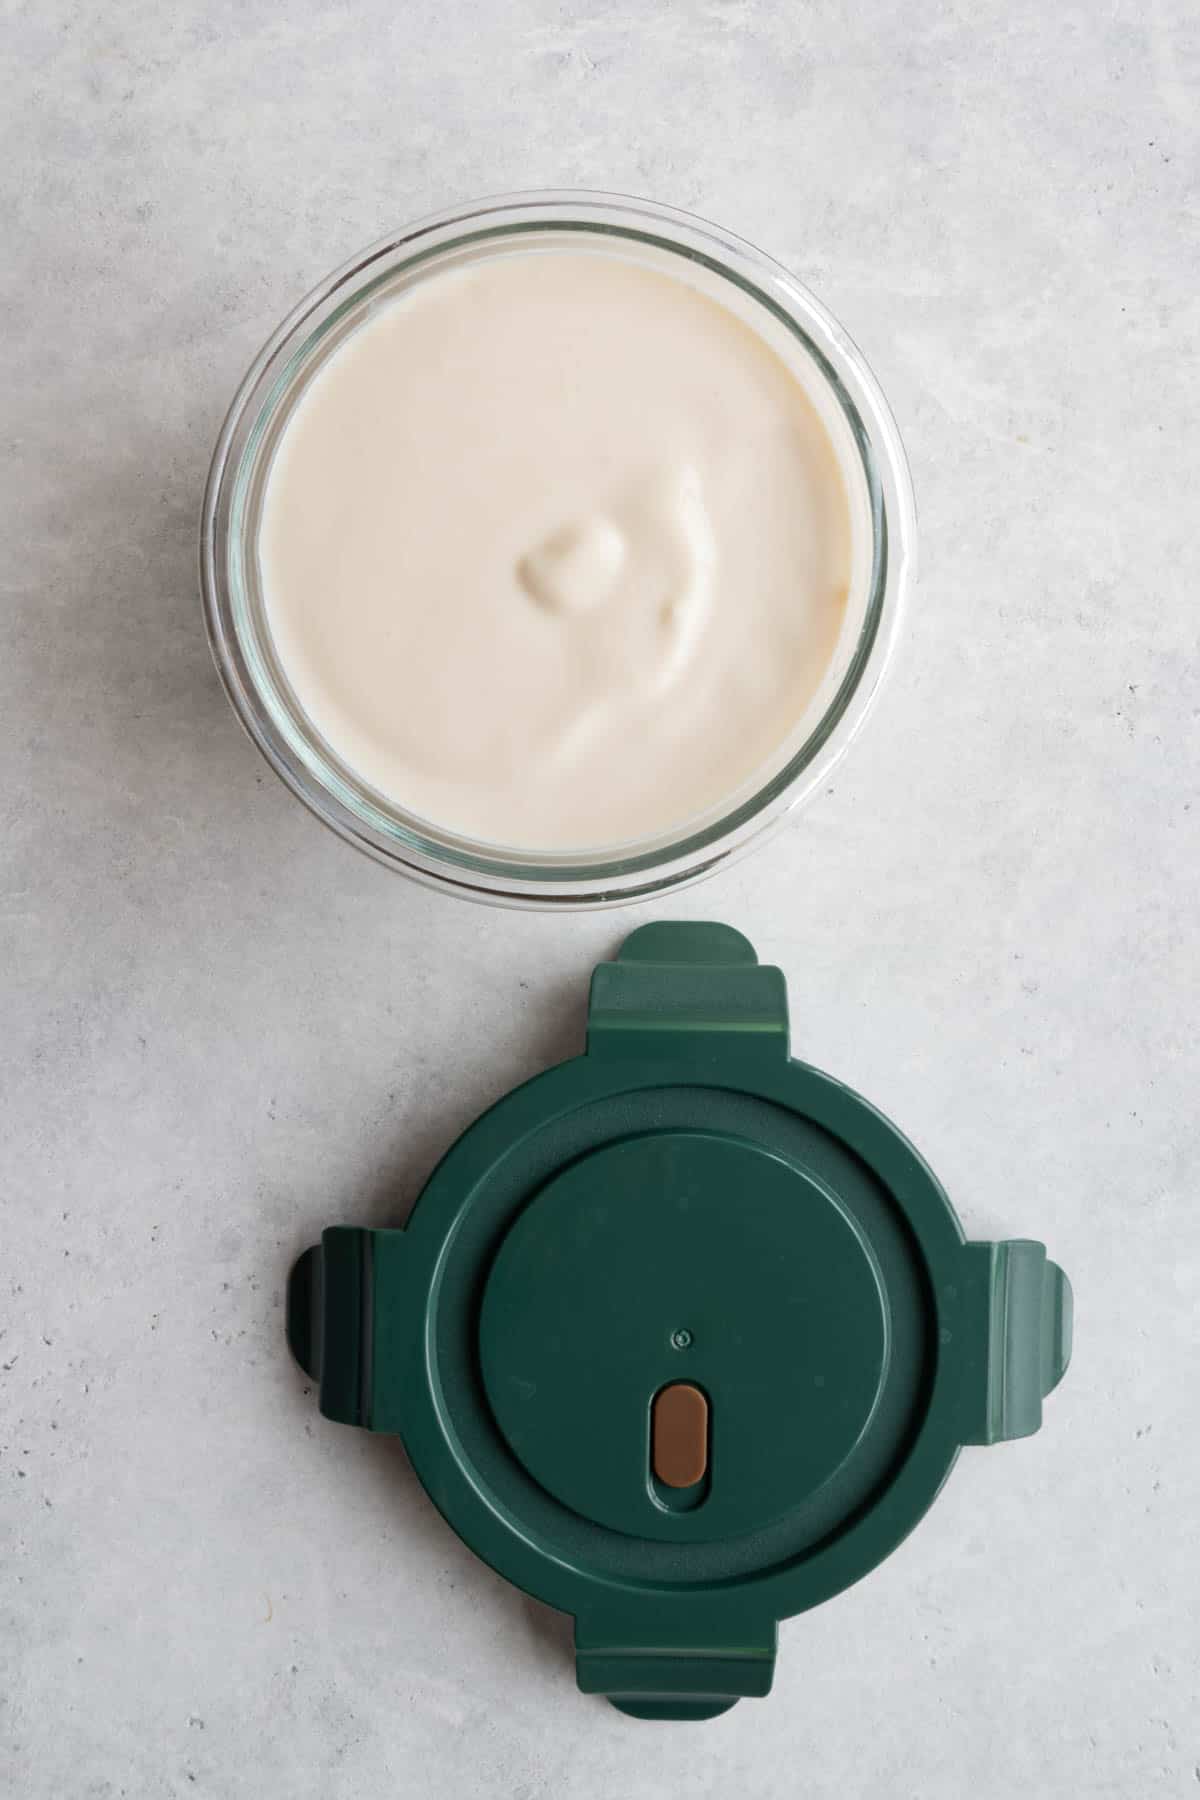
- Transfer the remaining yogurt to airtight containers.
- For serving: Grind chia seeds to top the soy milk yogurt to boost omega 3s. Add homemade protein powder for a delicious high-protein snack. Serve with fruit and your choice of sweetener. Or use plain soy yogurt in recipes. Add some to healthy vegan dal, chana saag, easy Vegan Butter Chicken, or vegan curries.
🫕 Instant Pot Soy Yogurt Without the Yogurt Setting
The yogurt setting on an Instant Pot incubates milk to make yogurt by keeping it at a constant temperature between 112° and 115° F. This allows bacteria in a starter to multiply and thicken the milk into yogurt.
Pour the soy milk from the sealed container into the clean inner pot of the Instant Pot. Heat your milk to the correct temperature (around 112°F) using the 'normal' cooking setting, then add your yogurt starter and let it sit on the 'warm' setting overnight to ferment, ensuring the lid is slightly vented to allow steam to escape; you can monitor the temperature with a thermometer to ensure it stays within the ideal range for yogurt culturing.
Alternatively, pour the soy milk from the sealed container into the clean inner pot of the Instant Pot. Turn on the sauté setting. Bring the milk to 112°F to 115°F. Check the temperature using an instant-read thermometer. (If the milk is too warm, it will kill the probiotics.) Stir in the probiotic powder. Whisk to combine. Place the lid on, and seal with the valve set to 'vent' to allow humidity to escape. Cover completely with a large blanket and wrap it tightly. Leave it for 8 to 15 hours, depending on the desired tanginess and thickness.
🎛️ 2. Oven Method
Use the same quantities listed in the recipe.
Prepare the Soy Milk: Pour the sealed unsweetened plain soy milk into a clean pot or container.
Add the Starter: For the first batch, mix in the powder from vegan probiotic capsules. If using a starter yogurt (from a previous batch or store-bought vegan yogurt), add ½ cup of starter per 32-ounce carton of soymilk (or 2 to 3 tablespoons per cup of soy milk). Stir gently to distribute the starter evenly.
Fermentation: Using an Oven: Preheat the oven to the lowest temperature for 10 minutes. Then turn it off and keep the door closed. Pour the mixture into clean jars and place them in the oven with the light on for gentle warmth. Let them ferment for 8-12 hours, or longer for a tangier taste.
Chill and Set: After fermentation, transfer the yogurt to the fridge for at least 2 to 3 hours to fully set and thicken.
Enjoy: Your homemade soy yogurt is ready to enjoy plain, with toppings, or in recipes. Remember to save a small amount as a starter for your next batch!
3. Yogurt Maker
Follow the recipe as written and set the yogurt maker temperature to 112ºF and the time to 15 hours.
- Add the soymilk & starter: For your first batch, empty the contents of the new sealed carton of soy milk and probiotic capsules into a clean bowl. (For subsequent batches, add ½ cup of yogurt from the previous batch as the starter.) Stir gently but thoroughly to distribute the bacteria evenly.
- Pour into Yogurt Maker Jars:
Divide the soy milk mixture evenly among the jars that come with your yogurt maker. - Set the Yogurt Maker:
Place the jars into the yogurt maker and close the lid. Turn on the yogurt maker and set it to incubate for 12 to 15 hours, depending on your desired tanginess. For a stronger flavor and more probiotics, let it ferment for up to 15 hours. - Check Consistency:
Once the incubation time is complete, check the yogurt. It should be thickened and slightly tangy. - Chill and Set:
Remove the jars from the yogurt maker, cover them, and transfer them to the refrigerator. Let the yogurt chill for at least 2 to 3 hours to fully set and thicken.
🫙 Why Homemade Yogurt is Healthier Than Store-Bought
- No BPA Leaching: Store-bought yogurts often come in plastic containers that may leach BPA into your food. Homemade yogurt eliminates this concern.
- Naturally Sugar-Free: You control the ingredients, avoiding the added sugars used in many store-bought varieties.
- No Additives or Preservatives: Made with organic soybeans and water.
- Customizable Fermentation: Adjust the fermentation time to achieve your preferred tanginess while boosting beneficial probiotics.
- Clean Ingredients: Enjoy yogurt with simple, wholesome ingredients, free from unnecessary additives or preservatives.
- Easy to Make: With an Instant Pot, making yogurt is quick and convenient, making healthier choices accessible and effortless.
✔️ Expert Tips
- Use a brand-new sealed carton of soymilk to avoid preheating the milk to 180ºF to kill off bacteria. The consistency of the soymilk is important. If the brand used is watery, the yogurt will not set well.
- Starter: For your first batch of soy milk yogurt, use vegan probiotic capsules. After that, use ½ cup of yogurt from each batch as a starter for the next one. Not only does this save you from needing more probiotics, but it also improves the texture and flavor over time. The yogurt prepared with a starter develops an even creamier consistency and tangier taste than the first batch made with the probiotic capsule.
- Tip for Adding Probiotic Capsules: Empty the contents of the probiotic capsule directly into the soy milk, whisking well each time to ensure the probiotics are evenly distributed. This step is key to a successful fermentation process!
- Use an Instant Pot with the yogurt setting for the best results. The other two methods will work, but the results are not as predictable or consistent.
- Instant Pot Tips: Make sure the inner pot is clean before adding the milk. Place the lid on the Instant Pot and ensure the valve is turned to 'vent.' This allows humidity to escape during the fermentation process, helping the yogurt set properly. Once the yogurt is ready, open the lid of the Instant Pot and flip it over quickly to capture any condensation at the top of the lid.
- Start your yogurt at a time when you'll be home 15 hours later to transfer it to the refrigerator. Proper timing ensures the yogurt is chilled promptly for the best flavor and consistency!
- Batch Tip: Consider doubling the recipe to make 8 cups at a time. It's a great way to save time and ensure you have plenty of creamy, tangy yogurt for breakfasts, snacks, and recipes.
- Storage: Use your starter within 10 days to make a fresh batch of soy yogurt. Store it in a clean, sealed container to maintain potency and freshness. Refrigerate soy milk yogurt in an airtight container for up to 7 days.
🛒 Shop Nisha's Yogurt Essentials

Note: As an Amazon Associate I earn from qualifying purchases.
Shop Ingredients
Get my tried and true cooking products here.
🙋🏽♀️ Recipe FAQs
Using an Instant Pot with the yogurt setting is a foolproof way to create perfectly creamy and delicious soy milk yogurt with minimal effort. Beyond yogurt, the Instant Pot is also one of the healthiest tools in the kitchen for cooking vegetables, beans, and other plant-based staples. Its shorter cooking times help preserve nutrients while saving you time, making it an invaluable appliance for anyone focused on health and convenience.
The ideal temperature for incubating yogurt is between 110ºF to 115°F. Temperatures above 120°F can kill the bacteria that turn milk into yogurt, while temperatures below 100°F will not be effective. Keep the yogurt at a consistent temperature of about 112ºF for 12 to 15 hours.
This method should work with other plant-based milks, but I have not tested this. Use a 2-ingredient milk, where water is one of the ingredients. Milk made with just water and a single base ingredient (like soybeans, almonds, or oats) is ideal because it lacks additives like oils, gums, or stabilizers, which can interfere with fermentation.
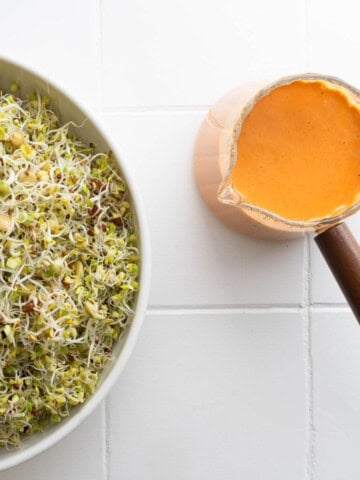
I enjoy topping mine with ground chia seeds for an omega-3 boost and frozen berries for their antioxidant power- a nutritious and flavorful combination. Since the yogurt is naturally tangy, you might prefer to sweeten it to taste. A drizzle of date syrup is my go-to, but for a naturally sweetened option, blend the yogurt with soaked, pitted Medjool dates for a creamy, subtly sweet twist.
To achieve a thicker, Greek-style consistency, strain the yogurt. Line a colander with three layers of cheesecloth, and set it over a bowl to catch the liquid. Pour in the soy yogurt. Let it drain until it reaches your desired thickness. This process removes the excess liquid, leaving you with rich, creamy yogurt perfect for enjoying on its own or in recipes!
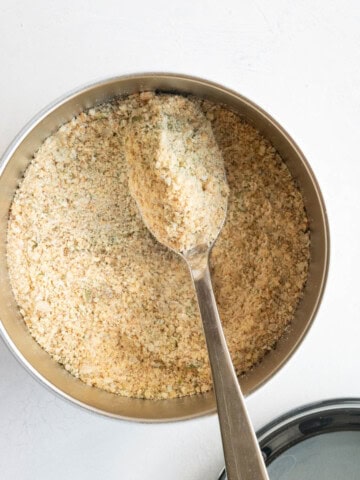
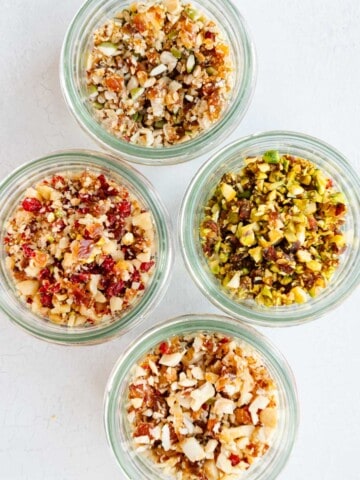
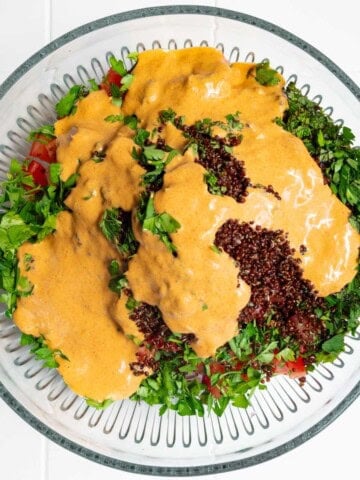
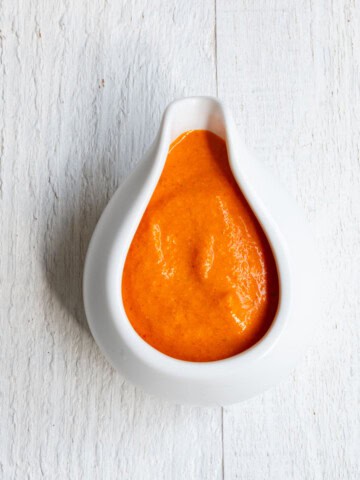
🥄 Healthy Toppings


👩🏽🍳 Made this recipe?
Let me know your thoughts on Soy Milk Yogurt by leaving a ⭐️ rating below or sharing it on Instagram.
Soy Milk Yogurt
Ingredients
- 32 ounces unsweetened soy milk (use a brand-new sealed carton made with only organic soybeans and water)
- Vegan probiotic capsules Approximately 12 Billion CFUs total (*see notes)
Save This Recipe!
Type your email & I'll send it to you!
EQUIPMENT
- Instant Pot or oven (Instant Pot yogurt setting preferred)
Instructions
Instant Pot (preferred method):
- Step 1: Pour a brand-new sealed 32-ounce container of plain, unsweetened soy milk into a clean Instant Pot inner pot.
- Step 2: Add your starter-either the probiotic capsule powder for the first batch or ½ cup of yogurt from a previous batch. (See notes for quantity of probiotics.)
- Step 3: Stir gently to combine the starter and soy milk.
- Step 4: Place the lid on the Instant Pot and ensure the valve is turned to 'vent.' Press the 'yogurt' button and set the timer for 15 hours.
- Step 5: After 15 hours, your soy milk will have transformed into thick, creamy, vegan soy yogurt. Open the lid of the Instant Pot and flip it over quickly to capture any condensation at the top of the lid.
- Step 6: Use a large spoon to remove any liquid at the top (Optional: Whisk well for an even creamy consistency.)
- Step 7: Remove ½ cup of the yogurt to use as a starter for the next batch of yogurt. Store it in a clean, sealed container to maintain potency and freshness. Then transfer the remaining yogurt to airtight containers.
Oven Method (use the same quantities listed in the recipe):
- Pour the unsweetened, brand-new carton of plain soy milk into a clean pot or container.
- Add the Starter: For the first batch, mix in the powder from vegan probiotic capsules. If using a starter yogurt from a previous batch, add ½ cup starter per 32-ounce carton soymilk (or 2 to 3 tablespoons per cup of soy milk). Stir gently to distribute the starter evenly.
- Fermentation: Using an Oven: Preheat the oven to the lowest temperature for 10 minutes. Then turn it off and keep the door closed. Pour the mixture into clean jars and place them in the oven with the light on for gentle warmth. Let them ferment for 8 to 12 hours, or longer for a tangier taste.
- Chill and Set: After fermentation, transfer the yogurt to the fridge for at least 2 to 3 hours to fully set and thicken.
- Enjoy: Your homemade soy yogurt is ready to enjoy plain, with toppings, or in recipes. Remember to save a small amount as a starter for your next batch.
Notes
Nutrition
This information is provided as a courtesy and is only an estimate. Nutritional values may vary depending on factors such as product types and brands used.
Jacki says
Hi! Thank you for a clean and healthFUL yogurt!! Are your nutrition estimates per serving?
Nisha Melvani, RDN says
Thank you. Yes, per serving.
Anne says
Hello!! I have followed this recipe exactly and used my instant pot for the yogurt. I'm on my 4th batch now and am using 1/2 cup starter from my prior batch and the Trader Joe's 32 oz unsweetened Soy Milk and put it in my instant pot for 15 hours. It's coming out more like a soft yogurt, a little grainy, and quite sour that's not pleasant. Am I doing something wrong?
Nisha Melvani, RDN says
Hello!! It actually sounds like the fermentation is working — maybe a little too well. The sourness is likely from the long 15-hour incubation time and repeatedly using starter from previous batches. Over generations, the cultures can shift and become more acidic and less creamy. A few things I would try: reduce the incubation time to about 8–10 hours, start fresh with a new store-bought yogurt starter every few batches, make sure you are using the shelf-stable Trader Joe’s soy milk (the one with just soybeans and water), refrigerate it fully before judging the texture since it thickens more as it chills. The slight graininess can also happen if the starter is not fully mixed in or if the yogurt gets overly acidic. It should taste pleasantly tangy, not sharply sour.
Chrystal says
Hi Neisha,
I tried this recipe, and I love it so much!!! Also, thank you for the response to my question a few months ago. My daughter loves the yogurt.
I want to double my batch, that is, use 64oz of milk. Do I still use 0.5 cups of starter, or would I need 1 cup of starter?
Nisha Melvani, RDN says
So glad you tried it and loved it—and I’m happy to hear your daughter loves the yogurt too! If doubling to 64 oz, you likely do not need a full cup of starter. 1/2 cup often works well, though you can use up to 3/4 cup for a faster or more reliable set.
Good grief says
🙈
I continue to make this harder for myself apparently.
I mistakenly bought probiotic CAPLETS instead of CAPSULES ! ( no wonder they were cheaper ).
Can I crush them and make a slurry to add to the milk?
Nisha Melvani, RDN says
Hi.Caplets are compressed with binders and fillers (starches, gums, coatings). These can interfere with fermentation or create odd texture/flavor.
lois says
Oops … I get it now 12 billion divided by whatever number each capsule is =
In my case 6 capsules 👍
lois says
I can’t find how many capsules to use for a 32 oz of soy milk. .. for the stove method.
Nisha Melvani, RDN says
Feel free to email me for help. Nisha
Chrystal says
Can I give this to my 4-year-old since it has the probiotics?
Nisha Melvani, RDN says
If there’s no immune condition or serious gut issues, yogurt-based probiotics are considered very safe for young children. As long as the milk and tools were clean, the yogurt fermented properly (it should smell pleasantly tangy, not funky or yeasty), was refrigerated after culturing, used within about 5 to 7 days, and introduced in small servings if it’s new. Homemade soy yogurt with added probiotics is generally safe for a four-year-old.
Noelle says
Thanks so much for sharing your recipe. I have been an avid cow milk maker for many years not but am now switching to a plant based diet. So many different techniques. I am excited to try this I noticed you do not strain your yogurt when done. Do you not think it is necessary? 15 hours is definetly longer that what I do for cows milk.
Nisha Melvani, RDN says
You can strain it for a higher-protein Greek-style yogurt. I think this would be good!
kate says
is it ok if I use a soy milk brand that is fortified like the silk brand. the others are more expensive for me to get. would it affect the outcome to much?
Nisha Melvani, RDN says
The additional ingredients in the fortified brands will affect the process and texture.
Luci says
Hi Nisha,
Love your recipes.
I am wondering how one could increase the calcium in this recipe.
Thank you for sharing your great recipes.
Nisha Melvani, RDN says
Hi. You would need to start with calcium-fortified soy milk, but I am not sure how well it would set.
Tina says
Hi Nisha, this recipe worked great. I'm in the UK so it took me experimenting with a few different soy milks until I hit gold. While I was using a milk that only has soybeans and water, it wasn't until I found a brand that was particularly high in protein/fat that it turned out really nice and thick (I can't get the brands you suggest over here!). Figured I'd mention in case anyone else was experiencing similar thinness/outside of the USA (I used Sojade high protein soy milk). On another note, you mention that 12 billion CFUs probiotic for the 1L of milk but then also mention that for the probiotic you recommend, that equals 5 capsules. However, 5 capsules is only 6 billion CFUs (it's 2.4 bil per serving BUT a serving is 2 capsules, not 1). I was able to get the same probiotic so I went by your recommendation of 5 capsules (I actually used 8 as I did 1.5x the recipe) and it turned out well but I'm wondering if it would be even better if I did the full 12 billion/1L. In any case, can you clarify if it is 12 billion CFUs per 1L or 5 of the capsules that you recommend (which is actually only 6 billion) and you also may want to update your blog with this clarification. Apologies for the long message. Thank you so much!
Nisha Melvani, RDN says
Thank you for sharing this. It will help others in your situation.
Tina says
Absolutely, happy to share. What do you think about the CFUs? For the brand you recommend, is it 5 capsules (6 billion CFUs) or 10 capsules (12 billion CFUs)? Thank you for your recipes and help!
Nisha Melvani, RDN says
Go with about 12 billion CFUs total for the first batch. That means 5 capsules if yours are ~2.4B each, or 10 capsules if they’re ~1.2B each
Dina says
I absolutely love this recipe. It works every time! I happen to have a yogurt maker so I follow the oven method but instead put it in the individual jars and place it in the incubator! I tried adding coconut extract this time since I love this flavor and can never find it by me. I just did one tsp and the flavor is subtle. Wonder if I could add more? Or would it throw off the fermentation process??
Nisha Melvani, RDN says
I have not tested an extract but it sounds like a good idea. You might want to ferment first, then stir in the extract after the yogurt has set and chilled. Alcohol-based extracts may inhibit bacterial growth if added in large amounts.
Kristin H DeMarco says
Hi - Silly question but do you refrigerate the starter?
Nisha Melvani, RDN says
You mean the starter you save for the next batch? Yes.
Valerie V Kurtz says
Aloha Nisha!
I've made this soy yogurt several times with great success. However, I'm wondering if my latest batch is okay to eat. I set the timer on a yogurt maker to 15 hours and let it do it's thing overnight, thinking it would stay warm after the 15 hours were up. Unfortunately it didn't and my yogurt is room temp this morning. It looks perfect, but is it still okay to eat if it was left sitting out for several hours after the warming function turned off?
Thank you!
Nisha Melvani, RDN says
Hi. If your soy yogurt looks and smells normal (tangy, not sour or off), it’s likely still safe to eat. Most non-dairy yogurts, especially soy-based, are fairly resilient once the culturing process is complete. That said, food safety guidelines recommend refrigerating yogurt shortly after incubation ends. Leaving it at room temp for several hours may slightly increase the risk of unwanted bacteria growth, depending on how warm your kitchen is. If it’s been less than 6–8 hours and the yogurt still looks and smells fine, I’d personally feel okay eating it—but use your best judgment. If anything seems off, it’s safer to start a new batch.
Jacqueline Christie says
This is my 6th time making! Works perfectly in my InstaPot. Absolutely love how it gets creamier after each batch. I have been using Eden Soy Milk very clean and few ingredients. Thank you!!!
Nisha Melvani, RDN says
Yes they make a great milk! Thank you.
Valerie says
Will the recipe work with a fortified soy milk? (It's all I can find.) If not, I can order from Amazon, but wanted to check first. Thank you!
Nisha Melvani, RDN says
For best results, use a soy milk with only soybeans and water!
Adrianne Rowe says
Easy to make. I love how easy it was to make.
I put the prebiotic right in the container and shook it up, as someone suggested. I also placed the yogurt into small glass containers with covers inside my instapot. It tasted more sour than I wanted. What could've caused the sourness? Could it be because I put it into smaller containers. I followed everything else the same. Thank you.
Nisha Melvani, RDN says
The sourness is from the fermentation. It is typically a good sign! This might have been more concentrated if you let it ferment for longer?
Dion Freeman says
Can you use coconut milk Indus if soy? I am allergic to soy products.
Thank you
Nisha Melvani, RDN says
Yes! Use a brand new carton of creamy consistency.
Carmela Warner says
Hi Nisha!
I’ve made this recipe now several times and it works great in my instant pot. The starter just keeps giving! One question remains though: what is the shelf/fridge life of a batch? Thank you!
Nisha Melvani, RDN says
Hi. Thank you for letting me know! For re-culturing, it's best to use the yogurt within 7 days to make a new batch.
Vera says
Hi Nisha, I tried the recipe now several times using the instant pot. I used store bought organic soy milk without additives, I tried it with a yoghurt starter, I tried it with probiotic capsules and with a cup of my favourite store bought organic soy yogurt which comes without additives (Sojade): it stayed watery every time. 15 hours, kept to the recipe… used the yogurt function of the instant pot. What can I do? Thanks in advance for your help!
I still rate it with 5 stars as it sounds so easy to make and obviously tastes good when done rightly!
Nisha Melvani, RDN says
Hi. I am not sure why this is the case as it has worked for me and other several times. I am thinking the soymilk you are using is thinner than mine. Are you able to get the same brand? Otherwise I am going to have to create one starting form fresh soybeans! Thsi way we all start form the dame consistency.
Carmen says
In my case, the Yogurt setting on my Ninja includes a period of boiling! So I was killing my culture without realizing. I had to manually SKIP the boiling part of the yogurt setting and then set for the fermentation time only (I do 10-12 hours). I finally got real yogurt!!
Nisha Melvani, RDN says
Thanks for sharing!
Carol Bevivino says
If I want to make a double batch, do I also double the starter? Would I put in 1 cup of starter yogurt per 64 ounces of soy milk? Thank you.
Nisha Melvani, RDN says
Double the soy milk and keep the starter the same.