
Big nutrition for very few calories.
Learn how to sprout seeds at home in just a few minutes a day. This step-by-step guide covers soaking, rinsing, storing, and troubleshooting, plus exactly how long different sprouts take to grow. Sprouts are one of the most nutrient-dense foods you can eat. They're inexpensive, incredibly easy to grow, and ready in as little as three days.

Save This Recipe!
Type your email & I'll send it to you!
Jump to:
- 👩🏽⚕️ Why I Love Sprouting
- 🍃 Why Sprout Seeds at Home?
- 🦠 Are Homegrown Sprouts Safe to Eat?
- 🌱 What You'll Need
- 🛒 Shop Jars, Sprouts & Basics
- 📝 How to Sprout Seeds at Home to Eat
- 🫙Type of Seed and Amount
- 👩🏼🌾 Harvesting Your Homegrown Sprouts
- ⏲ Sprouting Times
- 🫛 My Best Tips for Successful Sprouting:
- 🥗 Sprout Salad Dressings:
- 🙋🏽♀️ Sprouting FAQs
- 📽️ Watch How to Make Sprouted Hummus
- Sprouted Hummus Recipe
- 👩🏽🍳 Sprouted Seeds?
- 💬 Comments
👩🏽⚕️ Why I Love Sprouting
I've been sprouting for about two years, and it's become one of my favorite ways to always have fresh, homegrown produce on hand. It takes less than two minutes of hands-on time each day, and the results are well worth it.
I've also found that using these jars has made the process incredibly reliable. Good drainage and airflow are the two biggest factors in preventing mold, and since switching to these jars, I haven't had any mold issues.
🍃 Why Sprout Seeds at Home?
Sprouting is one of the easiest ways to grow fresh food right on your kitchen counter.
Benefits include:
- Fresh sprouts in as little as three days
- Extremely inexpensive
- Ready year-round
- No garden required
- Takes just a few minutes each day
- Delicious in salads, sandwiches, wraps, grain bowls, and soups
🦠 Are Homegrown Sprouts Safe to Eat?
Like any fresh food, sprouts should be handled carefully.
For the best results:
- Always use seeds intended specifically for sprouting.
- Wash your jars thoroughly before each batch.
- Rinse and drain sprouts at least twice daily.
- Drain extremely well after every rinse.
- Refrigerate promptly once harvested.
- Discard sprouts that develop a sour smell, slimy texture, or visible mold.
🌱 What You'll Need
You only need a few simple supplies to get started.
- Sprouting jar with a stainless steel filter
- Organic sprouting seeds tested for pathogens and high germination rates (not bulk seeds)
- Fresh water
- Salad spinner
- Storage container
- Unbleached paper towel
🛒 Shop Jars, Sprouts & Basics
10% Off Jars & Sprouts
Use NISHA at checkout for best discount!
📝 How to Sprout Seeds at Home to Eat
Follow these simple steps for fresh, healthy sprouts every time.
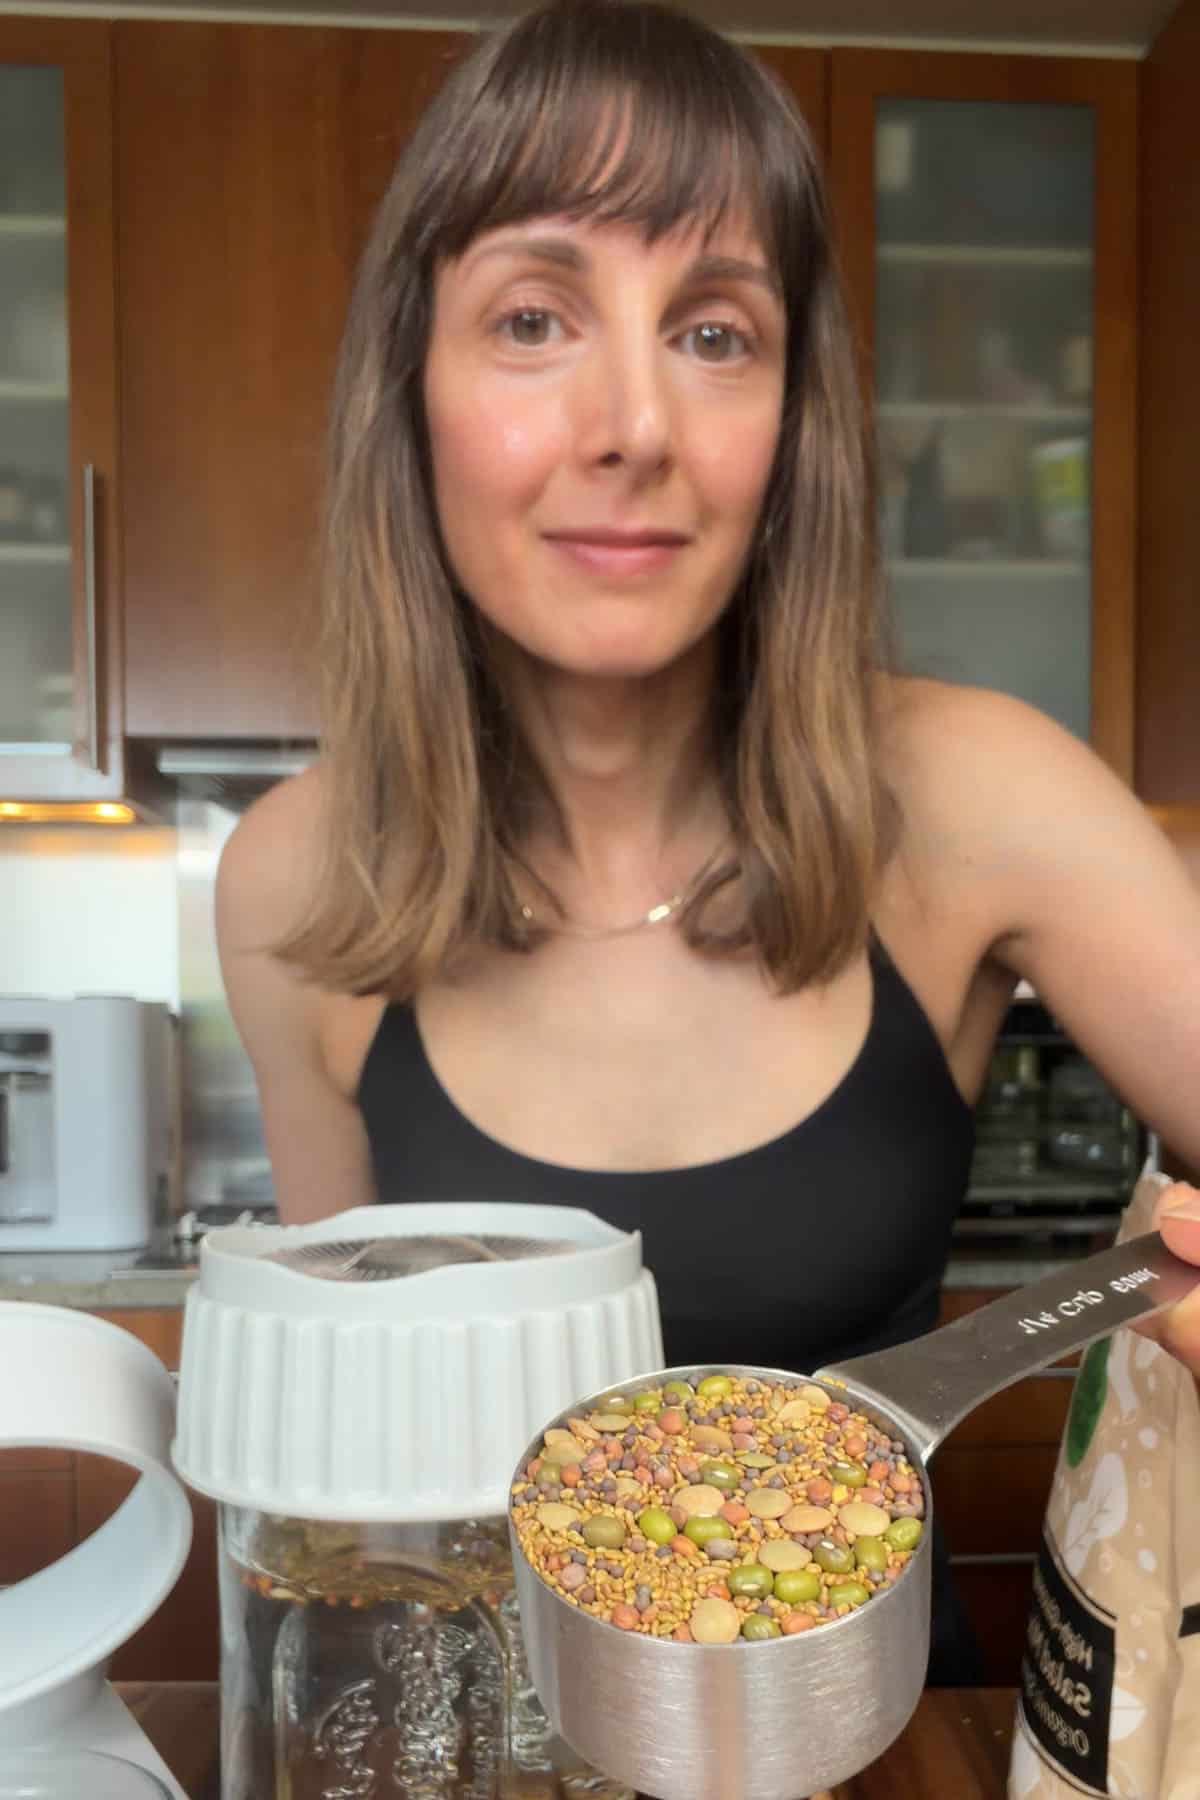
- Measure Your Seeds: Start by measuring your seeds into a clean measuring cup.
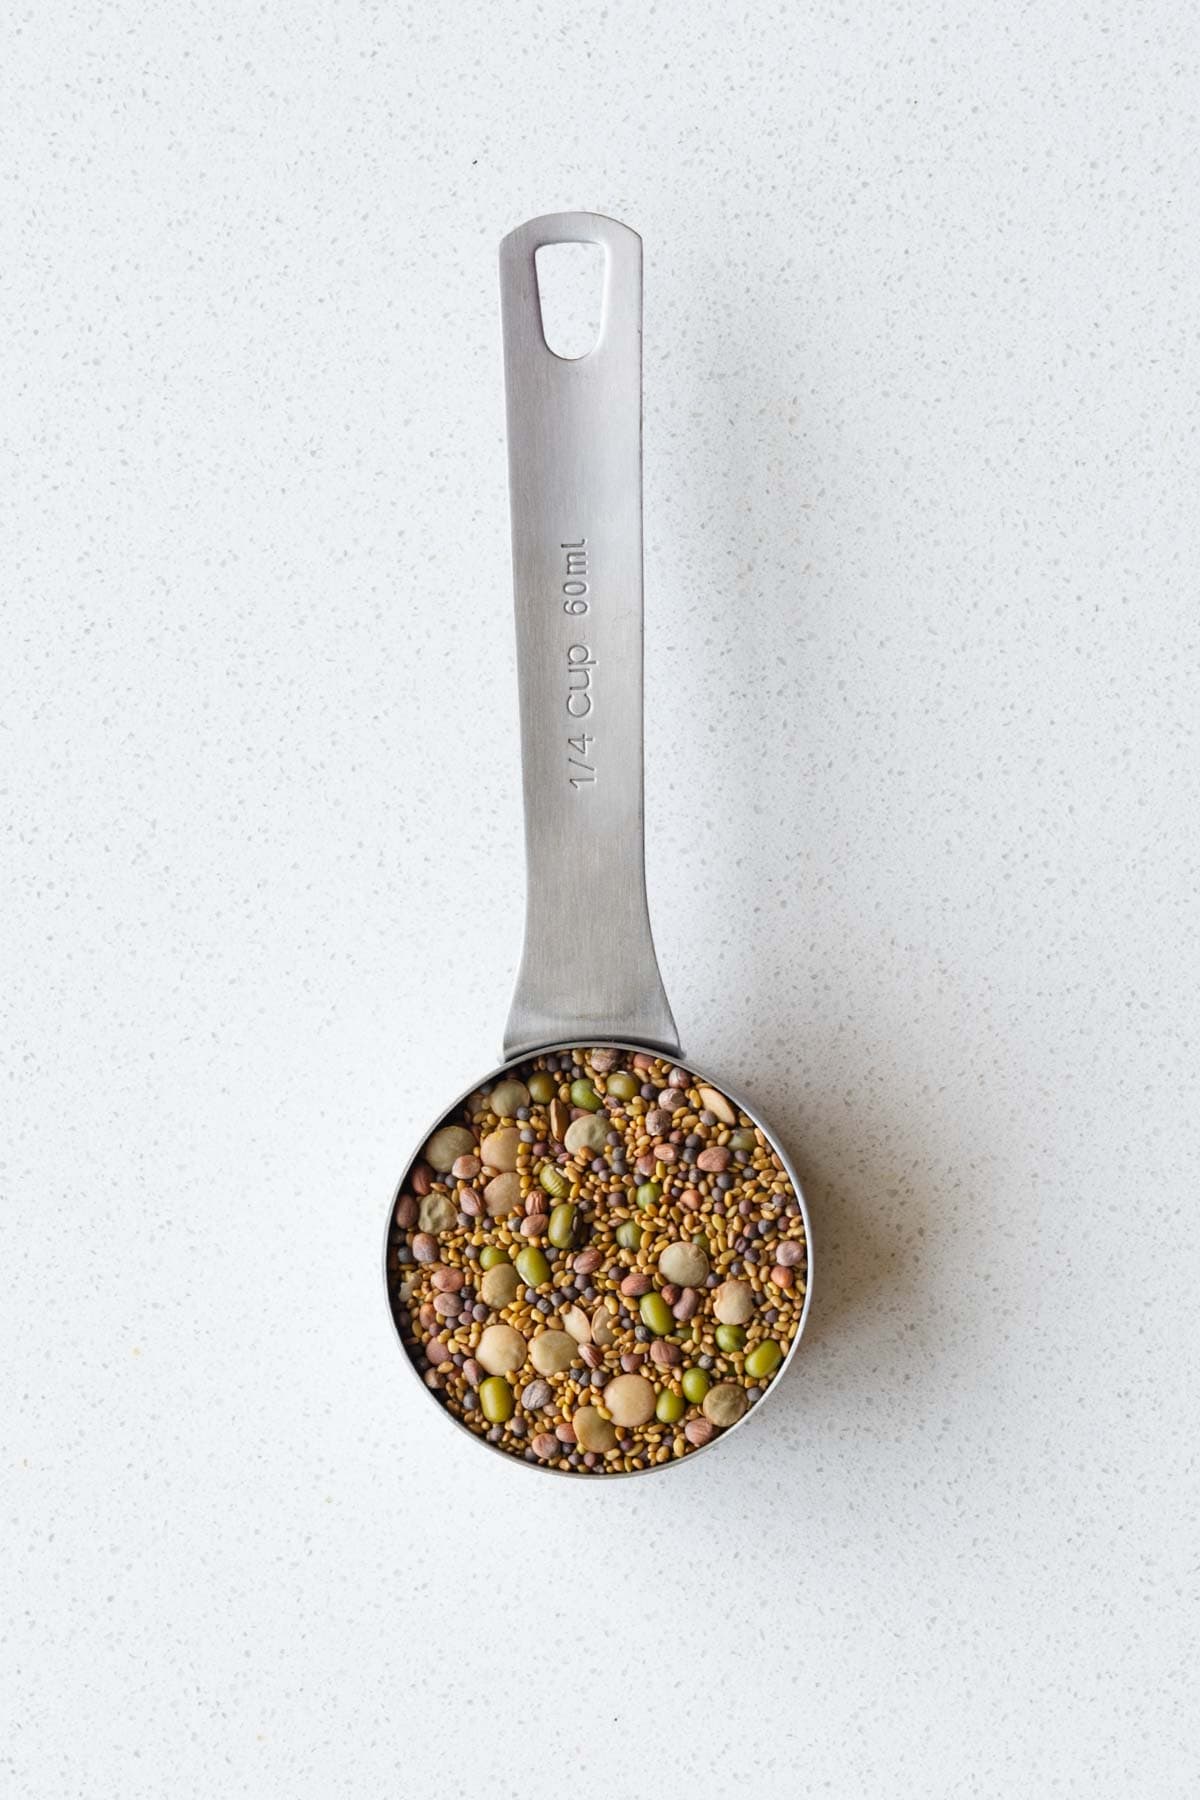
- How Many Seeds: The amount you'll use depends on the variety. Small seeds, like broccoli and alfalfa, expand much more than beans and legumes. If you're using my sprouting kit, it includes a measuring scoop and the amounts, making portioning easy.
🫙Type of Seed and Amount
| Sprout | Amount (cups) |
| Alfalfa | ¼ |
| High-Glucoraphanin Broccoli | ¼ |
| High-Glucoraphanin Salad Mix | ¼ |
| Radish | ¼ |
| Clover | ¼ |
| Lentils | 1 |
| Protein Mix | 1 |
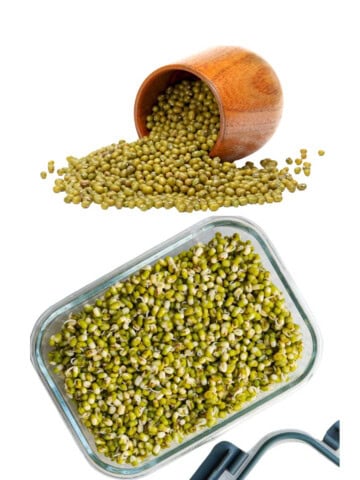
| Mung Beans | 1 |
| Green Peas | 1 |
| Chickpeas | 1 |
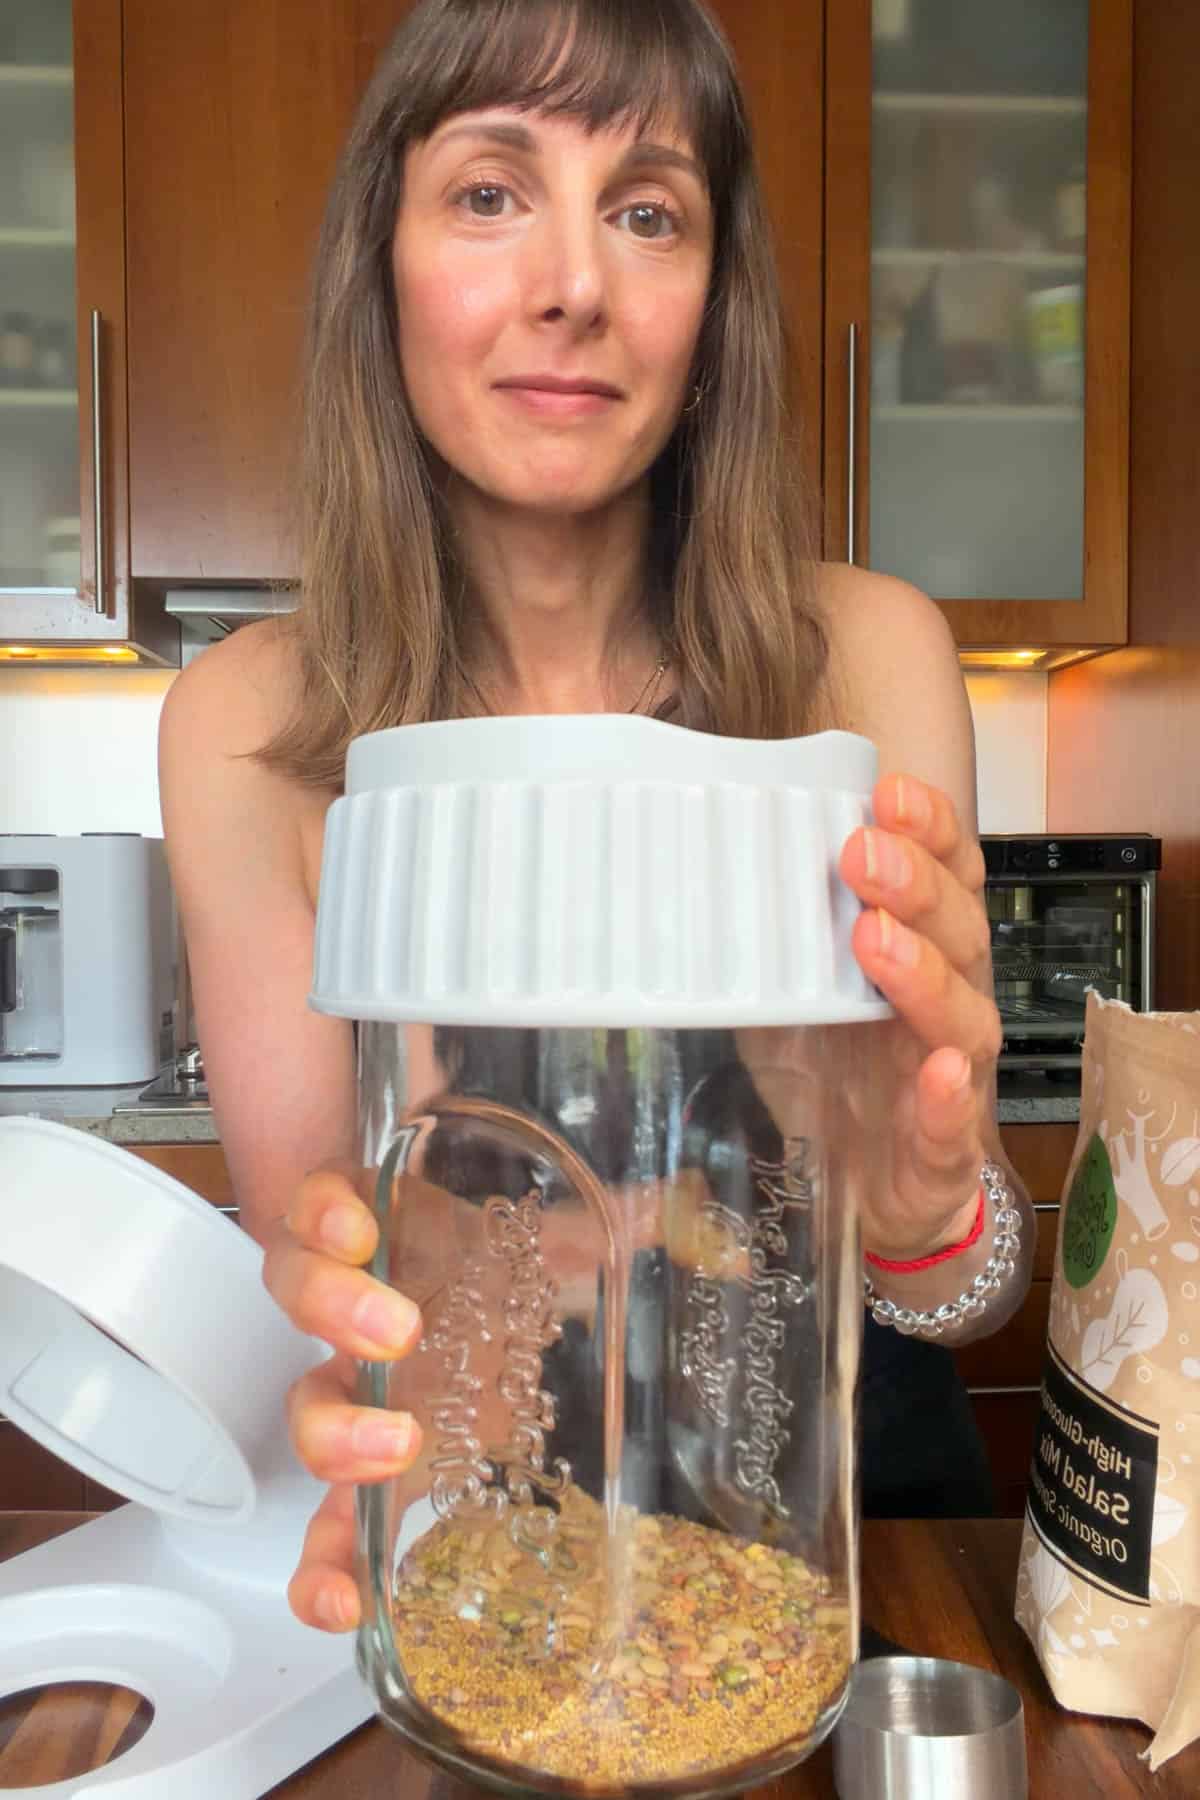
- Use Clean Equipment: Start by placing your seeds into a clean sprouting jar. (I've tried a few different jars, and these sprouting jars have consistently given me the best results thanks to their excellent drainage and airflow.)
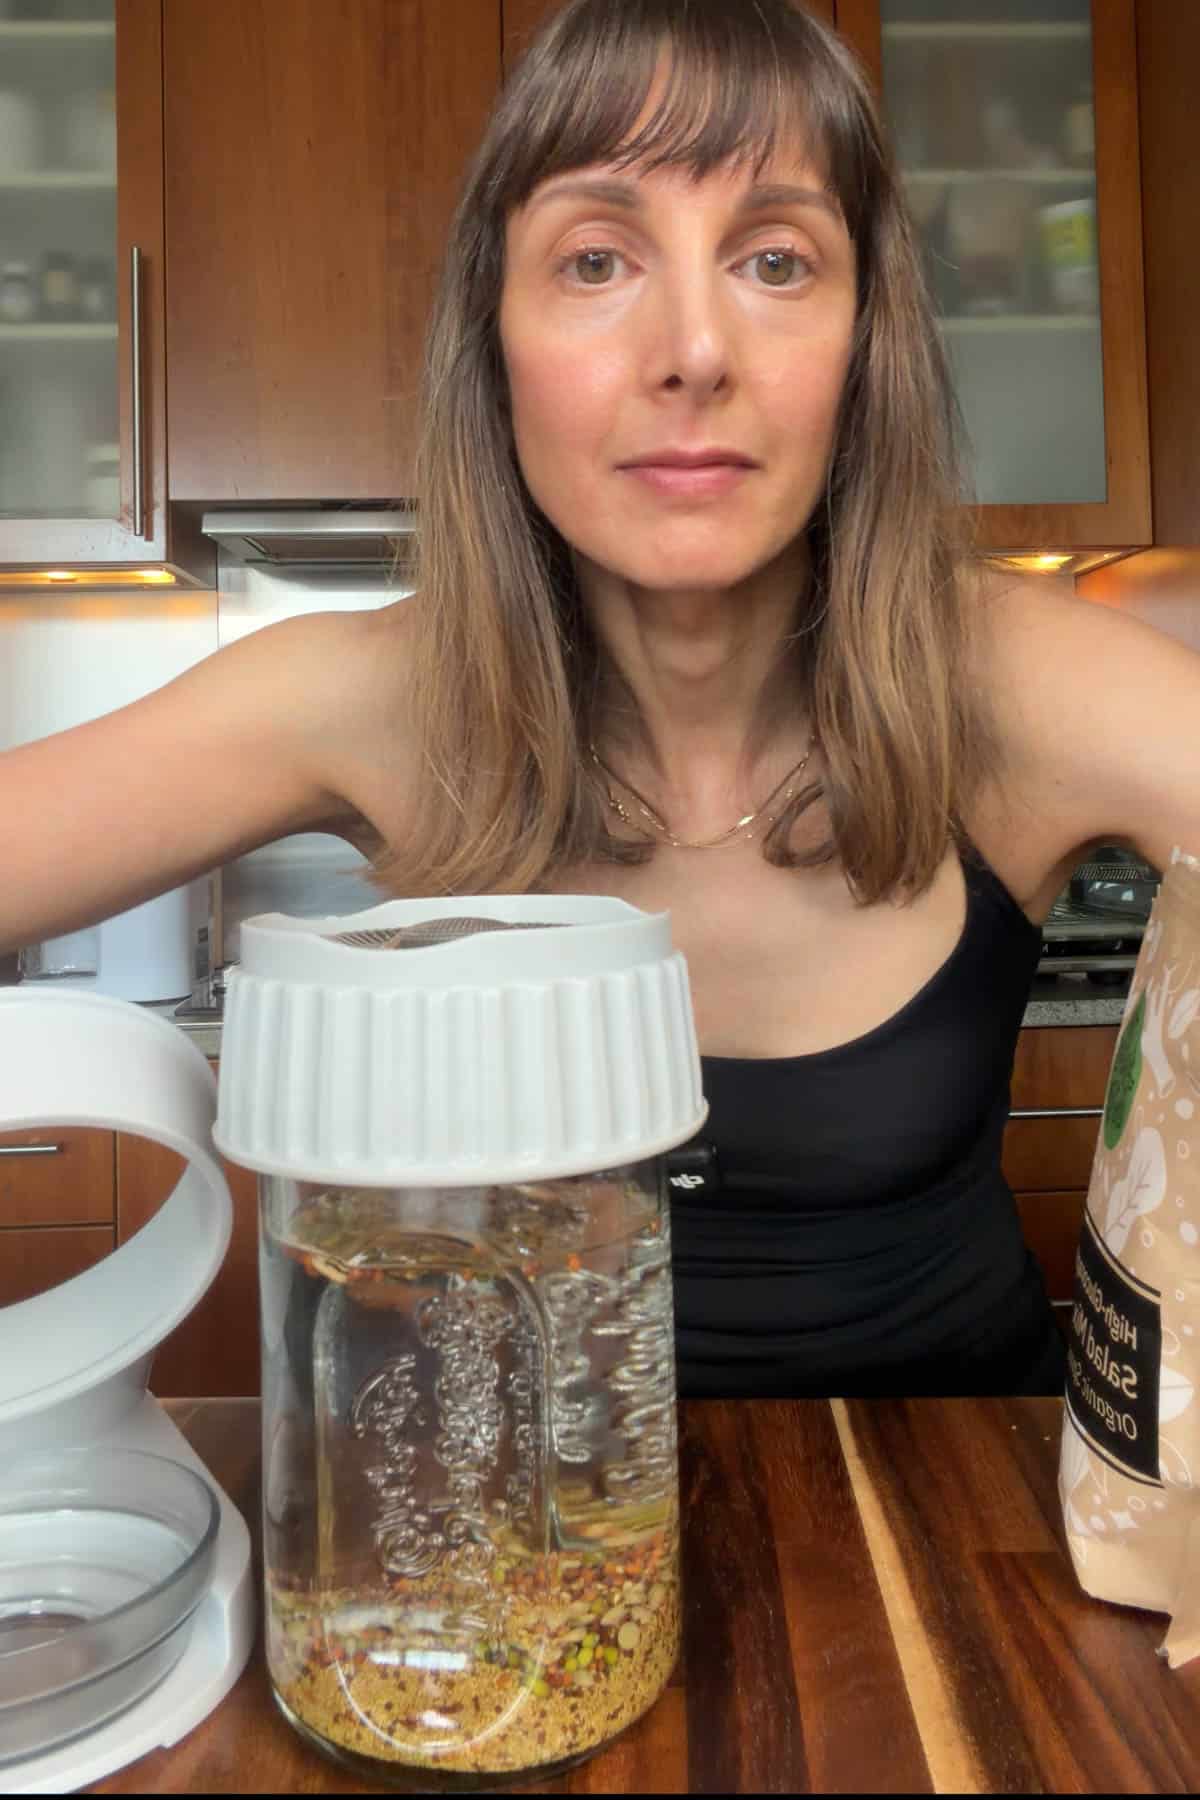
- Soak the Seeds: Cover the seeds with about three times their volume of cool water, ensuring they're fully submerged.I recommend soaking for 6-8 hours. Personally, I prefer not soaking overnight. I find 6-8 hours gives excellent results while reducing excess moisture sitting in the jar before the first rinse. I usually start soaking in the morning so I can drain them before bed.
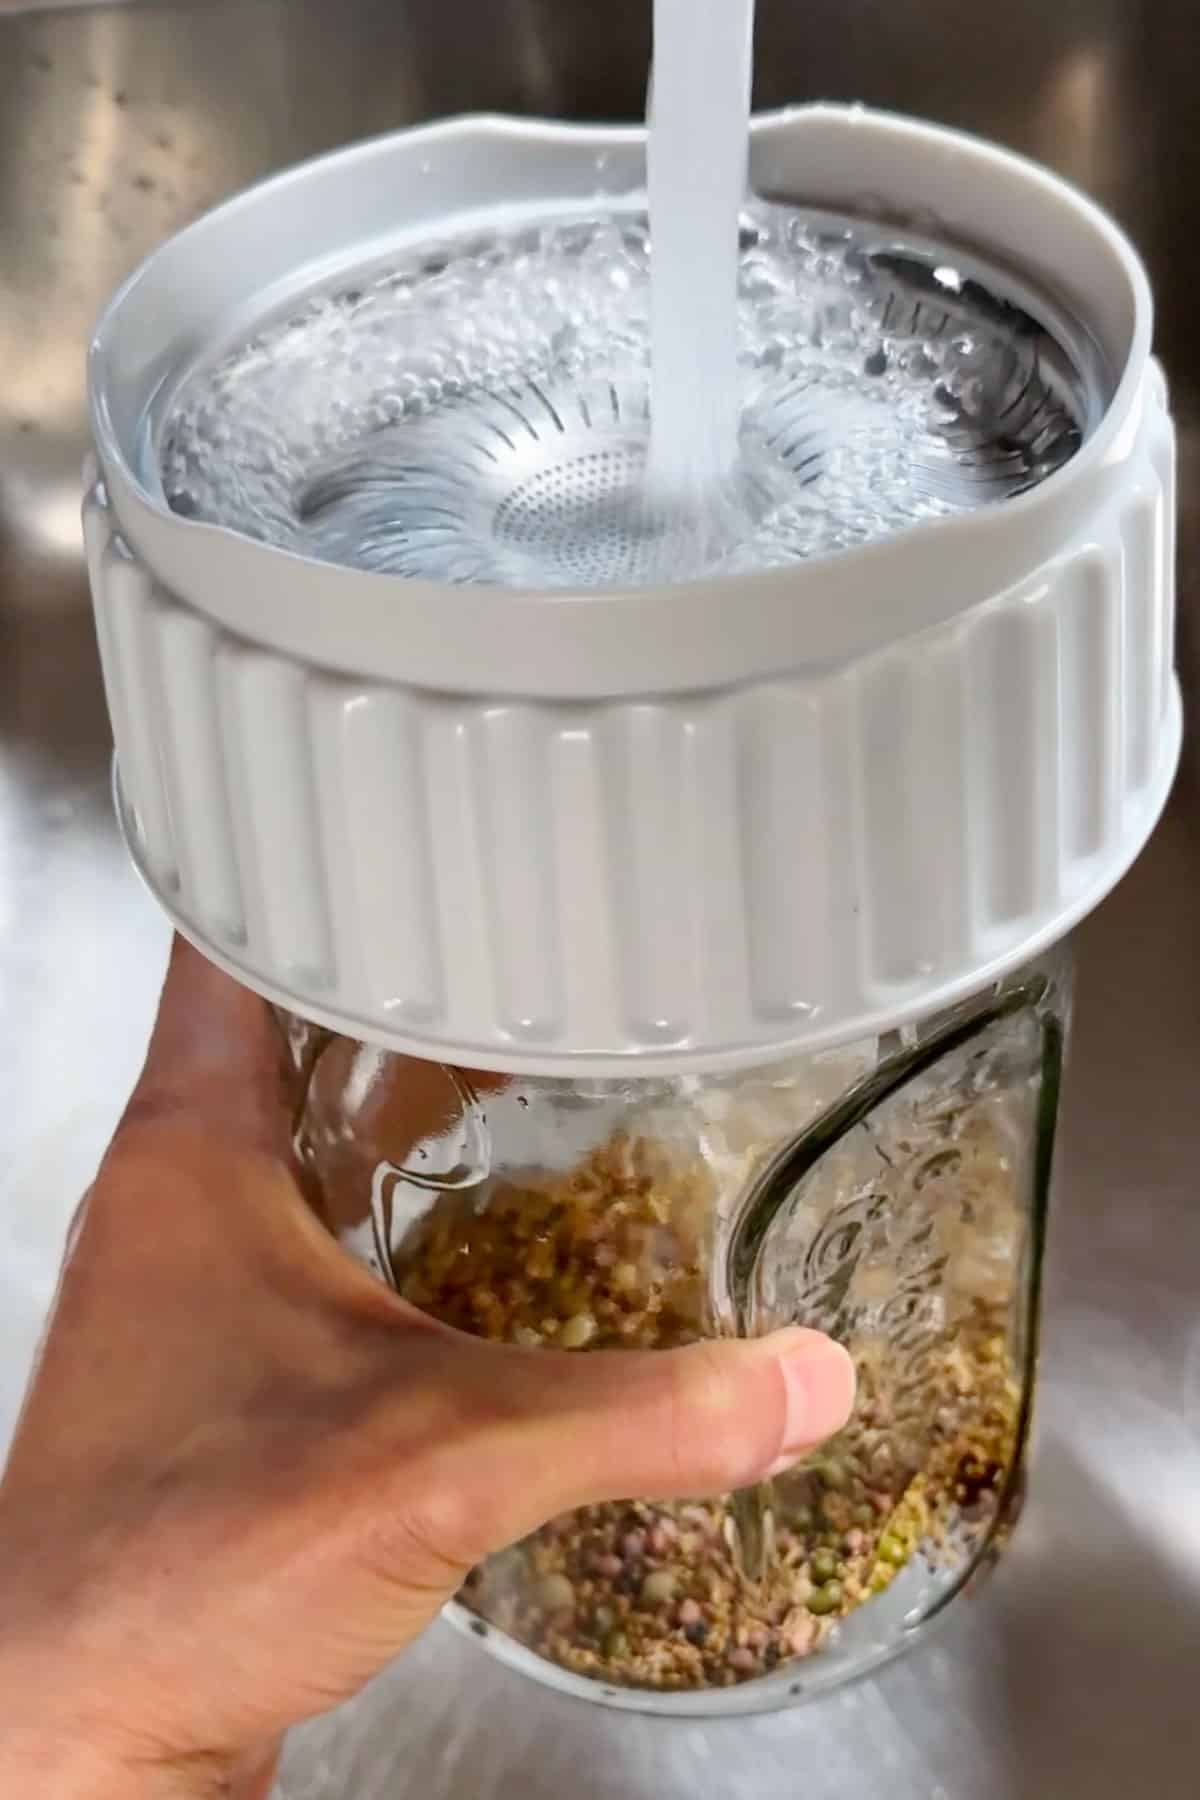
- Rinse Seeds: Pour out all of the soaking water after soaking and refill the jar with fresh water. Swirl the seeds around well.
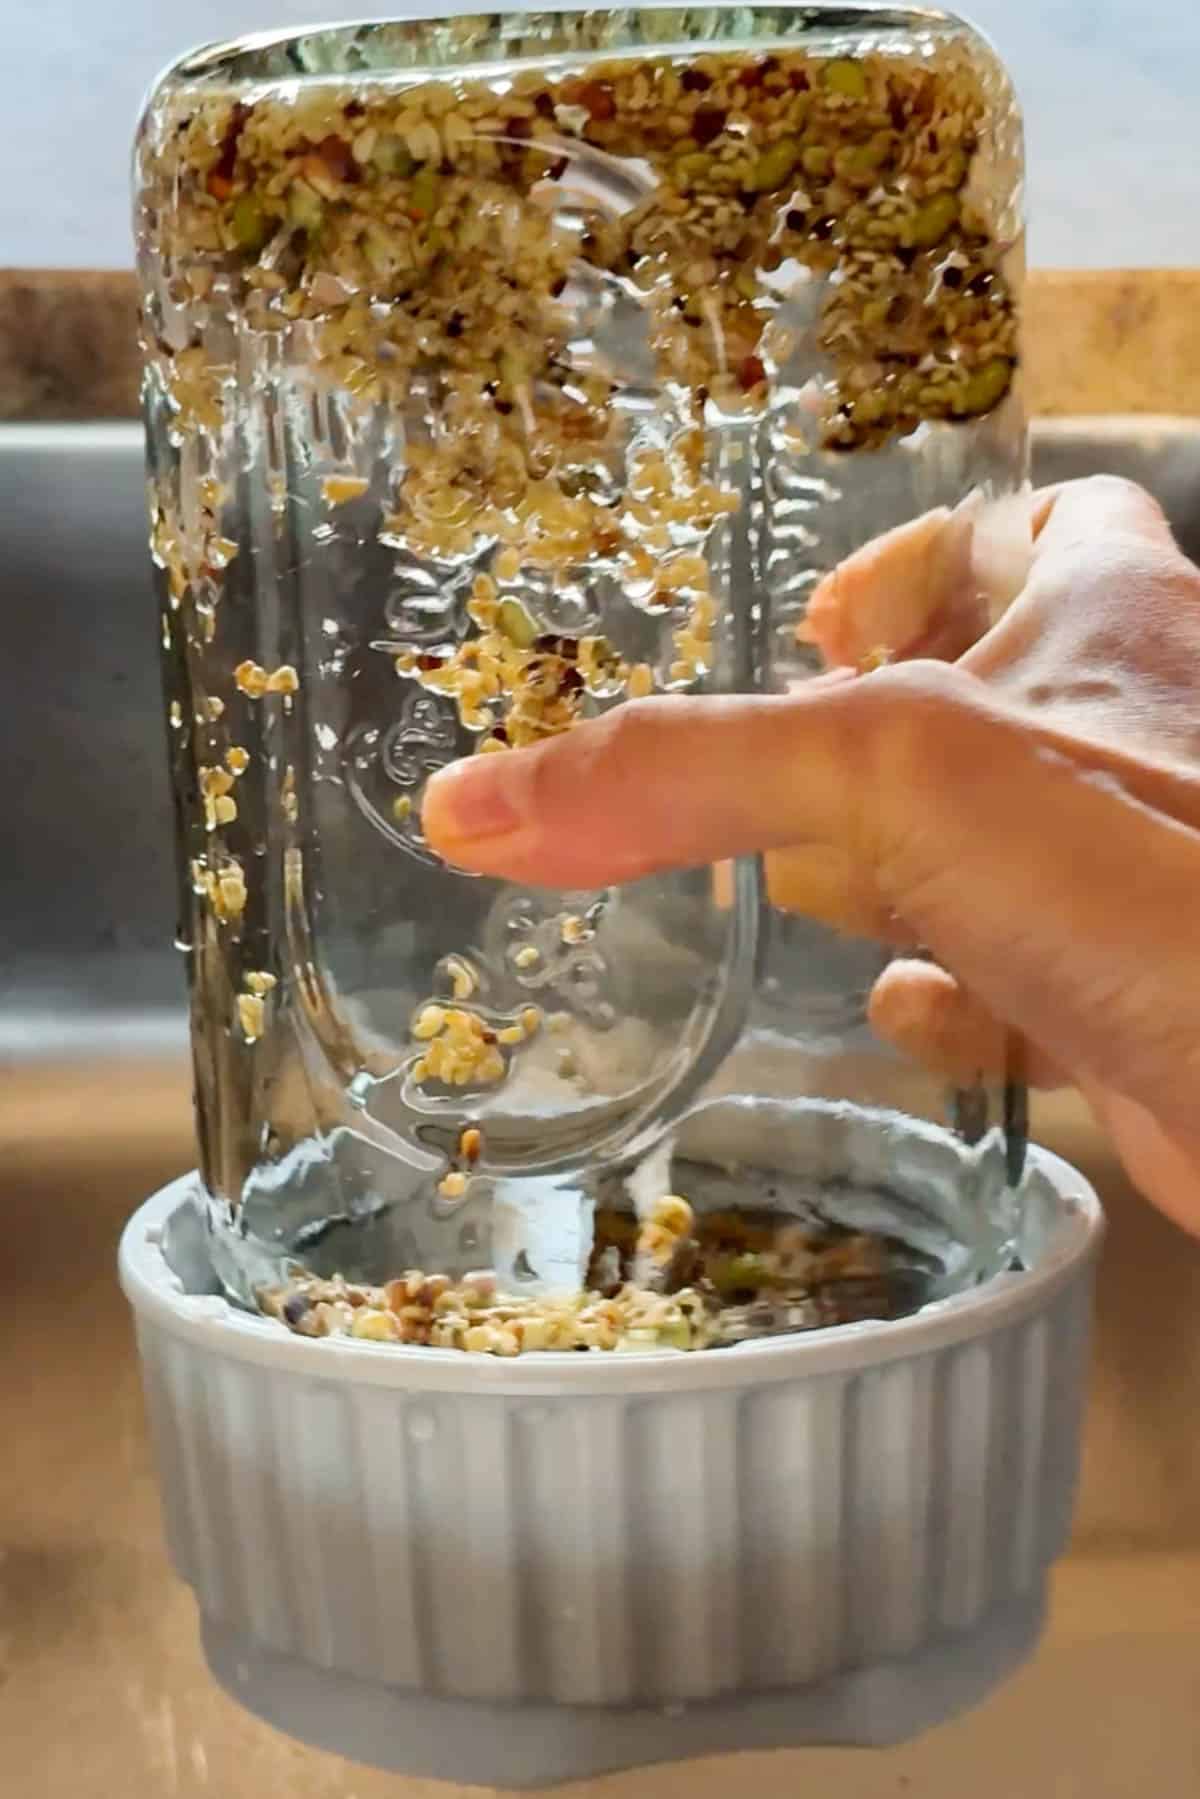
- Drain Seeds: Shake the jar vigorously to remove as much excess water as possible. Standing water is one of the biggest reasons sprouts fail.
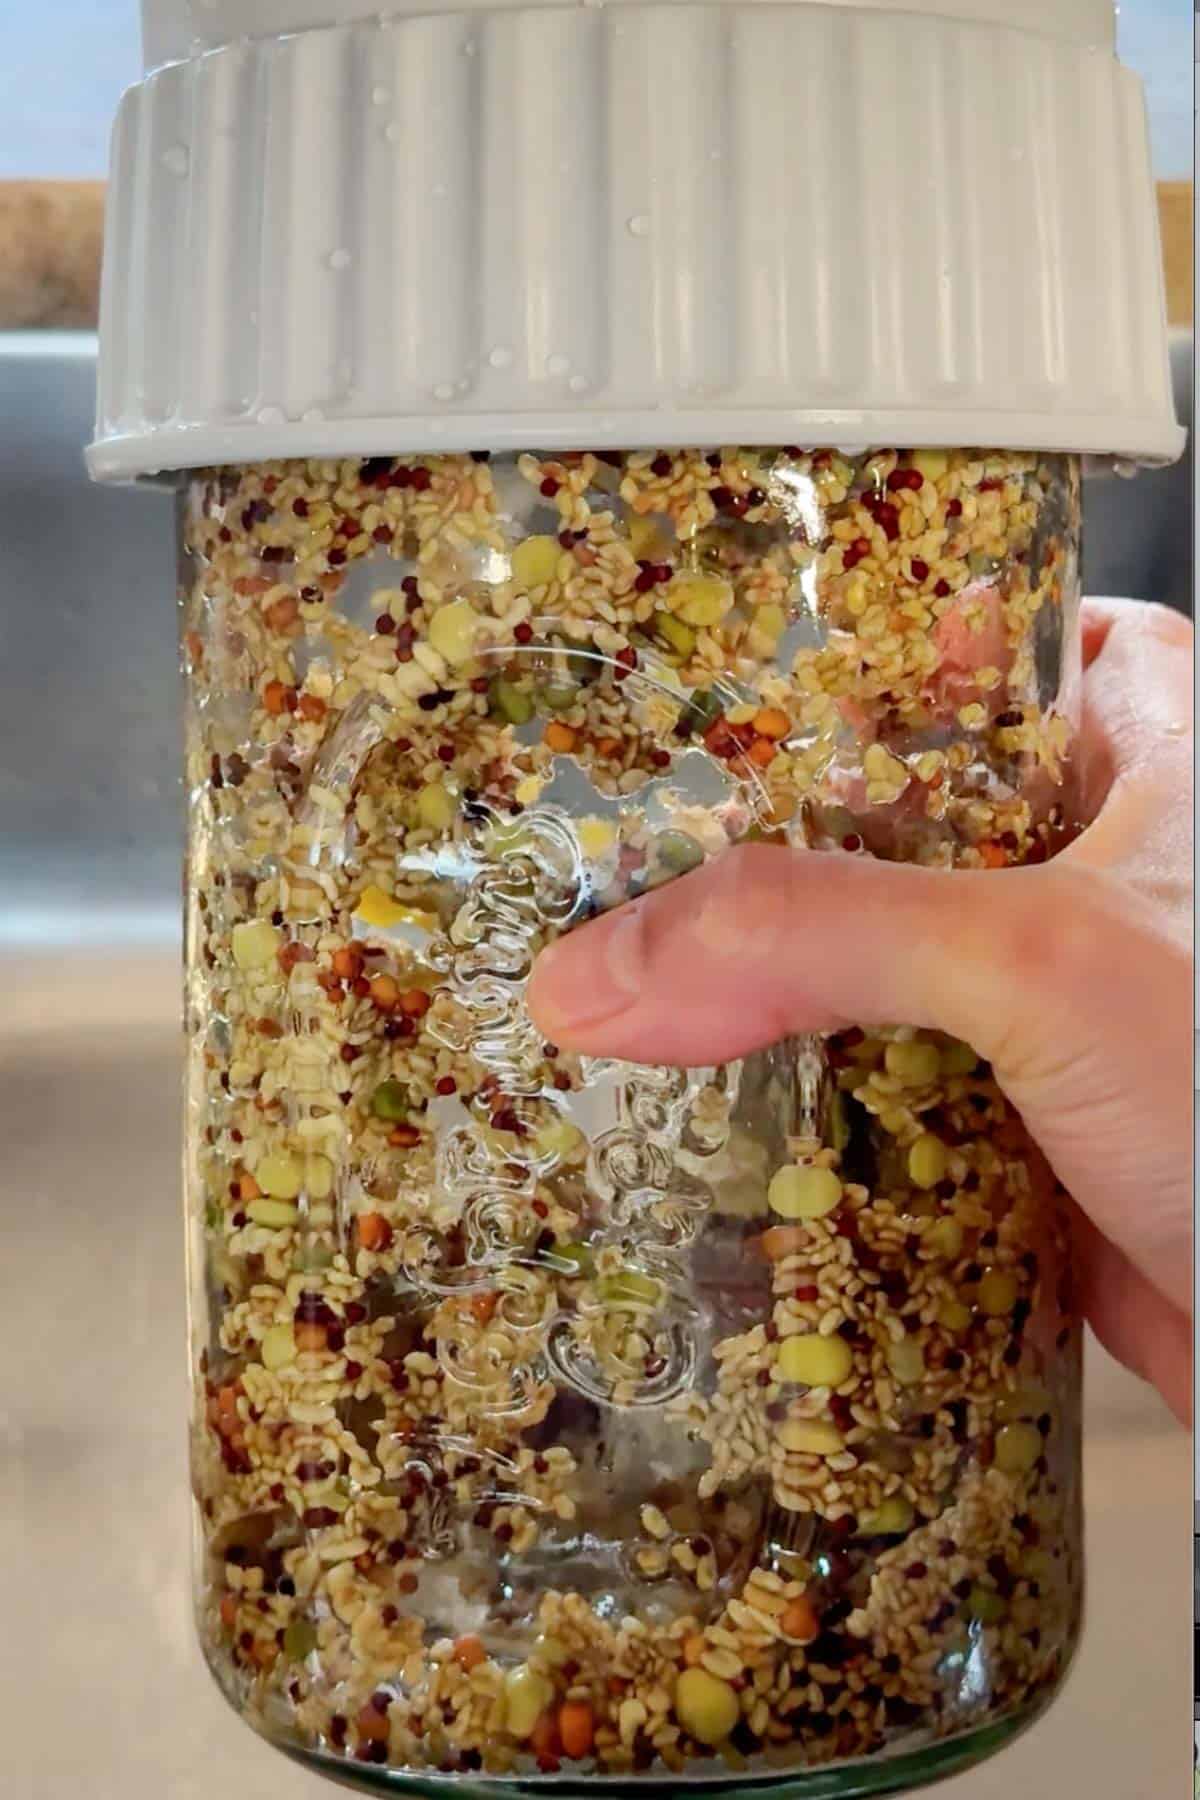
- Rotate Jar: This is important so the seeds spread along the side of the glass rather than sitting in one wet pile at the bottom. Finally, make sure the seeds aren't covering the stainless steel filter. Keeping the screen exposed improves airflow, which helps reduce the risk of mold.
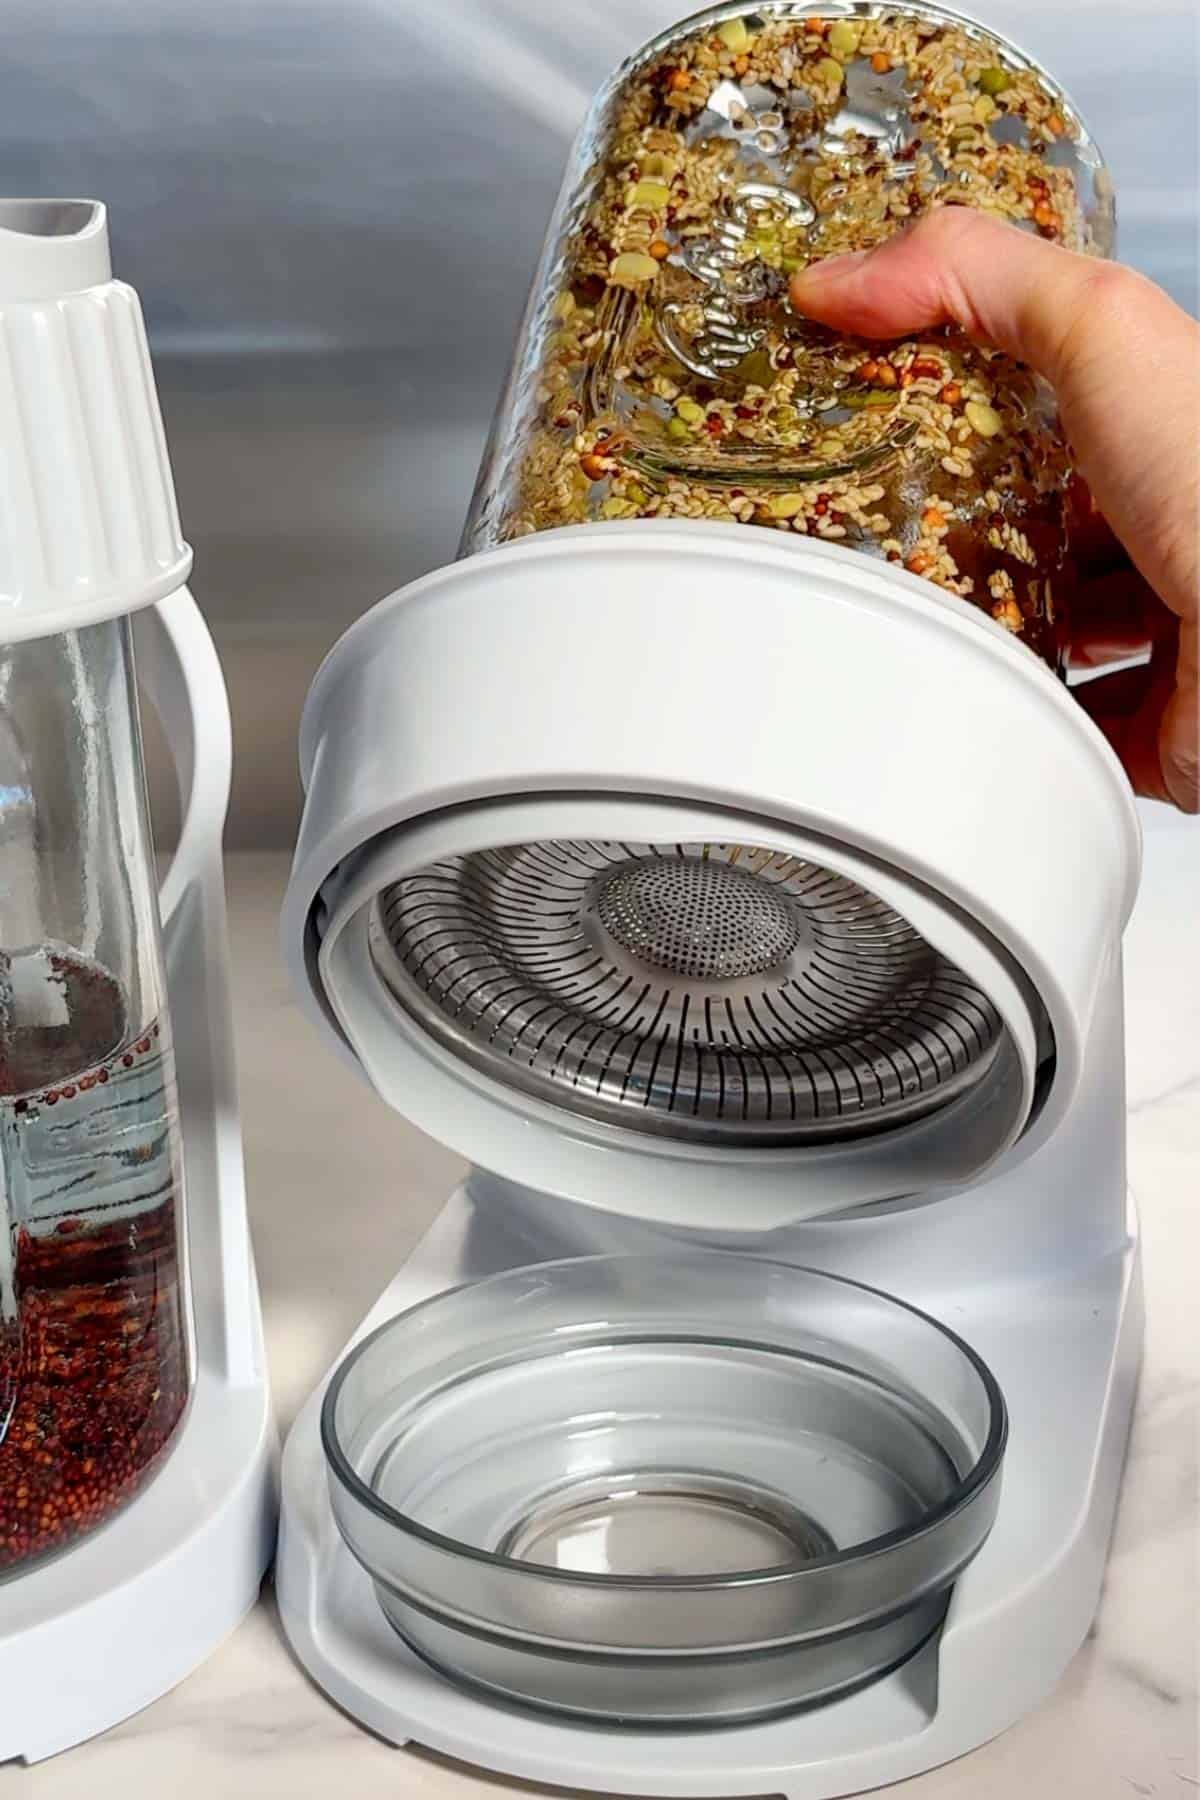
- Place the Jar Upside Down at an Angle: This helps any remaining water to continue draining. Repeating this rinsing and draining process twice every day. Every morning and evening, fill the jar with fresh water. Swirl everything around. Drain completely. Shake vigorously again. Return the jar to its draining position. If your kitchen is especially warm or humid, I often add a third rinse during the middle of the day.
👩🏼🌾 Harvesting Your Homegrown Sprouts
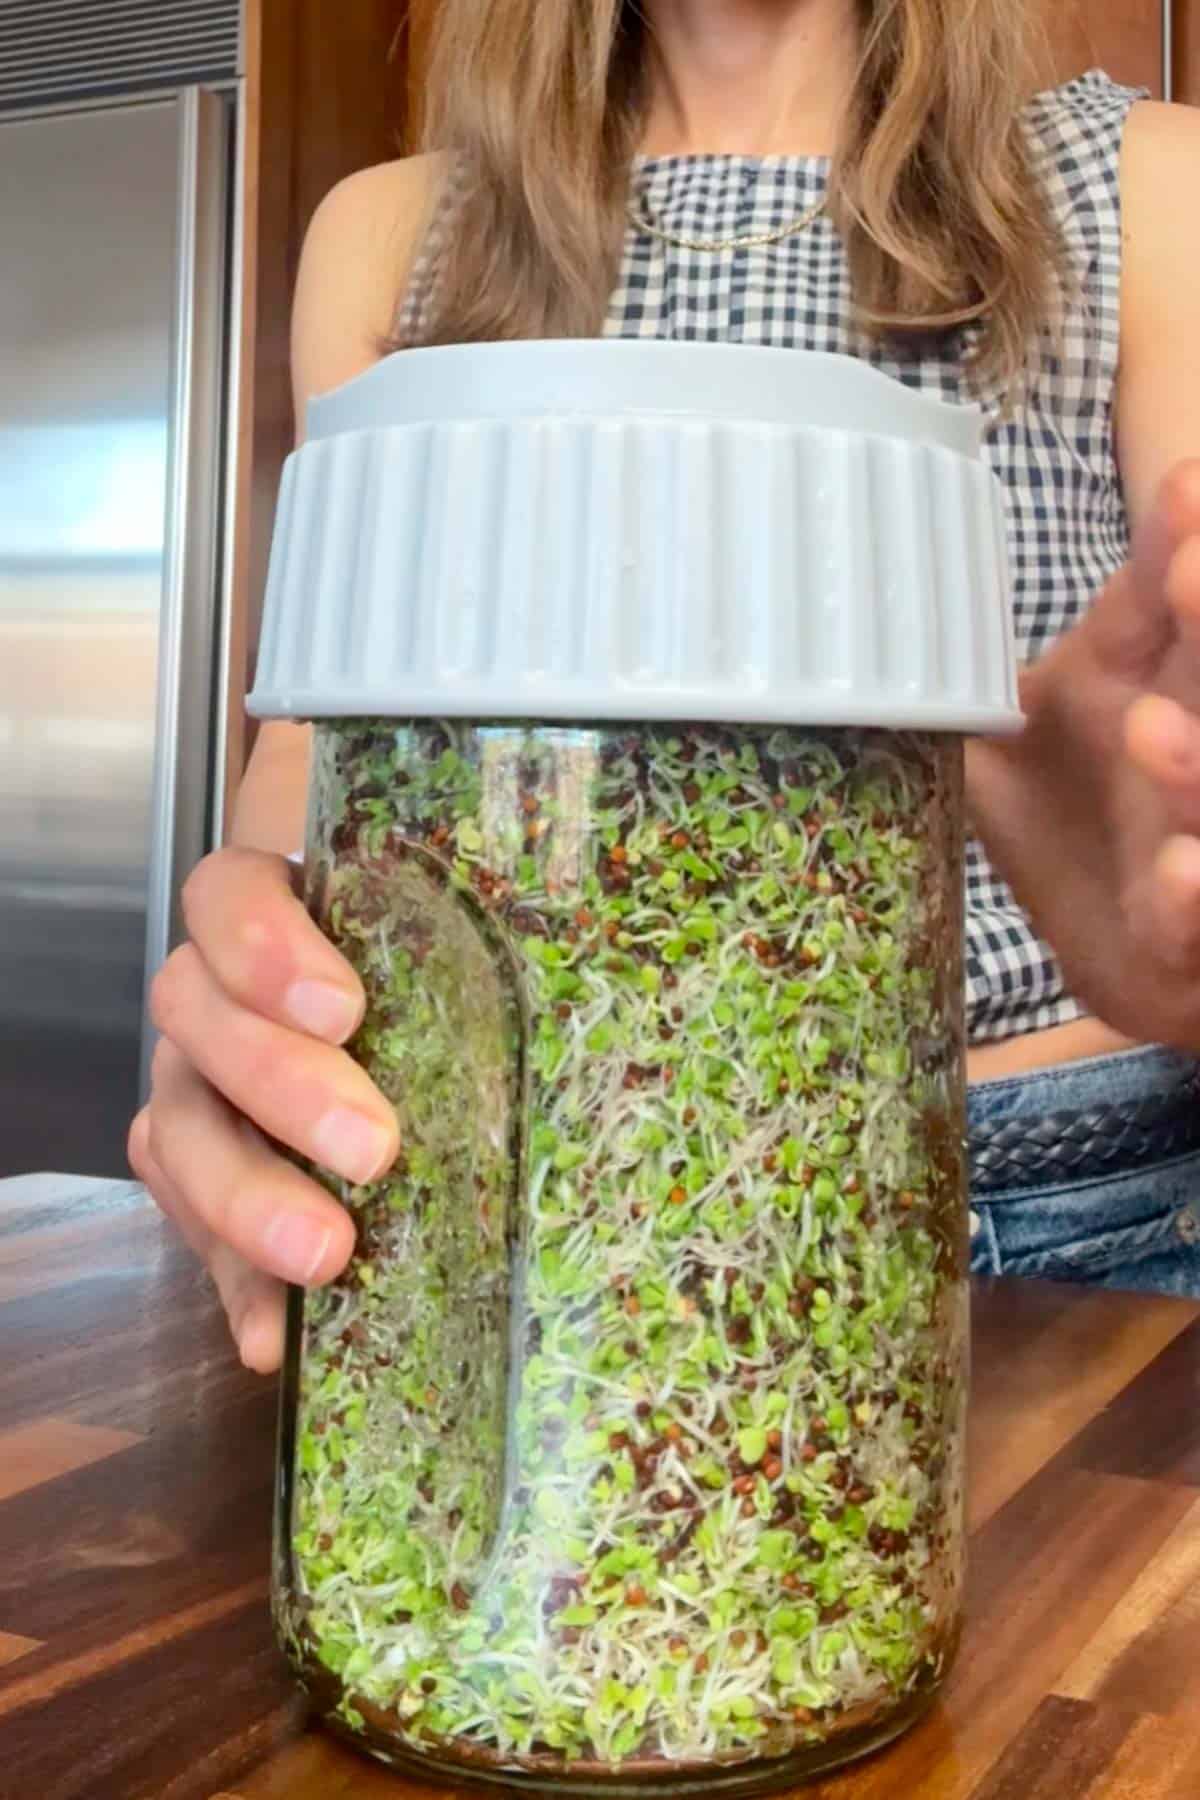
- Check Whether the Sprouts Are Ready: Your sprouts are ready when most of the seeds have germinated, the jar looks full, and the sprouts are crisp with white roots or shoots. They should smell fresh and clean, never sour or musty. Leafy sprouts such as broccoli, alfalfa, clover, and radish may also begin to show tiny green seed leaves.
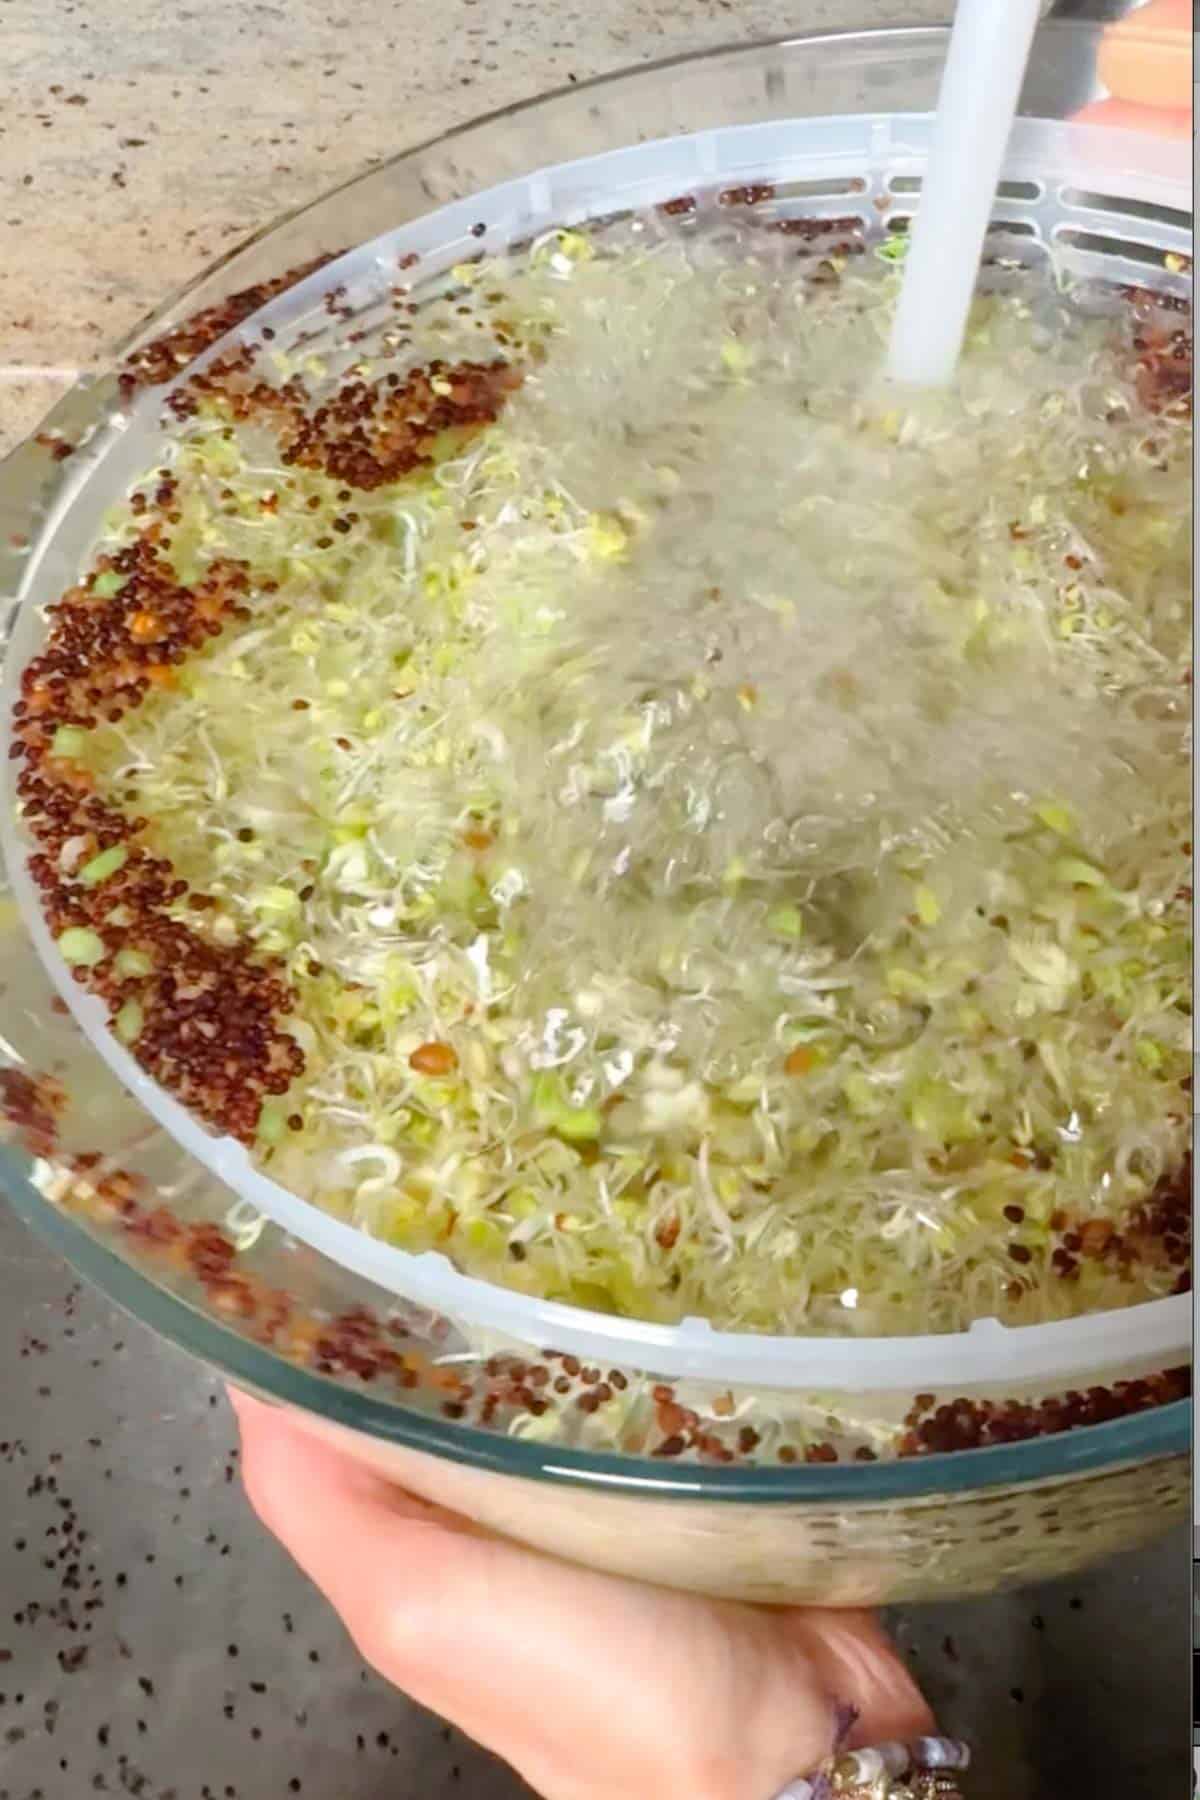
- Rinse and Remove the Seed Hulls: Transfer the finished sprouts to a salad spinner and cover them with cool water. Gently swish them around so the loose seed hulls float to the top, then skim them off. Drain and repeat if needed. Note: The seed hulls are completely edible, but if you prefer, you can remove them for a cleaner-looking batch of sprouts.
⏲ Sprouting Times
Sprouting times are approximate and may vary by 1-2 days depending on the seed variety, room temperature, and humidity.
| Sprout | Time (days) |
| Alfalfa | 5-7 |
| High-Glucoraphanin Broccoli | 5-7 |
| High-Glucoraphanin Salad Mix | 5-7 |
| Radish | 5-6 |
| Clover | 5-6 |
| Lentils | 3 |
| Protein Mix | 3-4 |
| Mung Beans | 5-6 |
| Green Peas | 1* |
| Chickpeas | 1* |
*Green peas and chickpeas are ready after about 1 day of sprouting. After harvesting, air-dry them for about 8 hours before refrigerating.
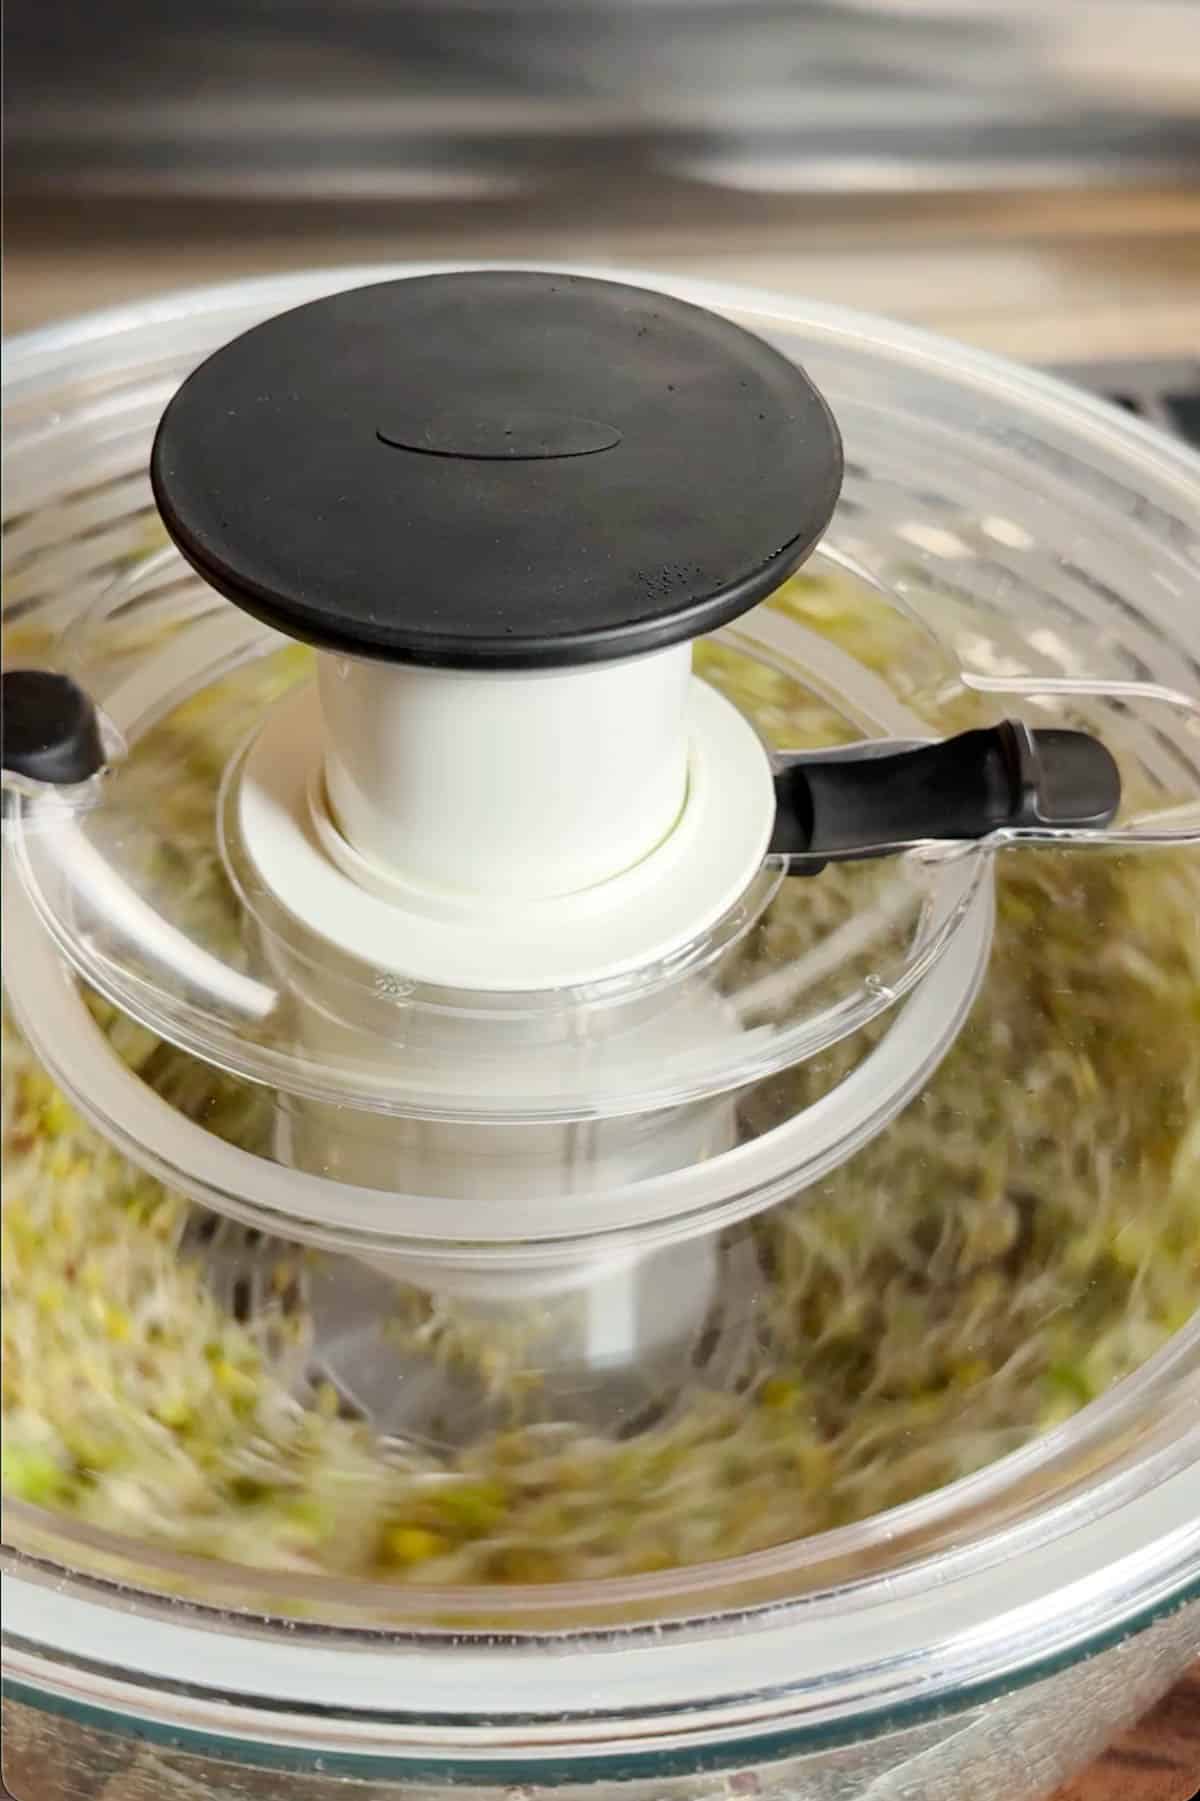
- Dry the Sprouts Thoroughly: Spin the sprouts dry in the salad spinner.
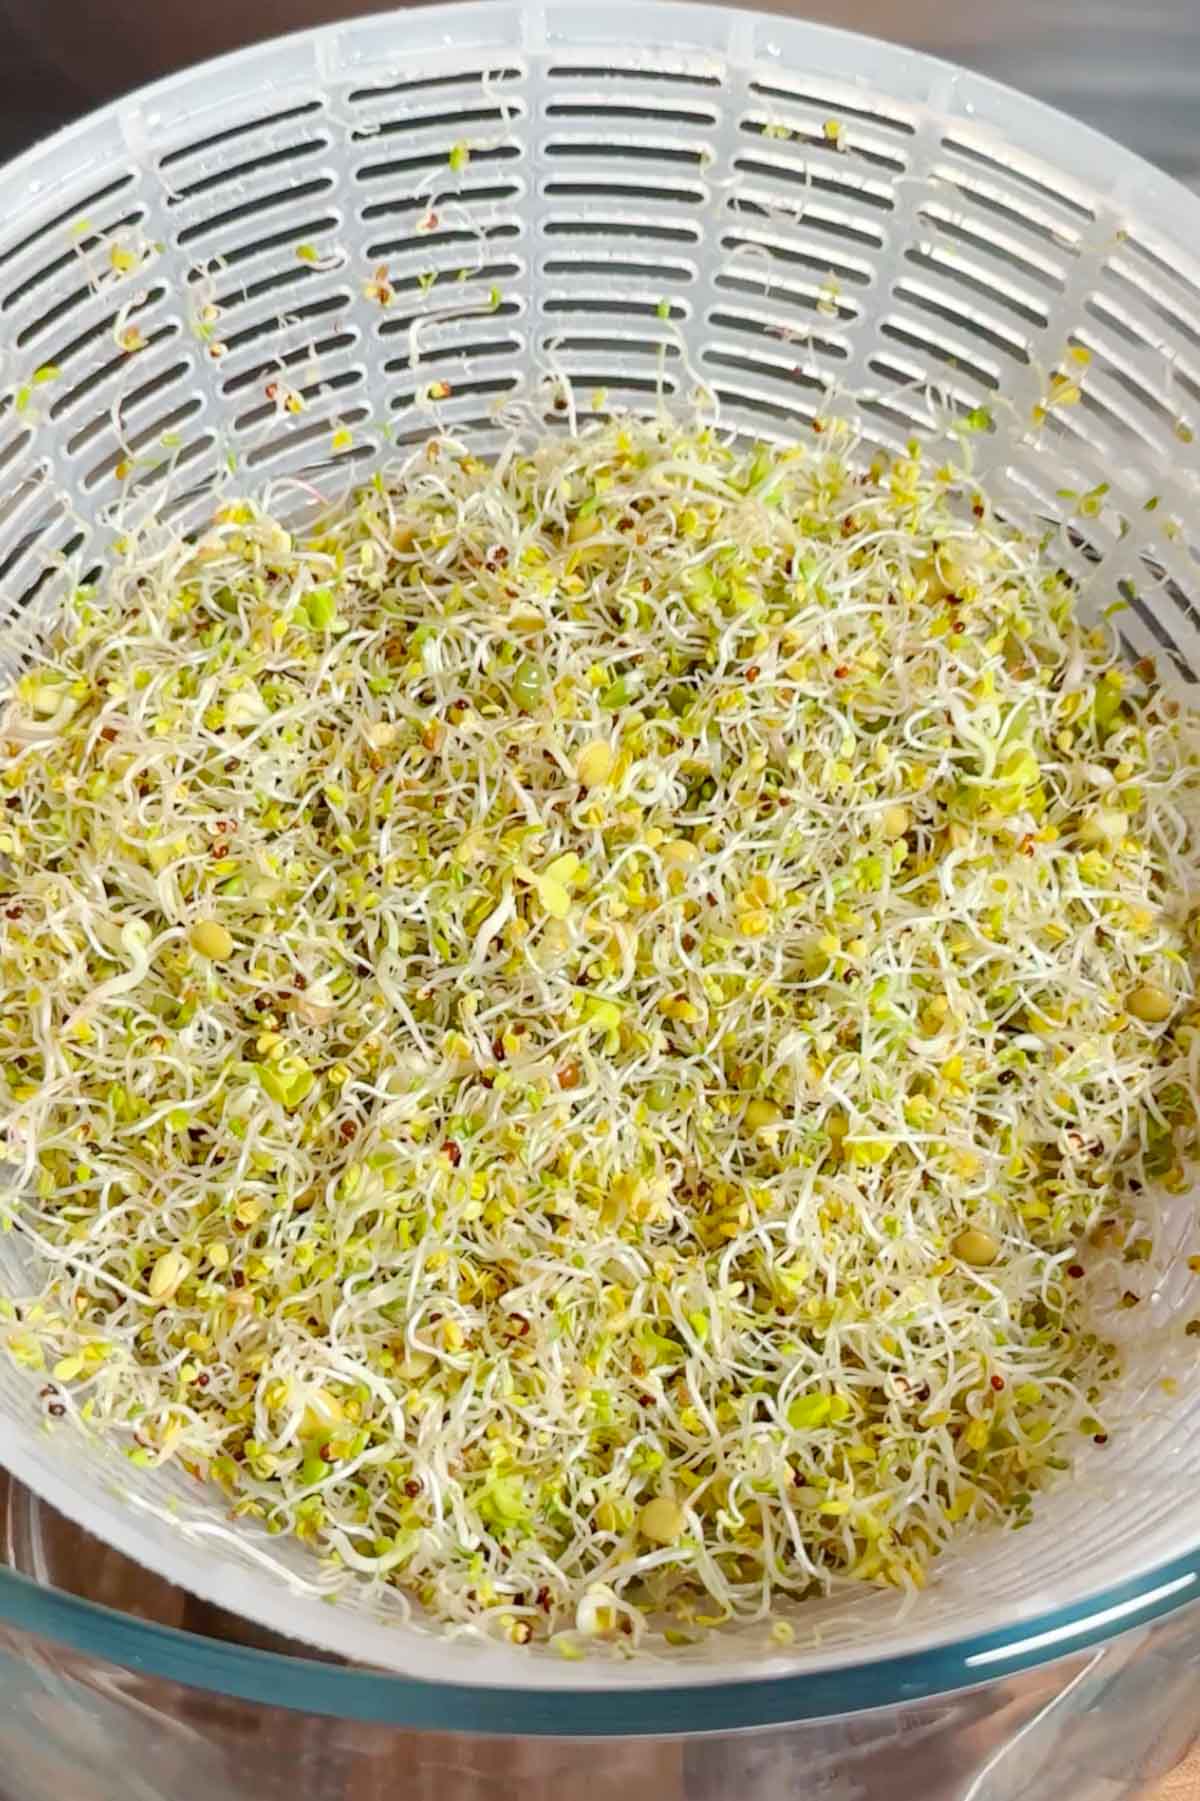
- Remove as Much Moisture as Possible: This helps them stay fresh and reduces the risk of spoilage. For green peas and chickpeas, spread them out and allow them to air-dry for about 8 hours before refrigerating.
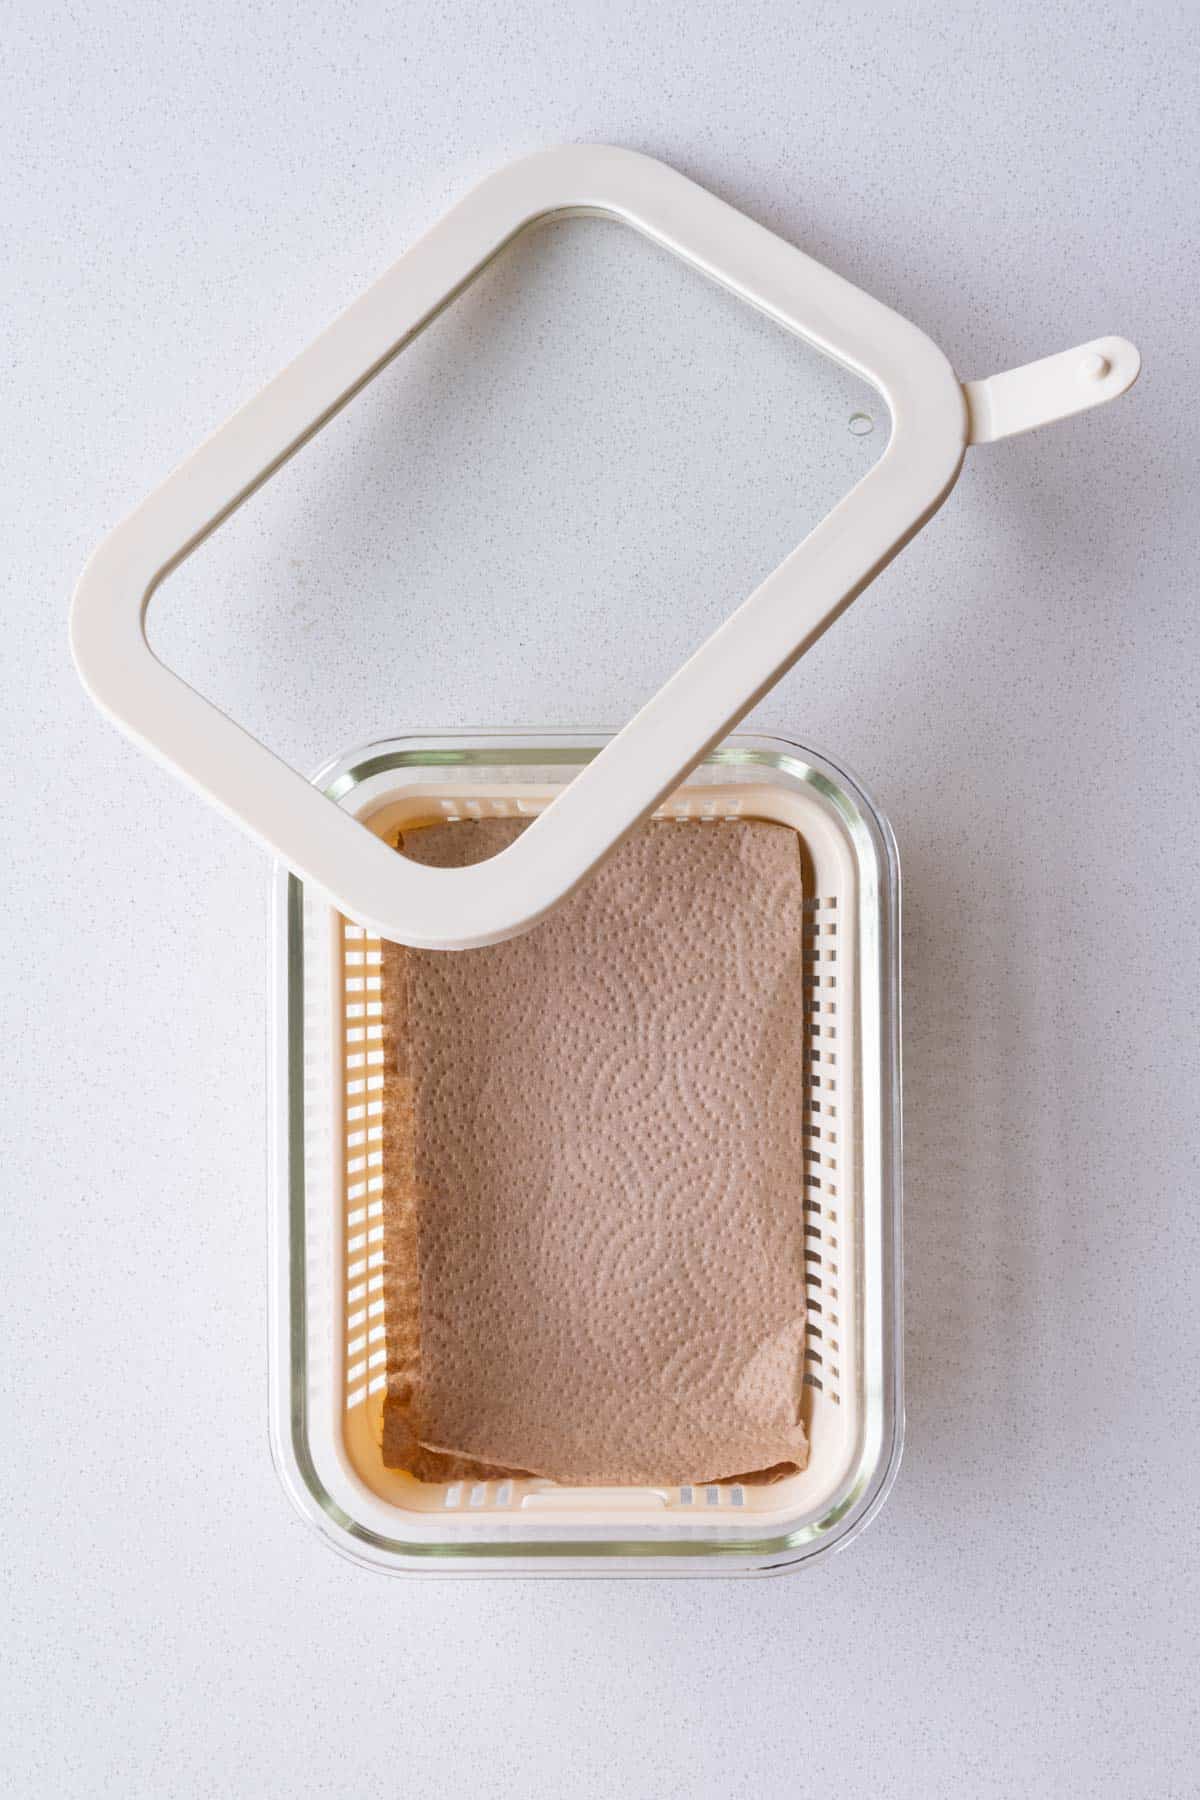
- Store Sprouts: Transfer the dry sprouts to a container lined with a clean kitchen towel or unbleached paper towel to absorb excess moisture. I prefer using a container that isn't completely airtight, as a little airflow can help keep the sprouts fresh.
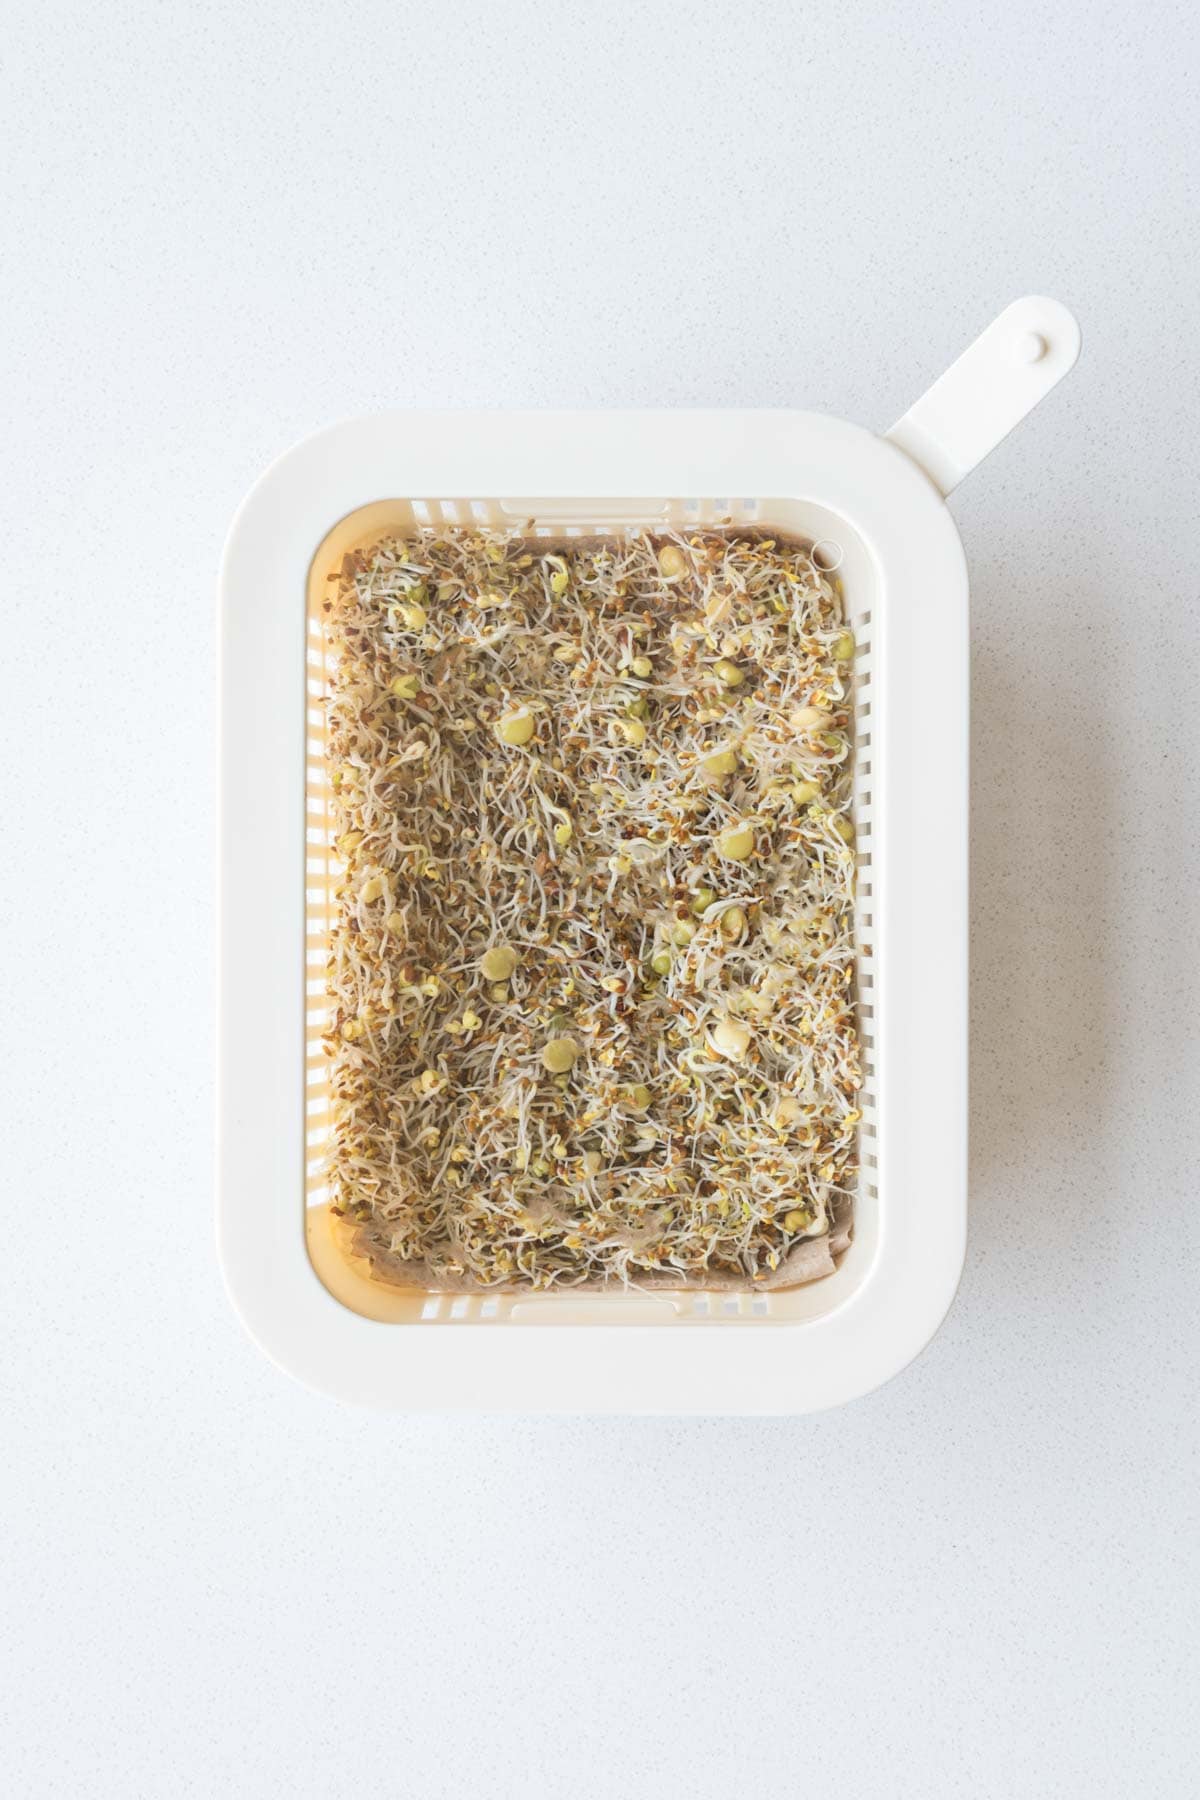
- Storage: Refrigerate and use within about 4 days. Replace the towel if it becomes damp, and discard the sprouts if they become slimy or develop a sour or unpleasant smell.
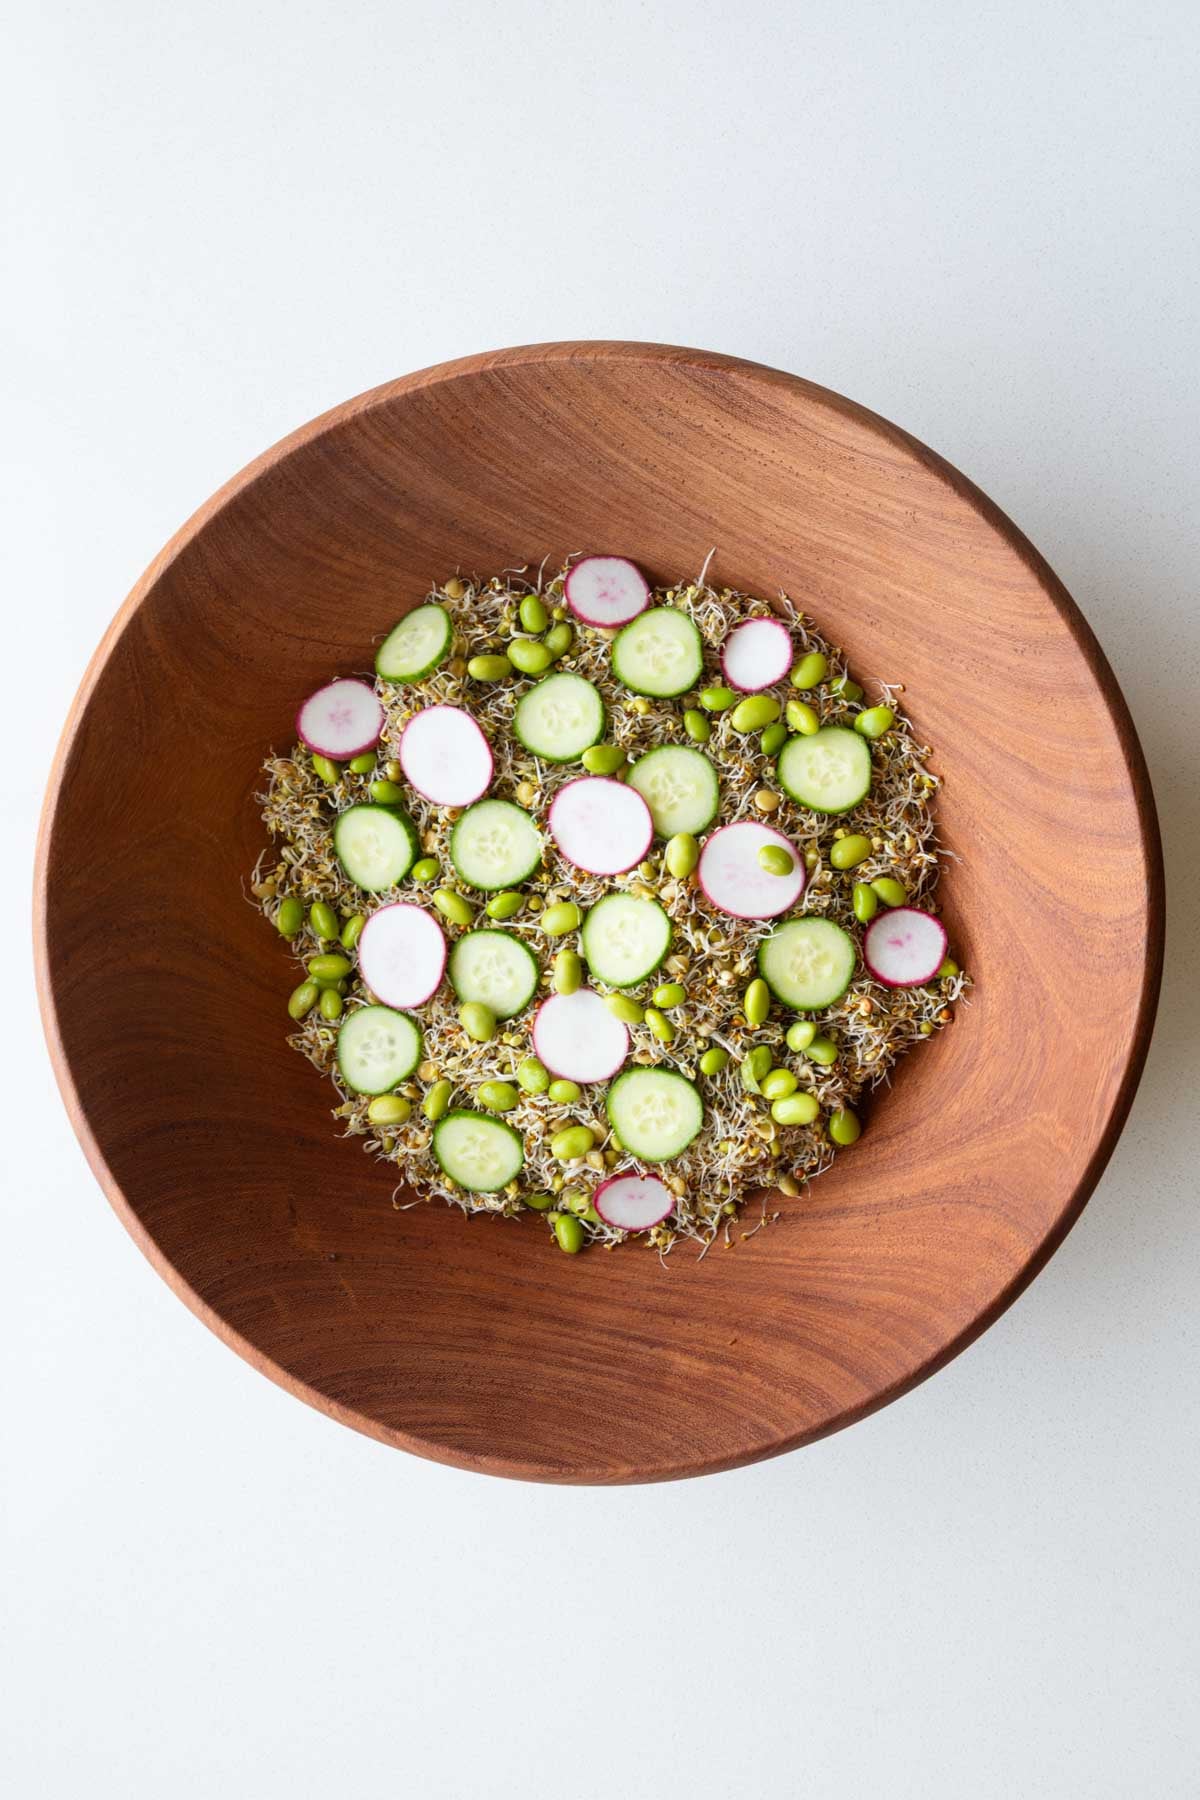
- How to Eat Sprouts: Enjoy them with one of my sprout dressings, or add them to salads, sandwiches, and wraps.
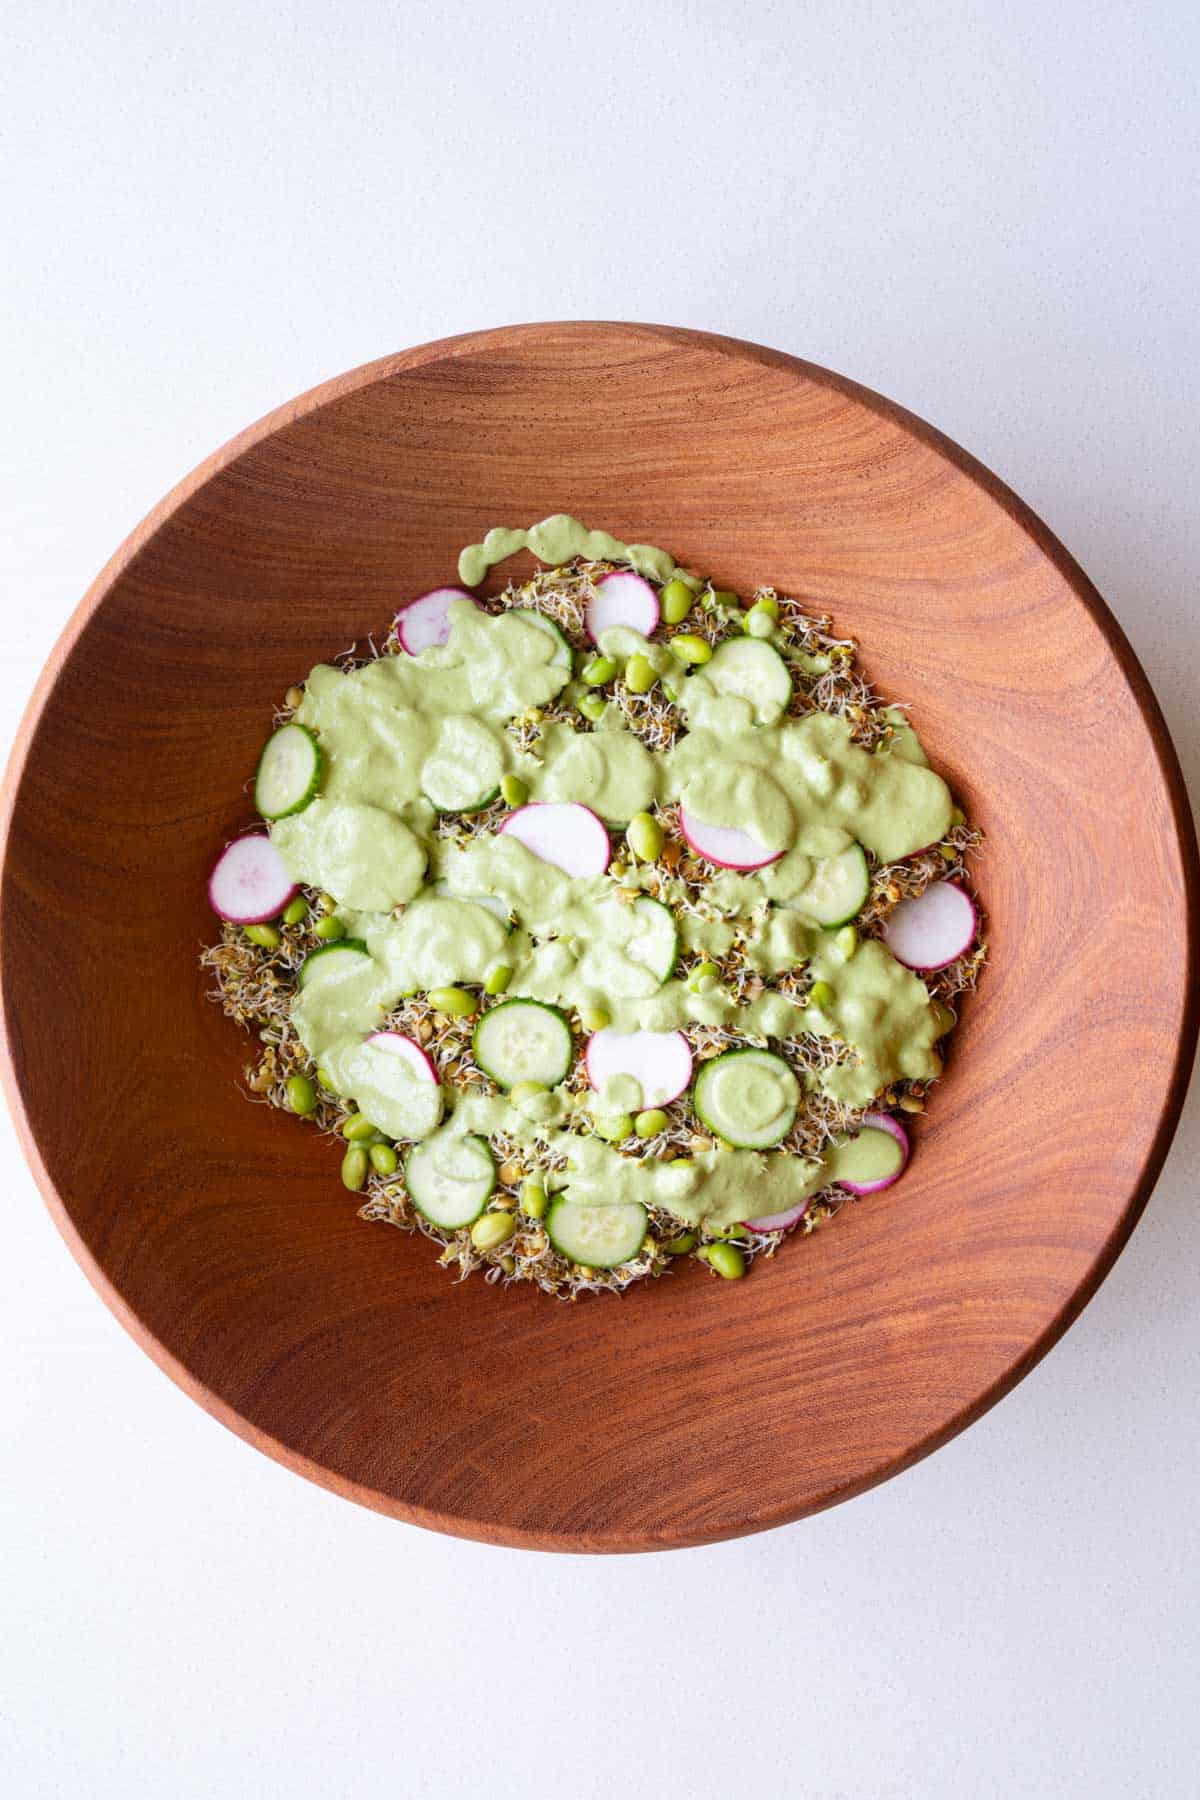
- Sprout Salad: For the simplest meal, toss your sprouts with one of my favorite dressings: Harissa Dressing, Creamy Sun-Dried Tomato Vinaigrette, or Creamy Oil-Free Pumpkin Seed Dressing.
🫛 My Best Tips for Successful Sprouting:
Once you get into the routine, sprouting becomes one of the easiest kitchen habits you can build. Just a few minutes each day is all it takes to have fresh, homegrown sprouts on hand all week. Here are my tried-and-true tips for the best results every time:
- Use seeds sold specifically for sprouting.
- Don't overfill your jars with seeds.
- Soak for about 6-8 hours.
- Rinse and drain at least twice daily.
- Shake the jar thoroughly after every rinse.
- Give the sprouts plenty of airflow.
- Dry them well before refrigerating.
- Enjoy within about 4 days.
Find all my sprouting equipment here.
🥗 Sprout Salad Dressings:
This Creamy Harissa Dressing is ready in minutes. It's bold, tangy, and smoky with just the right heat.
My Creamy Sun-Dried Tomato Vinaigrette is rich, tangy, savory, and packed with umami flavor from roasted red peppers, sun-dried tomatoes, tahini, miso, and nutritional yeast.
A rich, herby, and made without any added oil, this Creamy Oil-Free Pumpkin Seed Dressing is about to become a staple.
This Creamy Lime Miso Dressing is bright, tangy, and deeply savory, with just enough sweetness to balance the lime.
🙋🏽♀️ Sprouting FAQs
This is usually caused by using old seeds, seeds not intended for sprouting, or a kitchen that's too cold.
Healthy sprouts shouldn't smell sour. Usually this means that they weren't drained well enough, ot they weren't rinsed often enough, or airflow was limited.
Broccoli and other brassica sprouts naturally develop tiny white root hairs that can sometimes look fuzzy. A quick rinse will typically wash these hairs away. These are not mold. Mold usually appears gray, green, or black and is often accompanied by a sour smell.
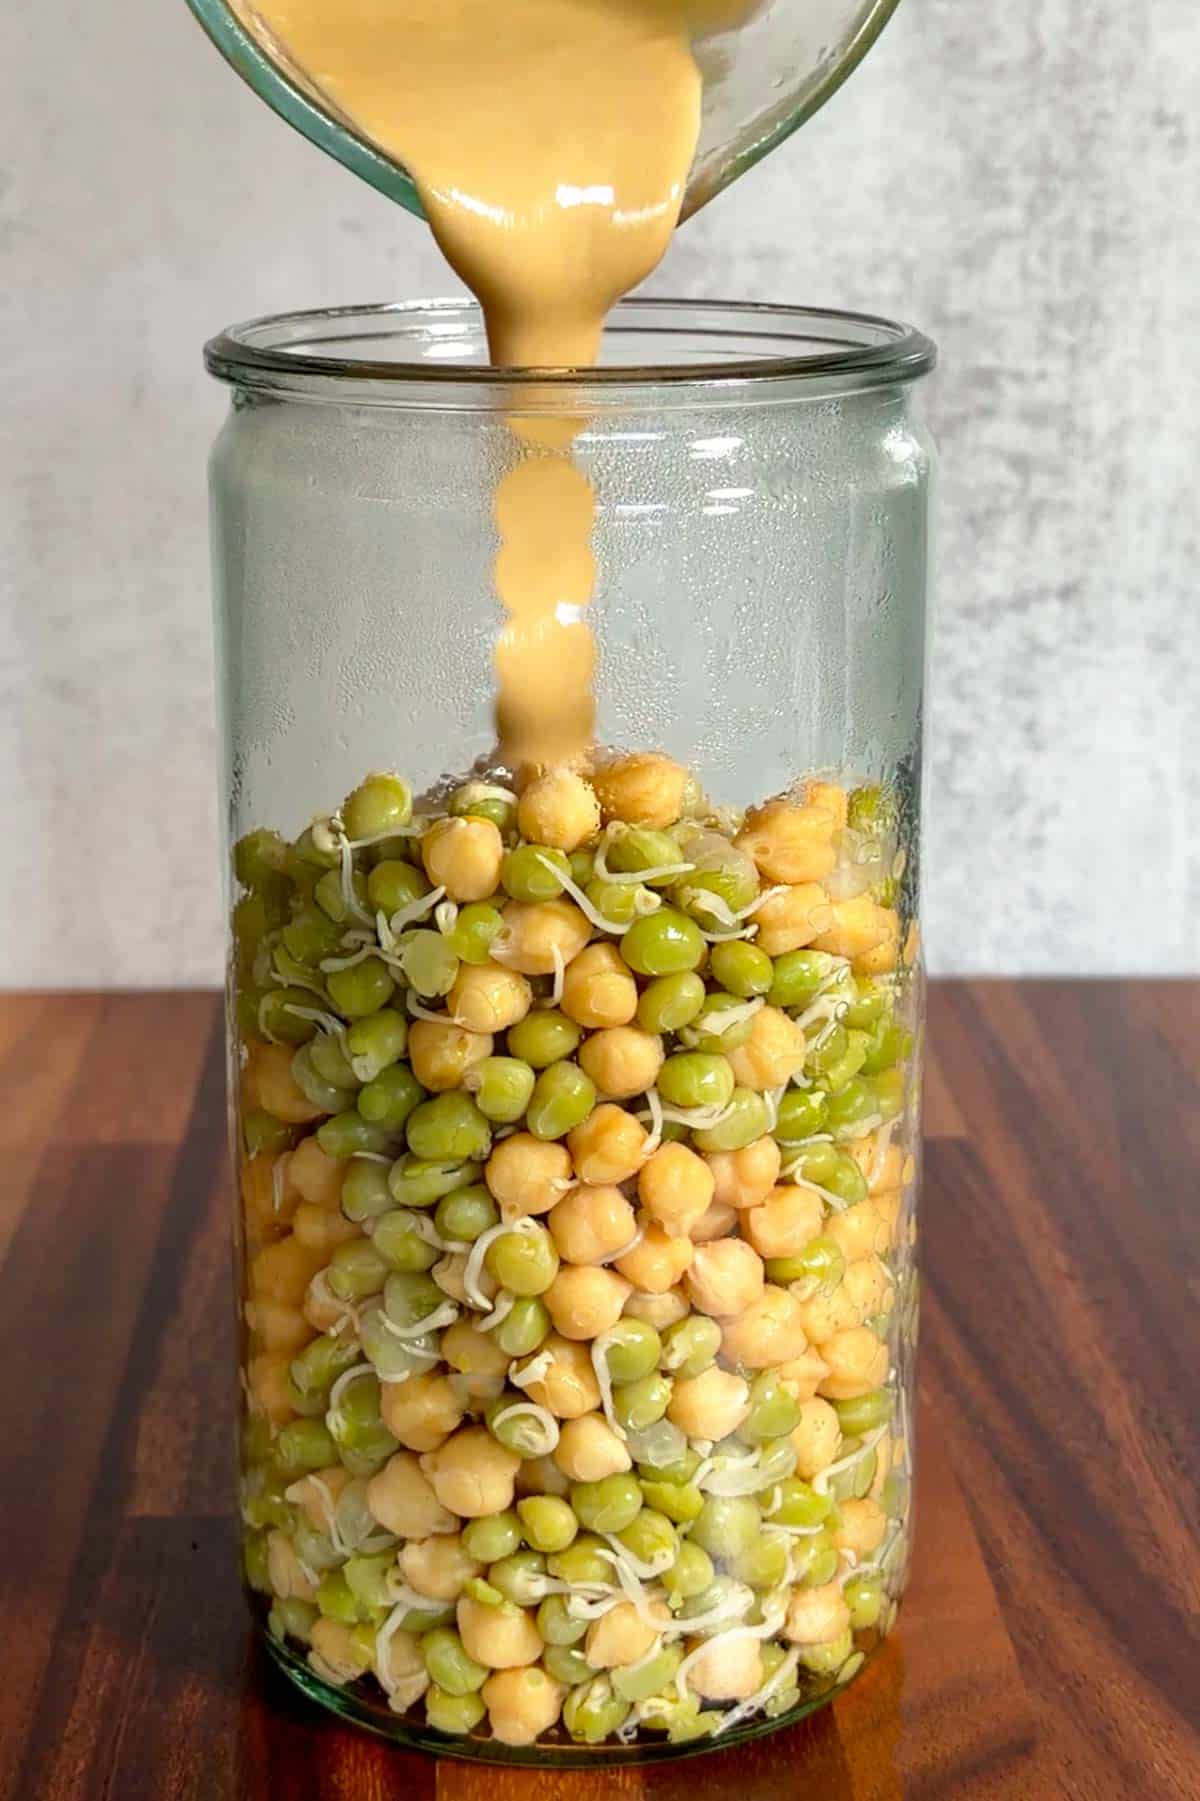
📽️ Watch How to Make Sprouted Hummus
Note: Cooking the sprouts beforehand is optional. Full recipe at bottom of the blog post.
Sprouted Hummus Recipe
Ingredients
- ¾ cups sprouted chickpeas
- ¾ cups sprouted green peas
- ¼ cup tahini plus more as needed
- 2 large garlic cloves
- 2 medium lemons juice
- 1 teaspoon cumin
- Salt to taste
- Water as needed
Save This Recipe!
Type your email & I'll send it to you!
Instructions
- Soak: Soak the green peas and chickpeas separately with enough water to cover for 6 to 8 hours.
- Drain: Discard of the water and rinse. Drain and leave to dry, rinsing twice daily, for about 1 day until sprouted. Let the sprouts air dry for about 8 hours before storing. (Chickpeas are best stored in fridge during sprouting phase.)
- Cook (Optional): Cook sprouts in water to cover until very soft.
- Blend with tahini, garlic, lemon juice, cumin, salt and water until smooth. Adjust lemon, tahini, and seasoning as needed. Add olive oil for serving ifor more creaminess and polyphenols (optional).
Nutrition
This information is provided as a courtesy and is only an estimate. Nutritional values may vary depending on factors such as product types and brands used.

👩🏽🍳 Sprouted Seeds?
Let me know your thoughts on How to Sprout Seeds to Eat by leaving a ⭐️ rating below or sharing it on Instagram.

Alyssa says
Are you sprouting from dried peas and garbanzo beans or frozen/fresh peas or canned beans and peas?
Nisha Melvani, RDN says
all my sprouts are from here https://www.thesproutingcompany.com/NISHA these are organic and tested. Use NISHA at checkout for the best discount. These are the only sprouts I use now.
Doug Evans says
I love love love this Nisha! Keep growing.
Nisha Melvani, RDN says
Thank you so much. Appreciate you reading it!